The Manage Tabs screen allows you to add, move, and remove products from each customer on the tab. In addition to that, you can also change the tab name, import, and export covers as well as add or remove individual covers from the tab.
Along the top bar on the Manage Tabs screen, there are a few new options available to you.
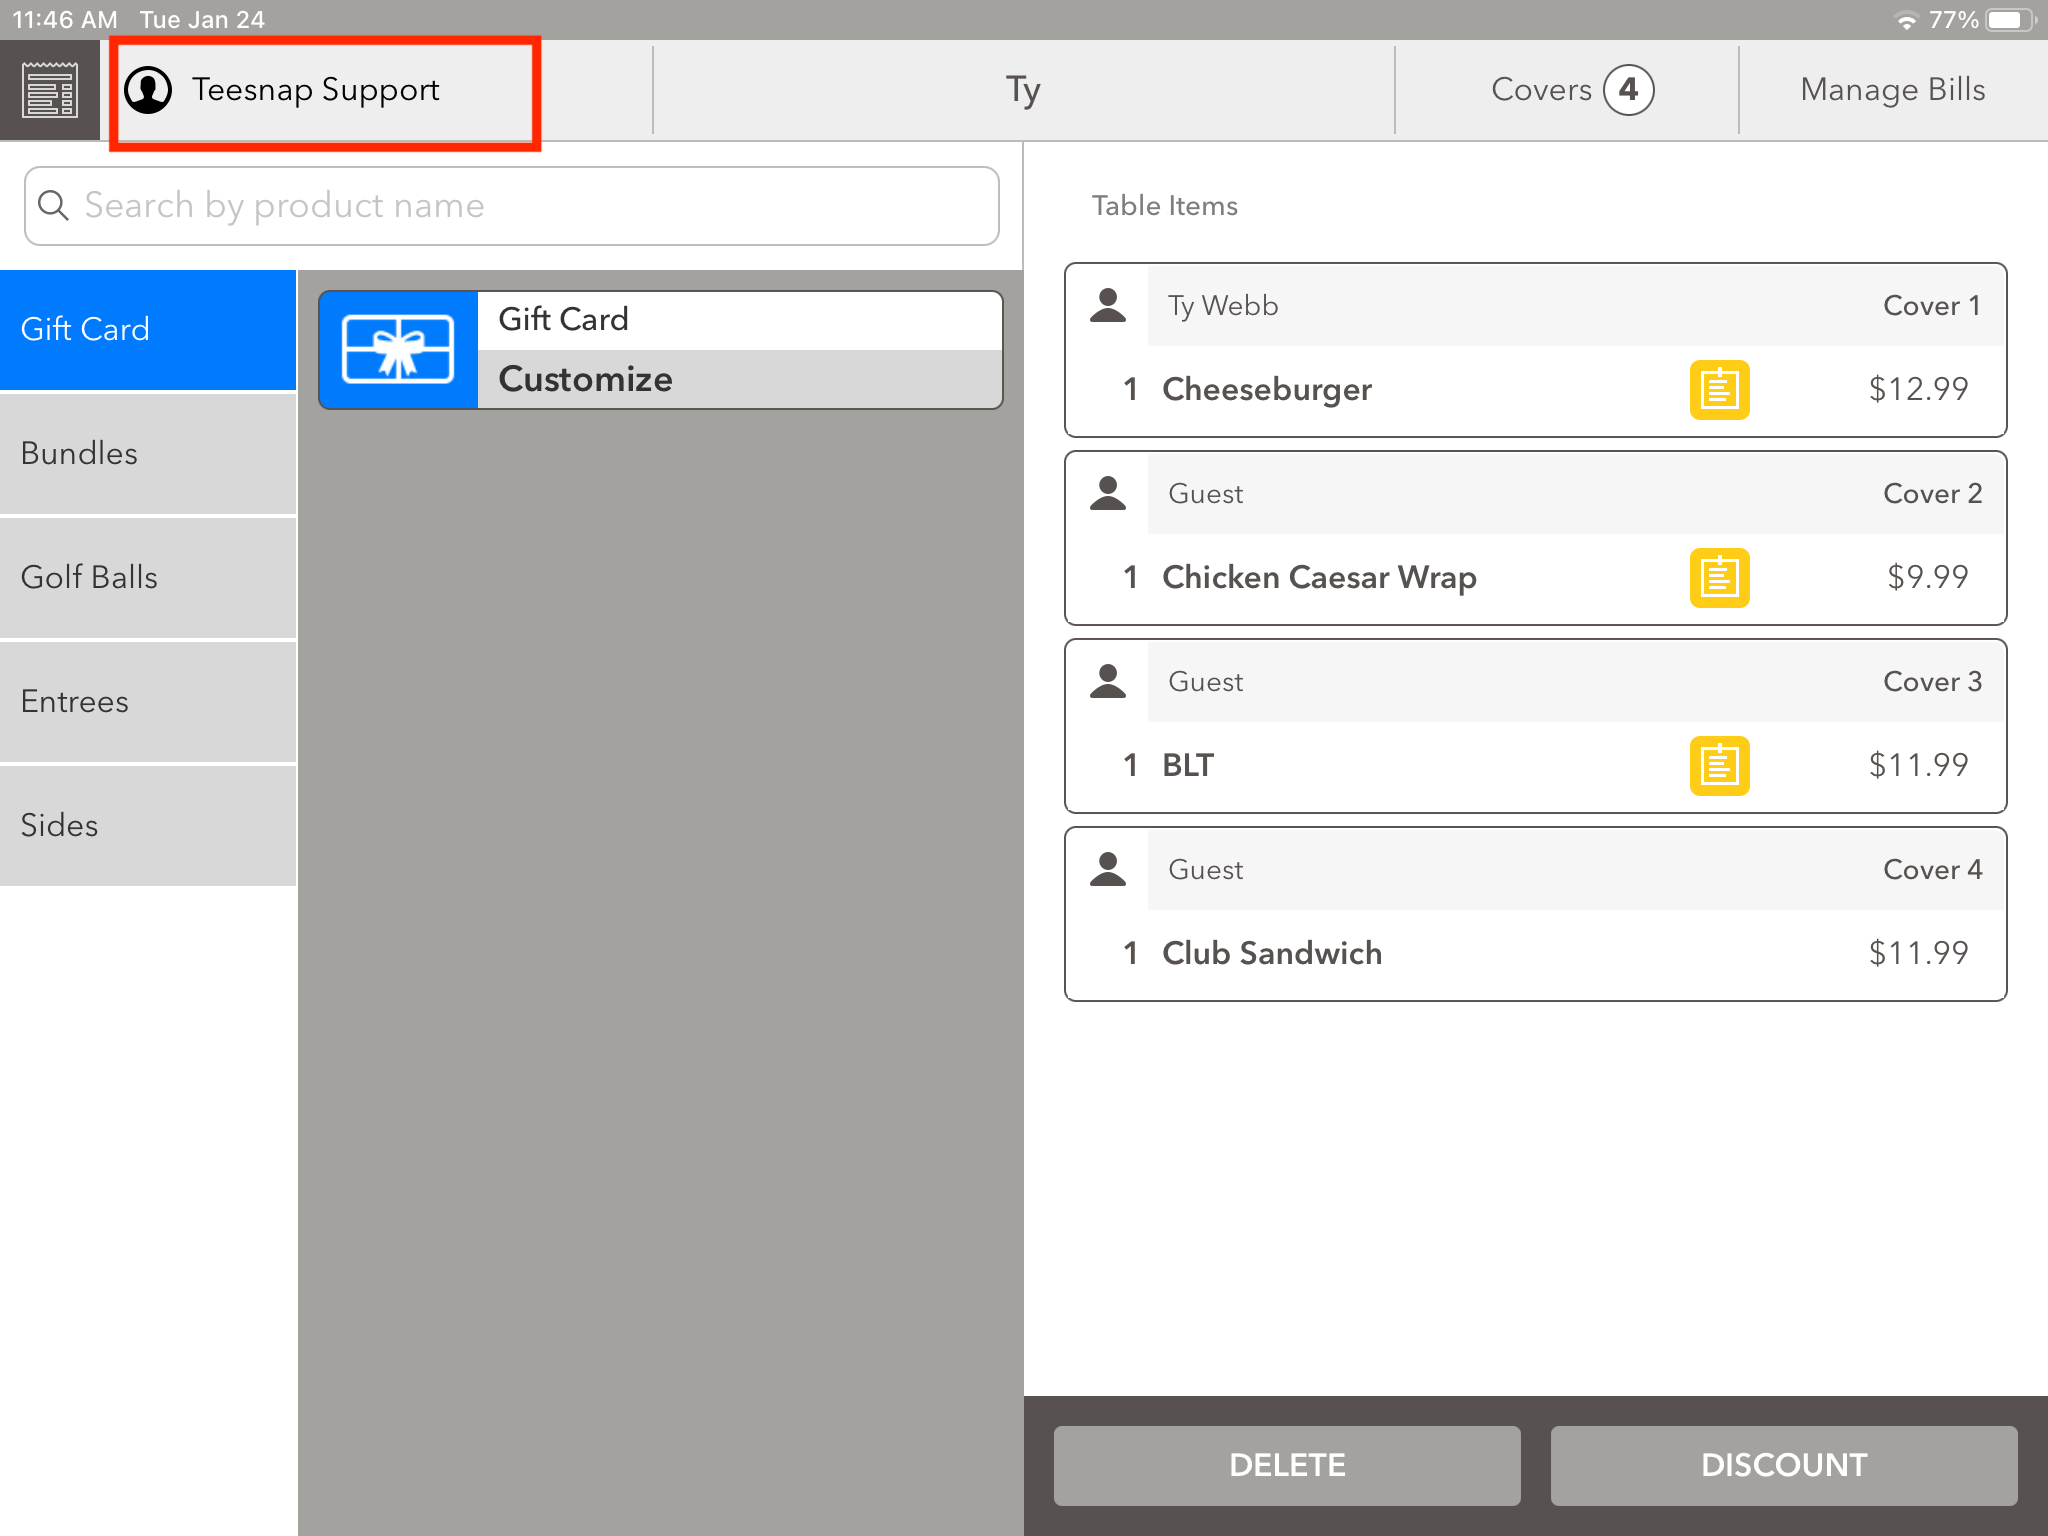
- Tapping on the image of the paper receipt in gray will take you back to the Tabs screen.

- If accessing a tab from a table, the icon in the upper left will be one of a table instead of a receipt.
- The silhouette icon tells you to whom that tab is assigned, in this case, it?s Teesnap Support.
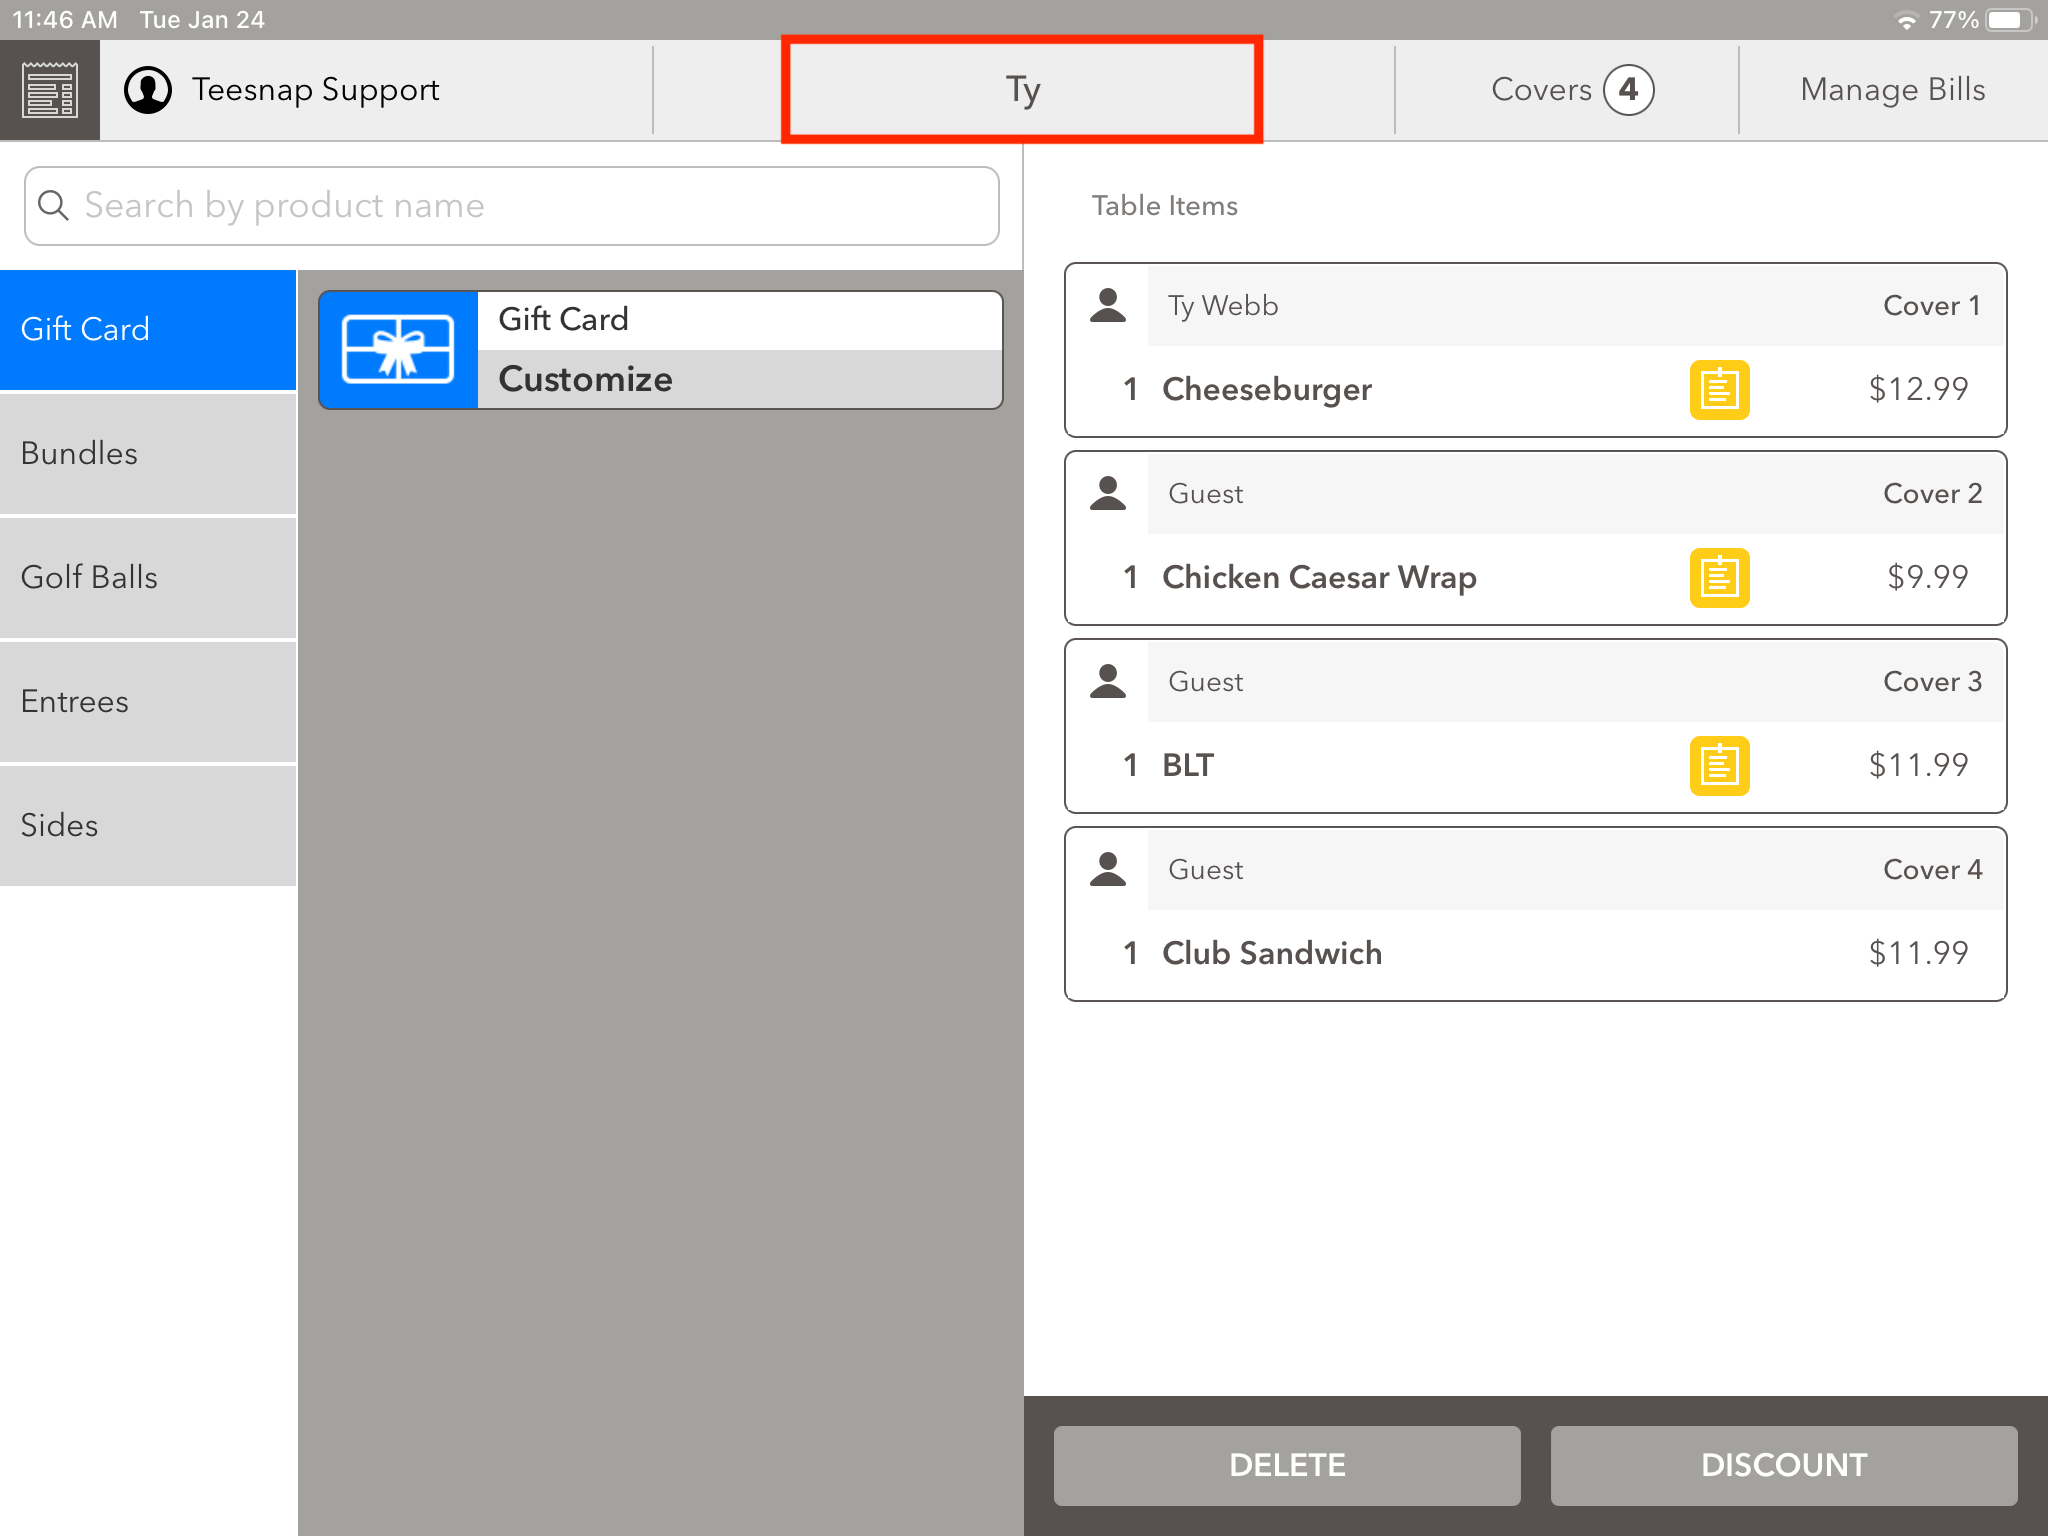
- Tapping on the tab name in this case Ty, you can change the name of the tab.

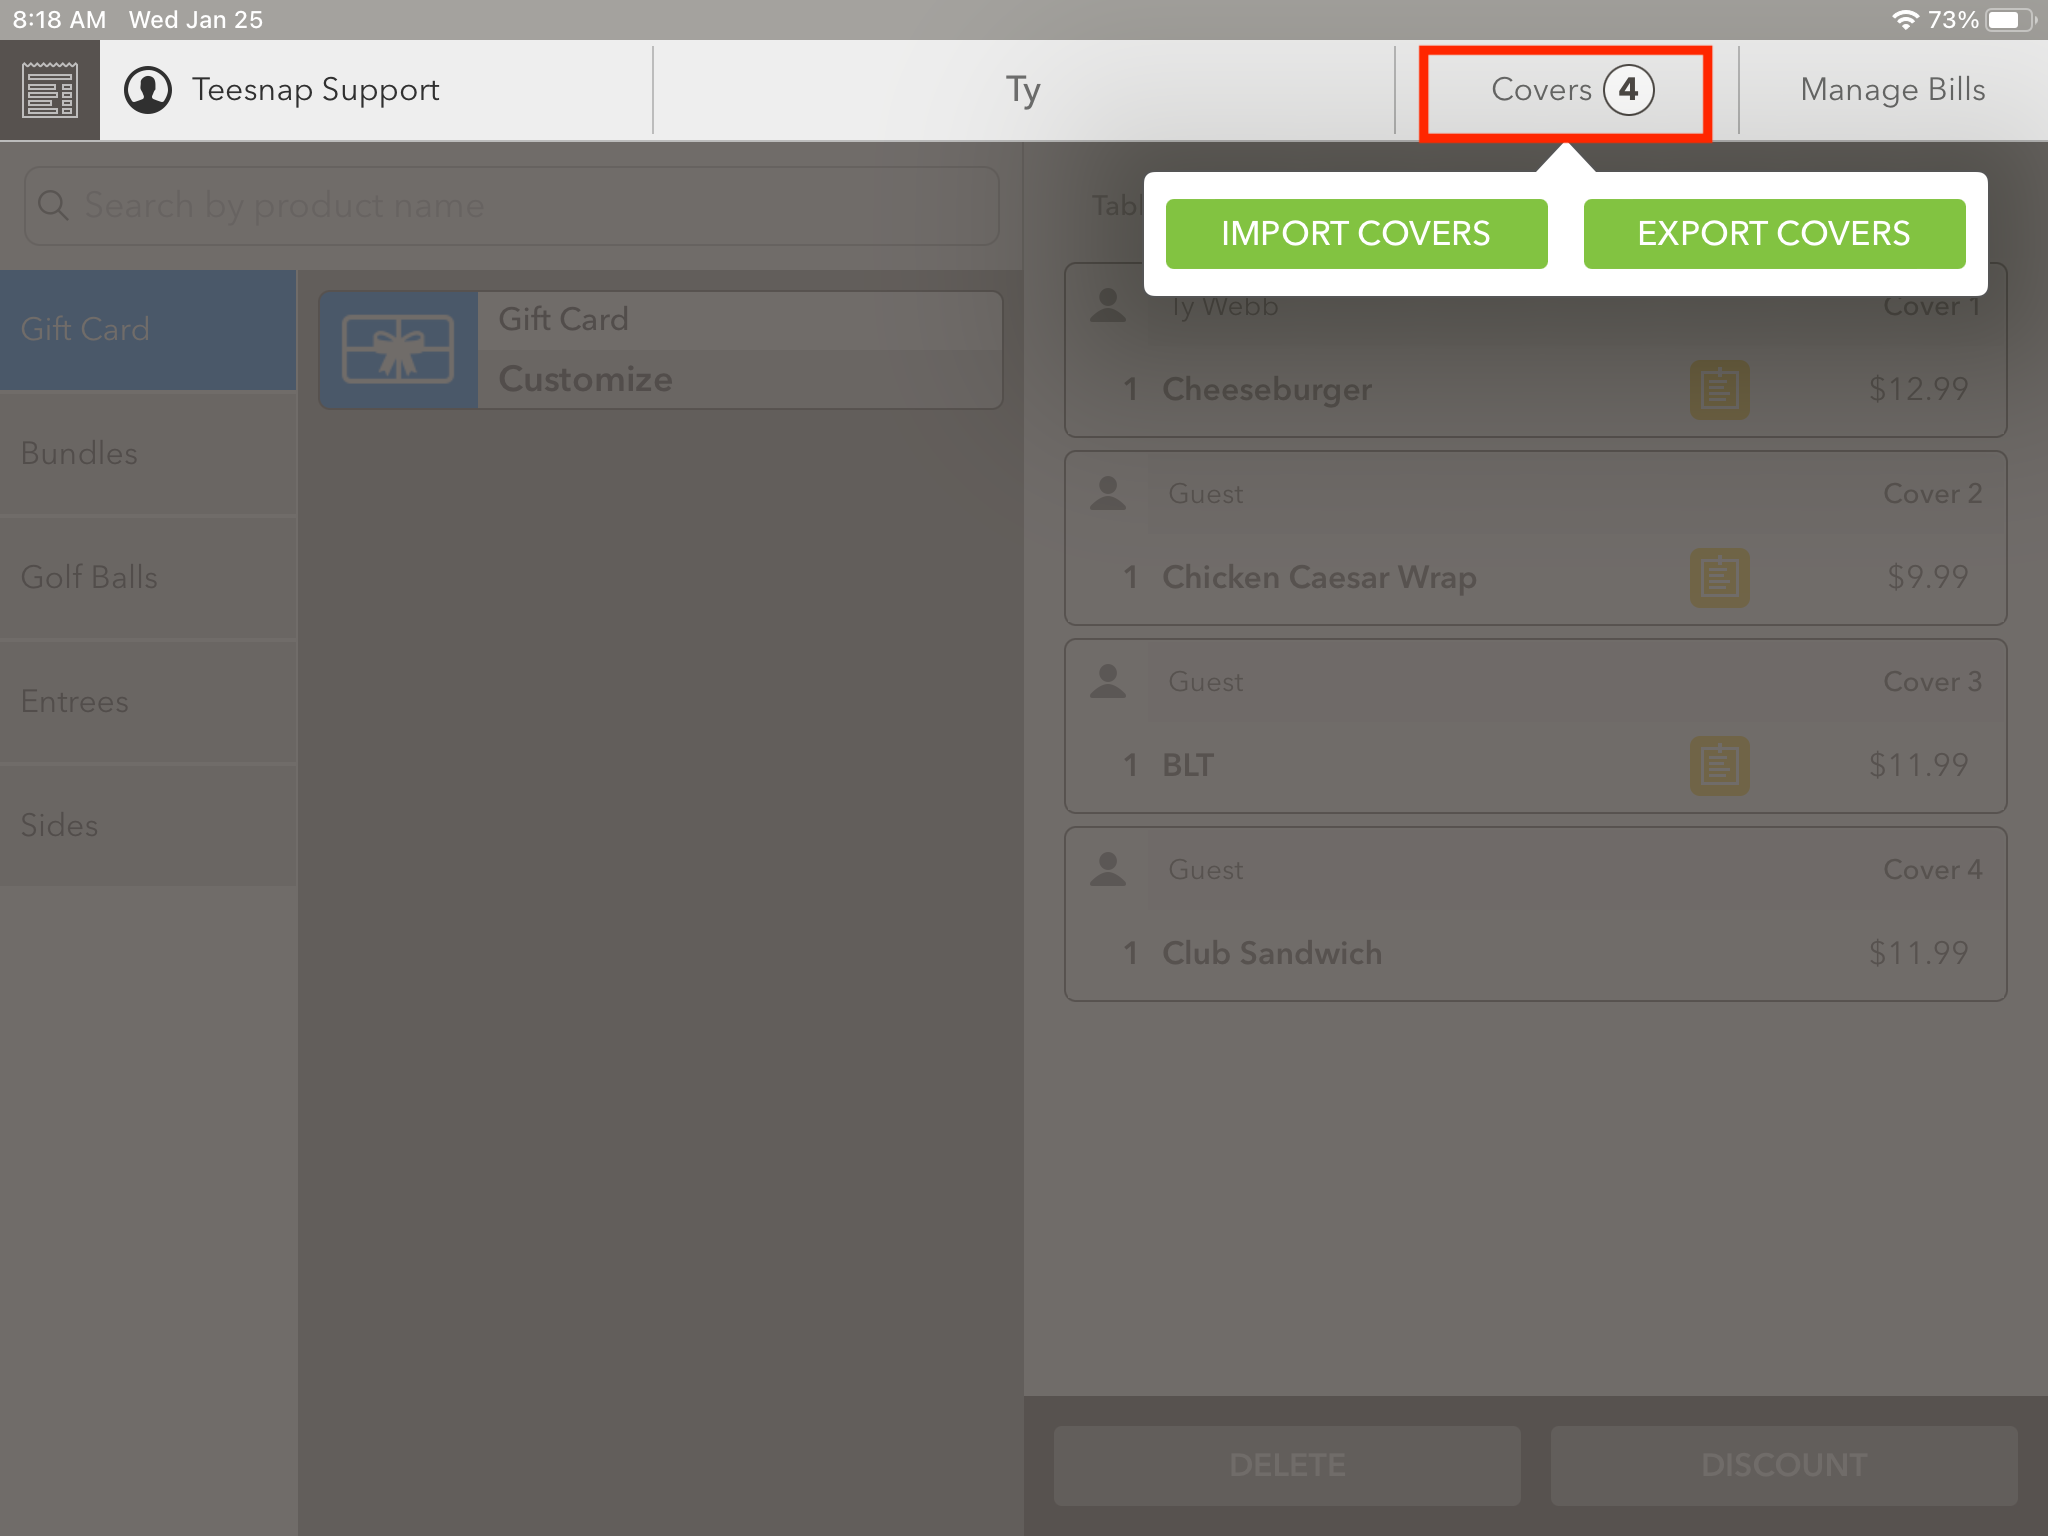
- Tapping on the �Covers� button will allow you to import or export covers from/to other tabs.
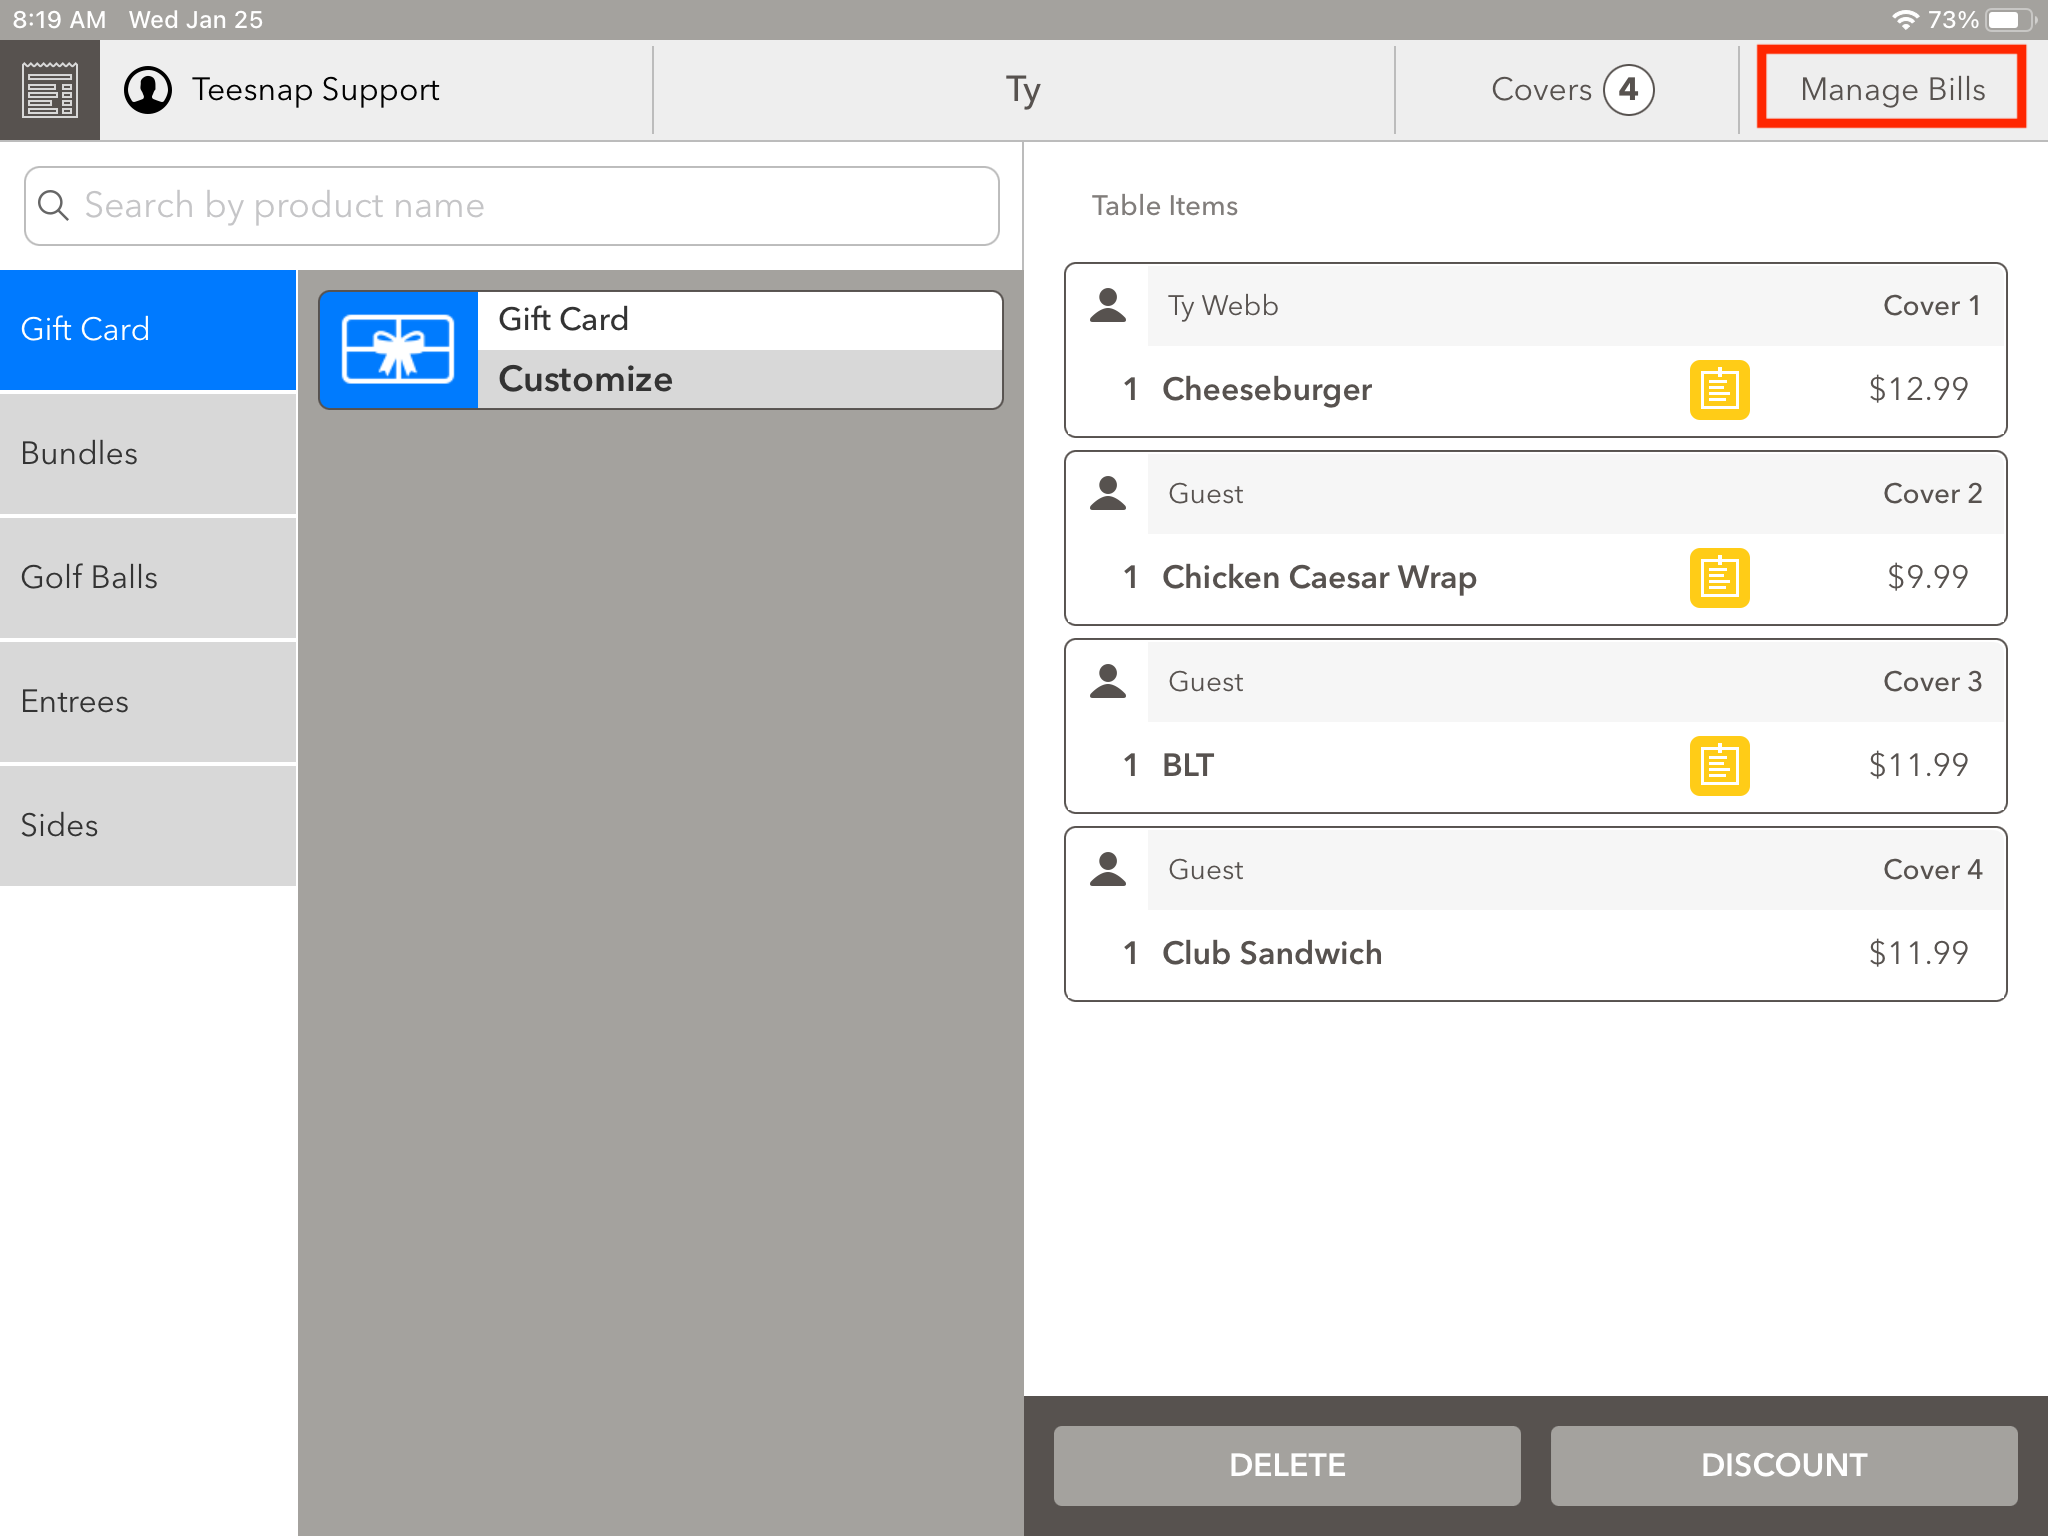
- Tapping on Manage Bills will take you to the new Manage Bills screen.
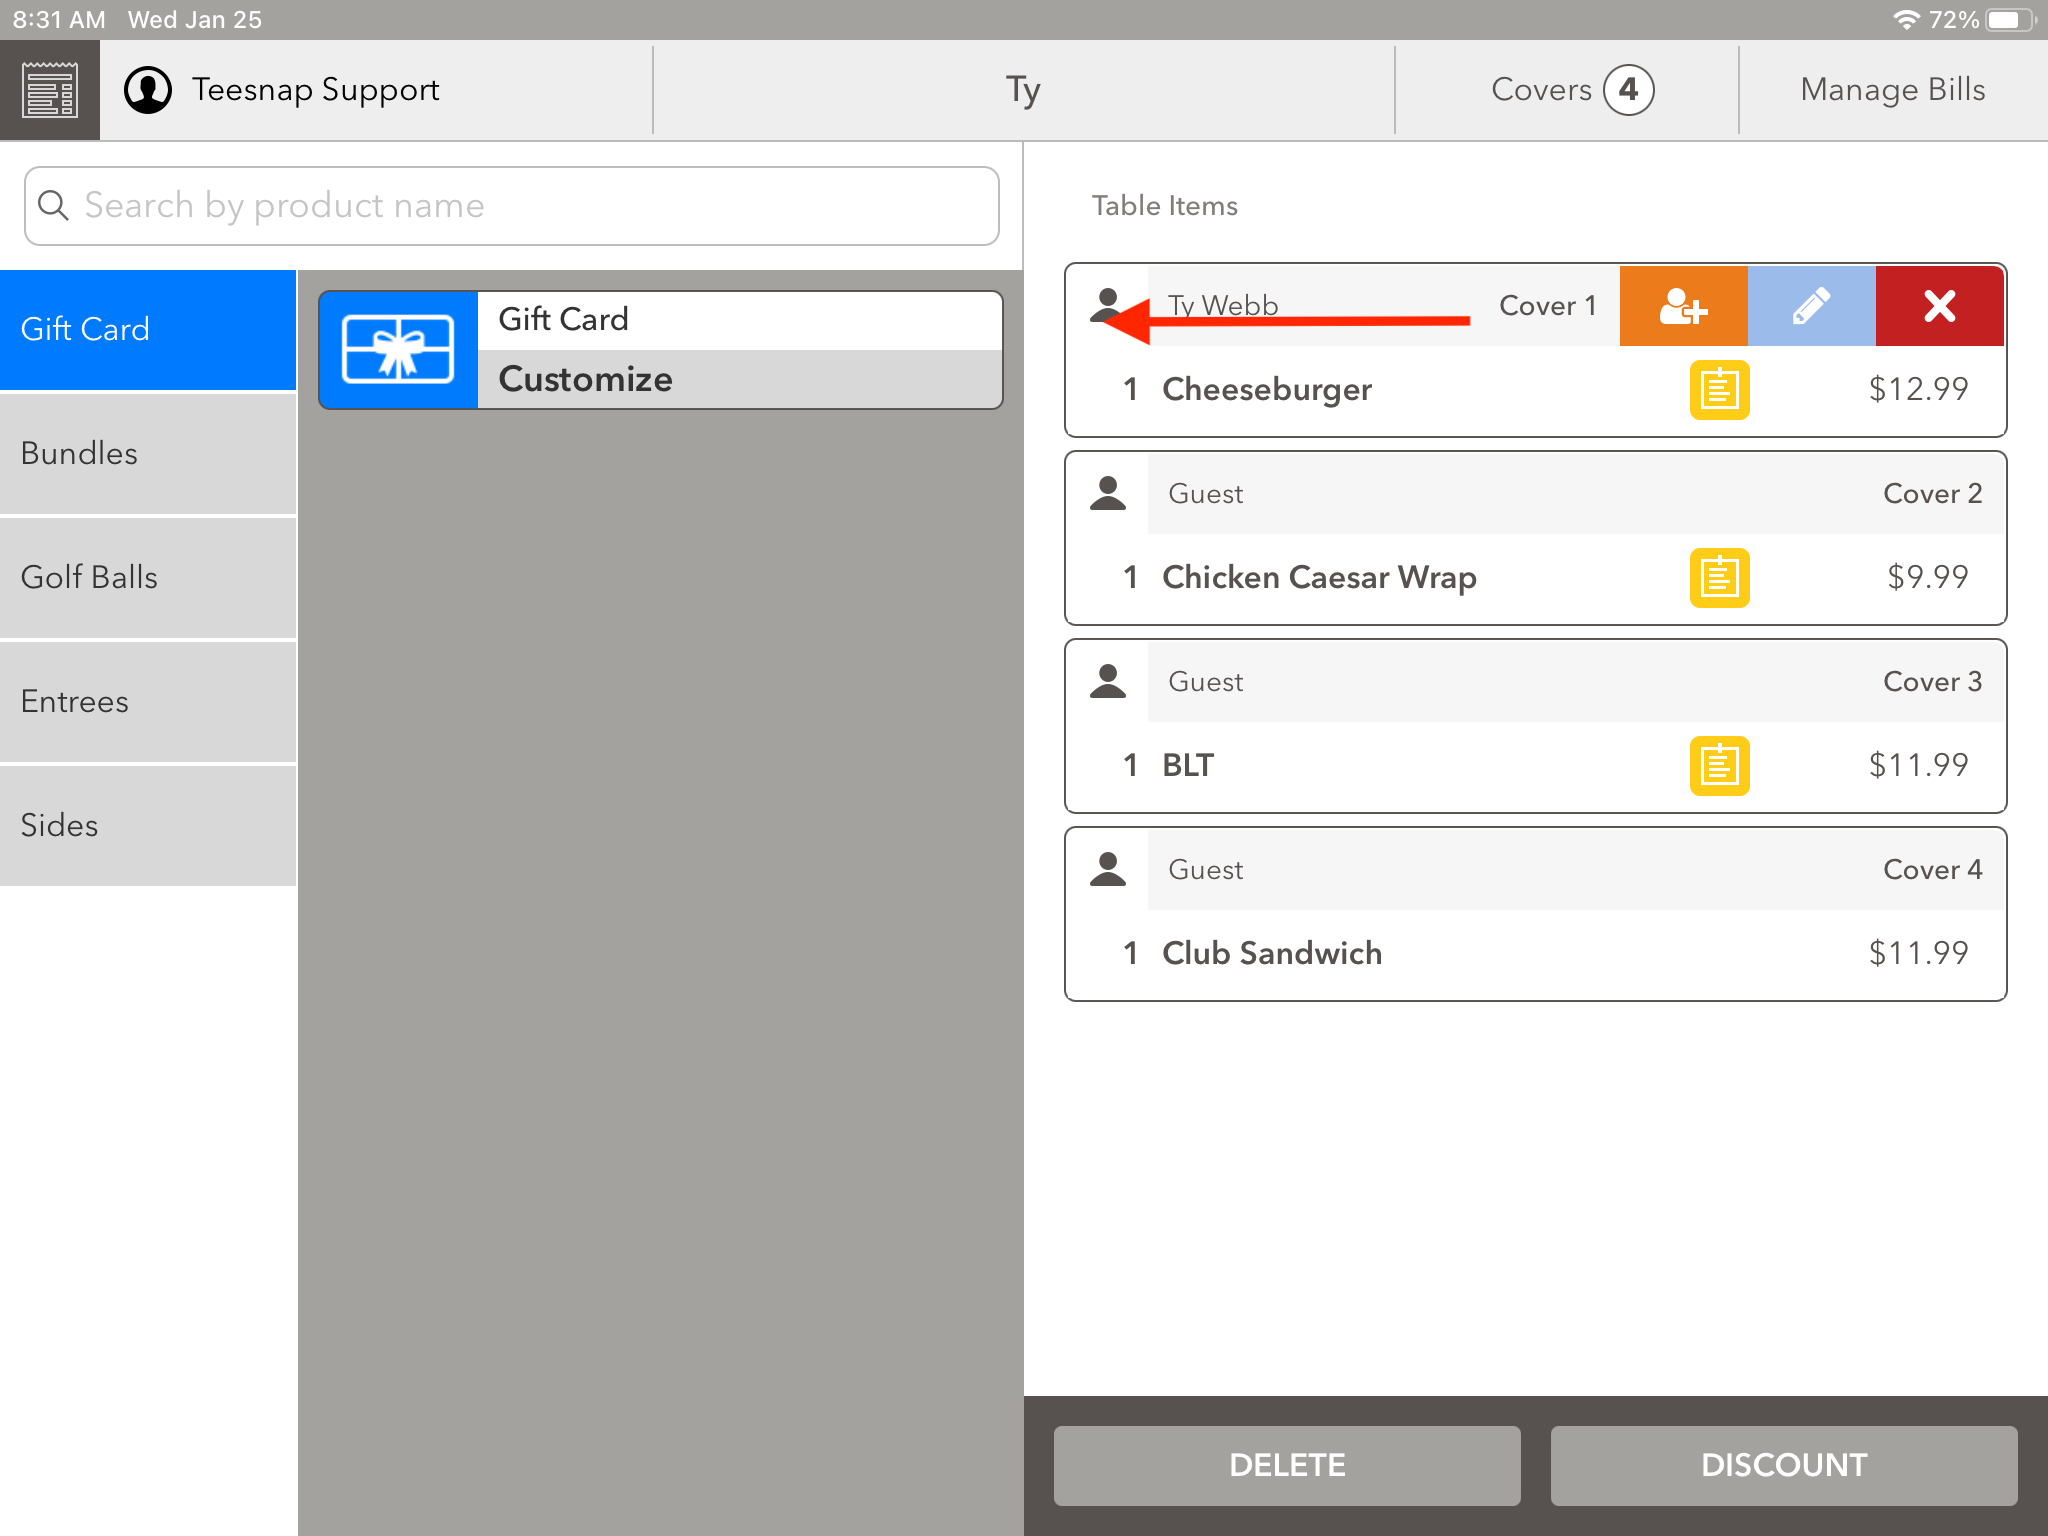
In addition to all those options above, you can also add or remove covers directly from the Manage Tabs screen.
- To do this, simply swipe from the right to the left on any of the Covers as shown in the image.
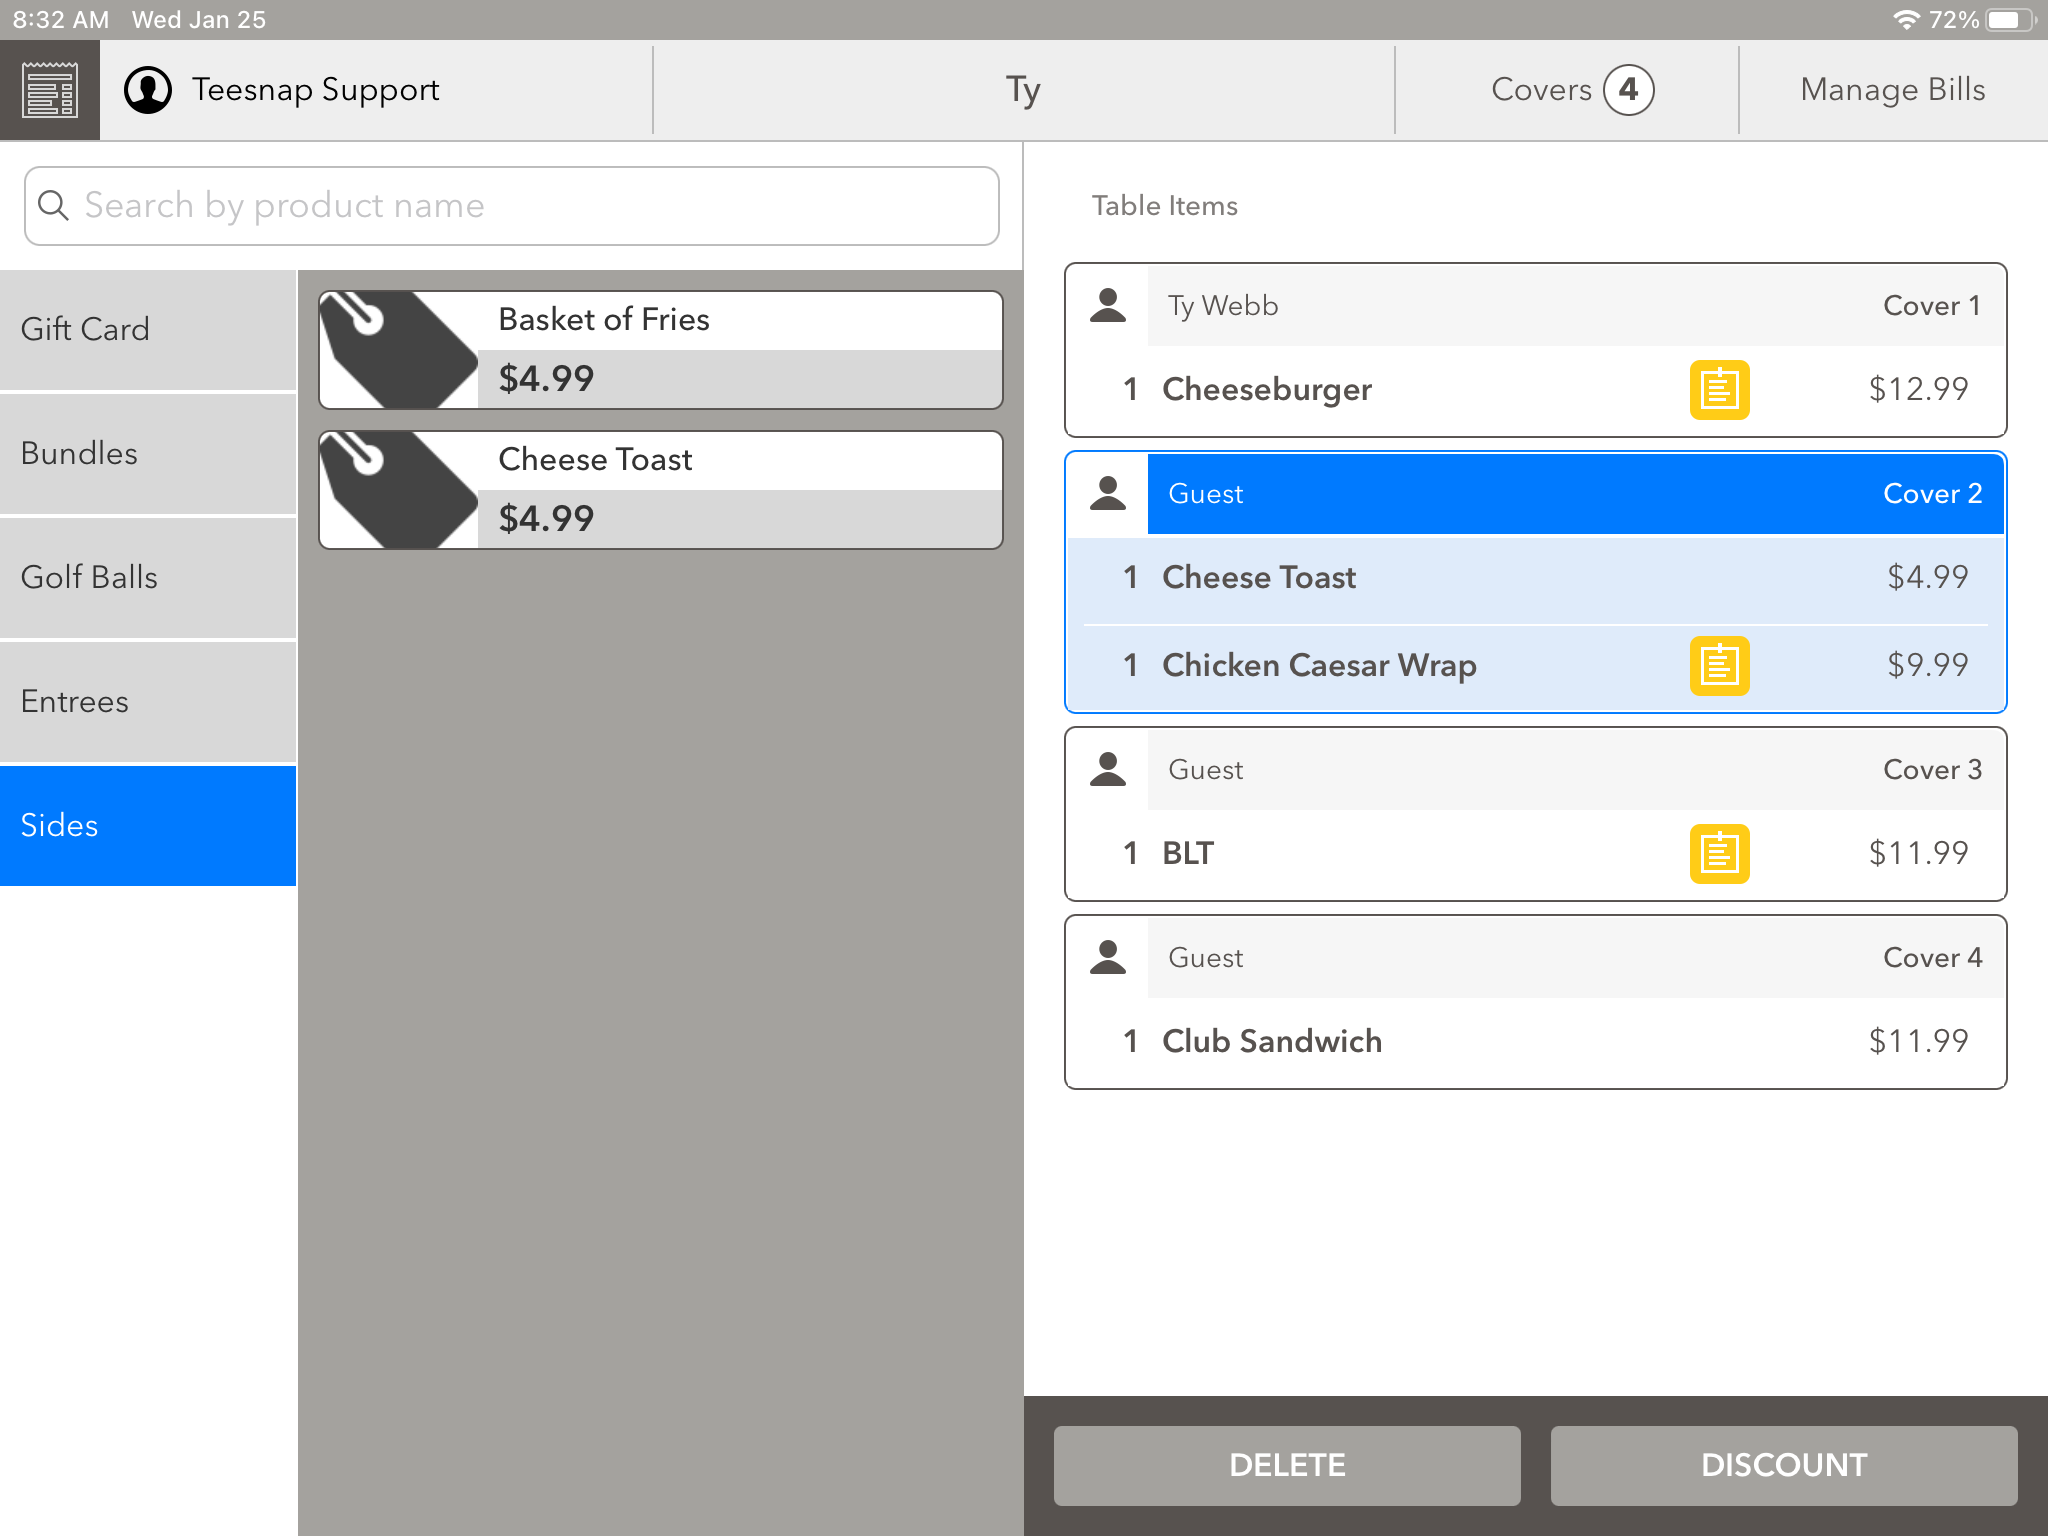
To add products to a Cover, simply tap on the appropriate Cover (highlighted in blue) and add products from the left-hand side of the screen. Guest 1 now has Cheese Toast added to their tab.
***PLEASE NOTE: After all the items have been added to the appropriate covers, click the icon in the upper left to send the ticket to the fulfillment centers (if applicable) and return to the Tab or Table screen***
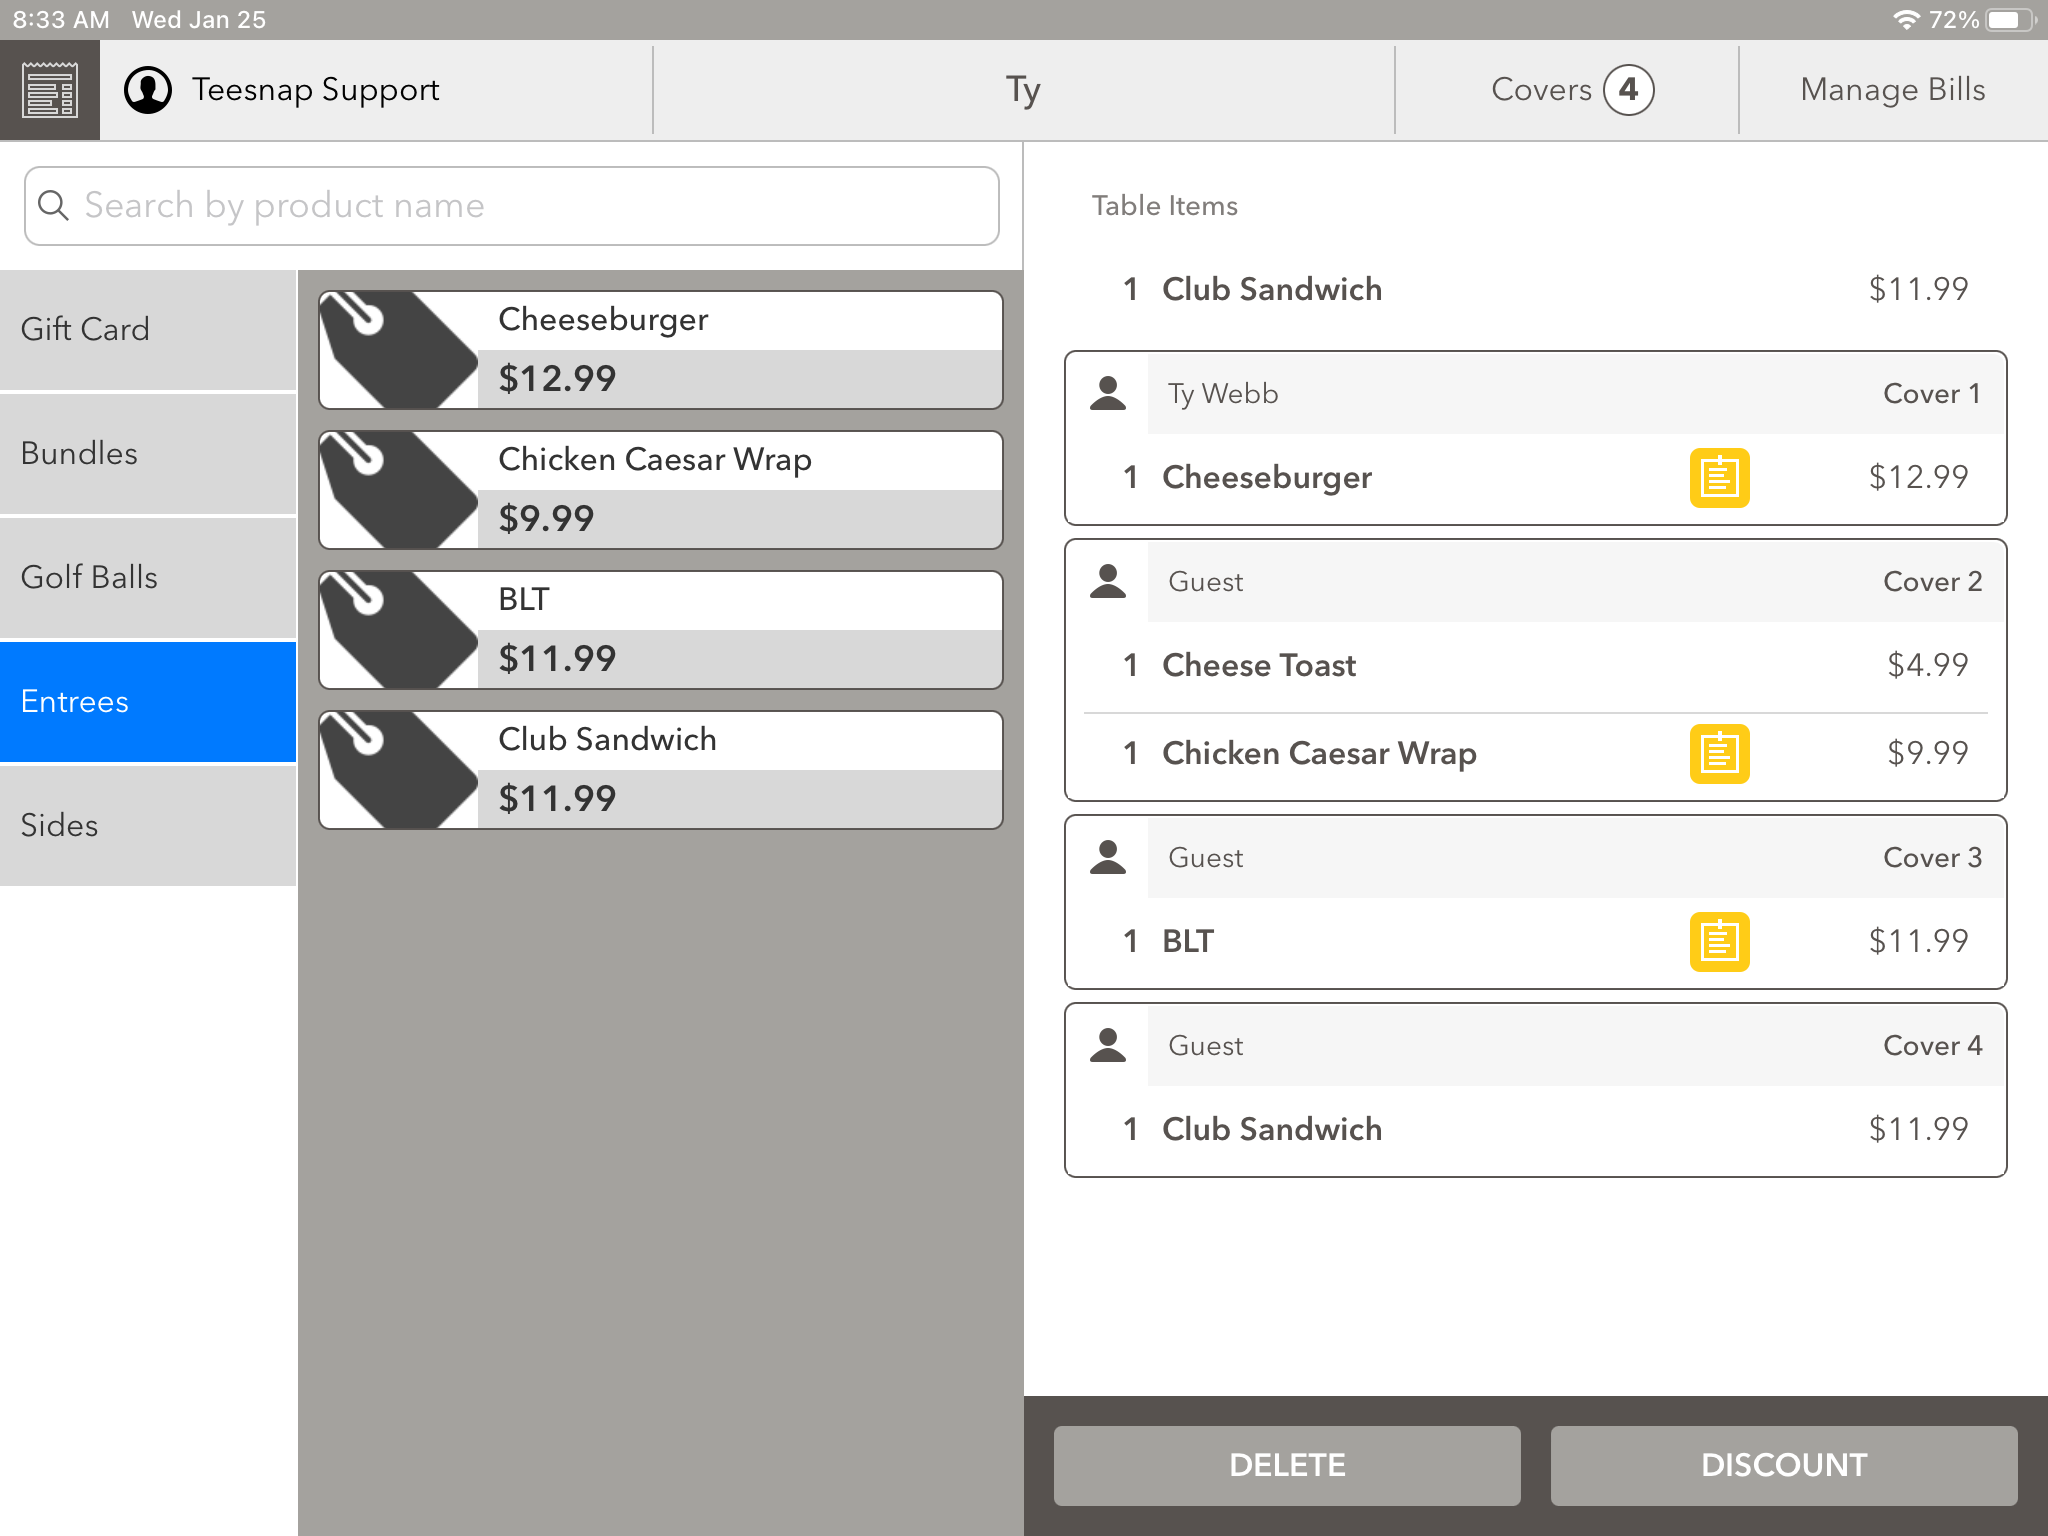
You also have the ability to add Table Items in update 3.7. Table Items are an easy way to quickly add products to the tab like a basket of French Fries or a pitcher of Iced Tea. In the example below, we have a Club Sandwich that has been added as a Table Item.
- To add a table item simply select the item from the left-hand side of the screen without selecting a Cover.
***PLEASE NOTE: Tickets will be created and automatically sent to the fulfillment centers by clicking the icon in the upper left-hand corner. This action replaces the DONE button that was used in older versions***