-
Teesnap App
-
Booking Site Admin
-
Teesnap Administrative Portal
- Manufacturers
- Fulfillment Centers
- Printers
- Property Page
- Display Categories
- Variable Pricing
- Programs
- Products
- Promotions
- Taxes & Fees
- Accounting
- Courses
- Users
- Channels
- Bundles
- Inventory Audit
- Departments and Inventory Categories
- Modifier Groups
- Dining
- Tee Sheet Setup
- Customer Profiles
- Inventory Receipts
- Receipt Configuration
-
Hardware FAQ's
-
Online Store & WooCommerce
-
Card Reader Connectivity
-
FAQ Guide
-
Sim Reservations
-
Website
-
Contactless Payment - Credit Card Readers
-
Teesnap Reports
-
Teesnap Campaigns
-
Teesnap Updates & Release Notes
-
Heartland FAQ's
How to Upload an Image to a Bundle
This article will show you how to add an image to a bundle.
1. From the Admin Portal, select Inventory and then Bundles.
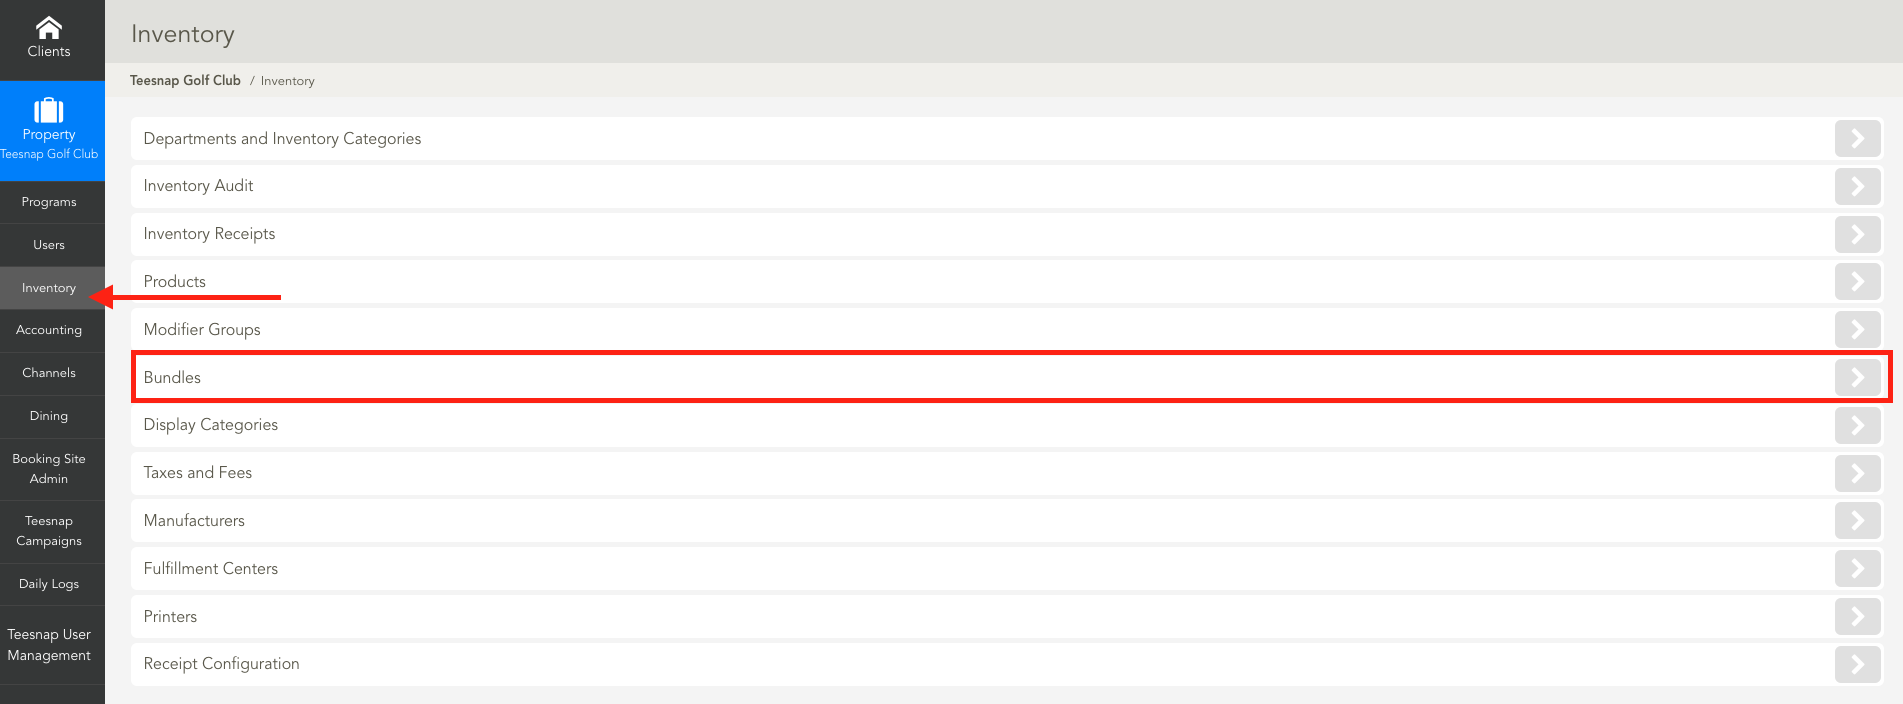
2. Select the Pencil Icon for the Bundle you would like to edit.
3. Under the Details Tab, find Upload Image, then click Select a File. Once the image is uploaded, click Save.
If you have any questions, please do not hesitate to reach out to Teesnap Support by emailing us at support@teesnap.com or calling 844-458-1032