.png?width=240&height=55&name=Untitled%20design%20(86).png)
There are two steps to adding a new product to your website:
1. Add it to your WooCommerce catalog of products
2. Add it to your online store.
Adding a New Product
1. Log in to the backend of your website and navigate to Products > Add New.
2. Give your product a unique name in the "Product Name" field.
3. To activate the Advanced Layout Builder, click the button at the top. Otherwise, you can use the default WordPress editor.
4. Add a DETAILED description. Try to include important keywords and all the major features of what you're selling, at minimum. The more detailed you are, the better. This will appear BELOW the price on the product page.
5. Scroll past the "Yoast SEO" section to the "Product Data" section and fill in your product details, including its price, sale price (if applicable), tax status, inventory amount, shipping details, and anything else that may apply.
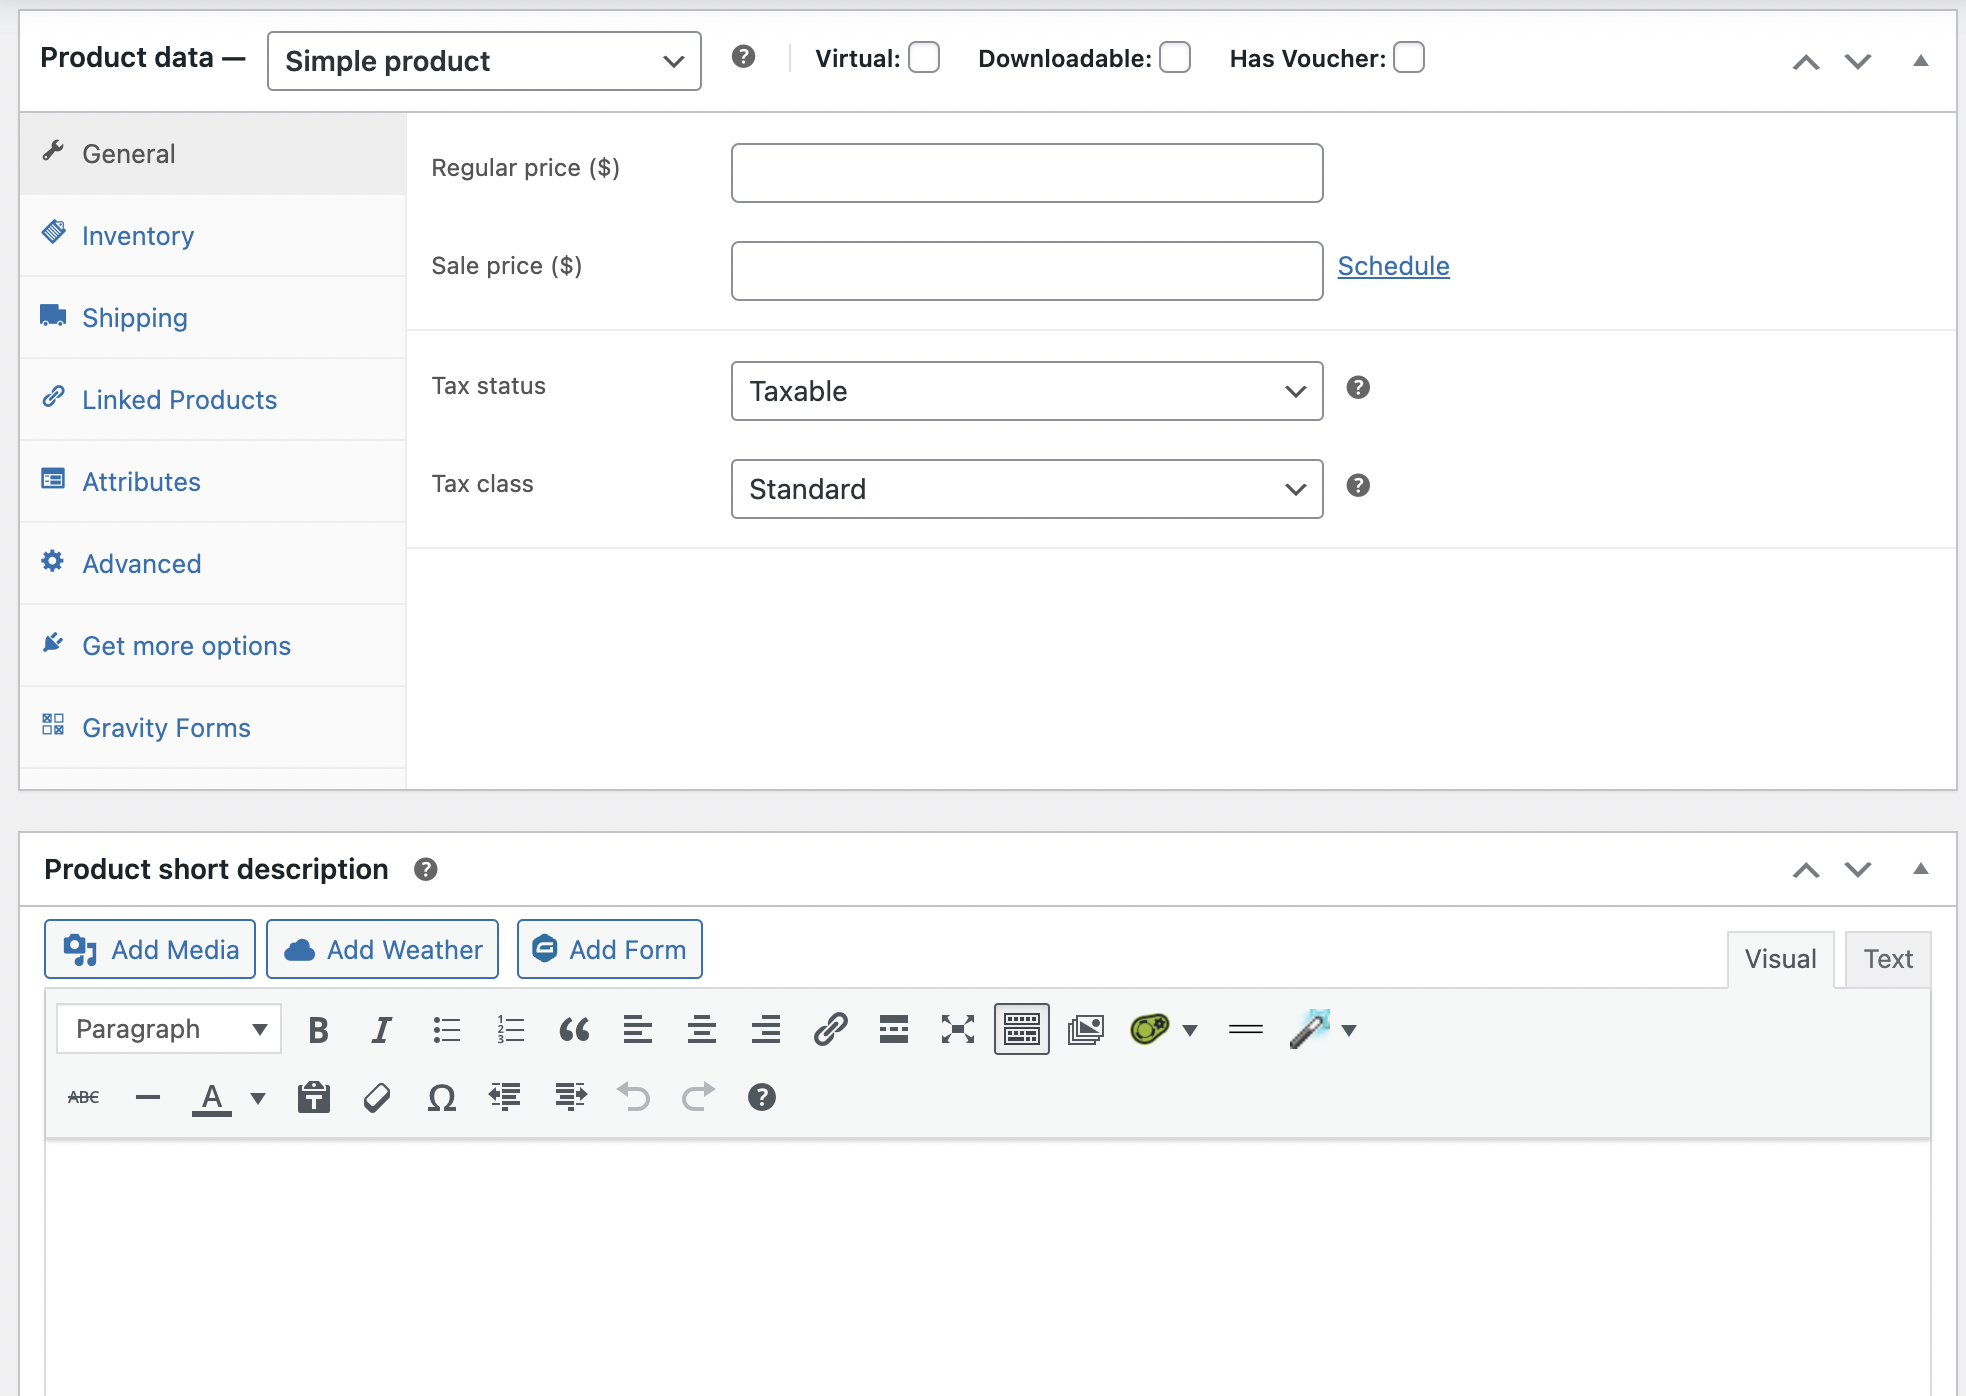
**Note, you can add all kinds of variables such as sizes or extra features, with and without changing the price of the product, by creating a variable product. See full documentation of all the possibilities here: https://docs.woocommerce.com/document/managing-products/
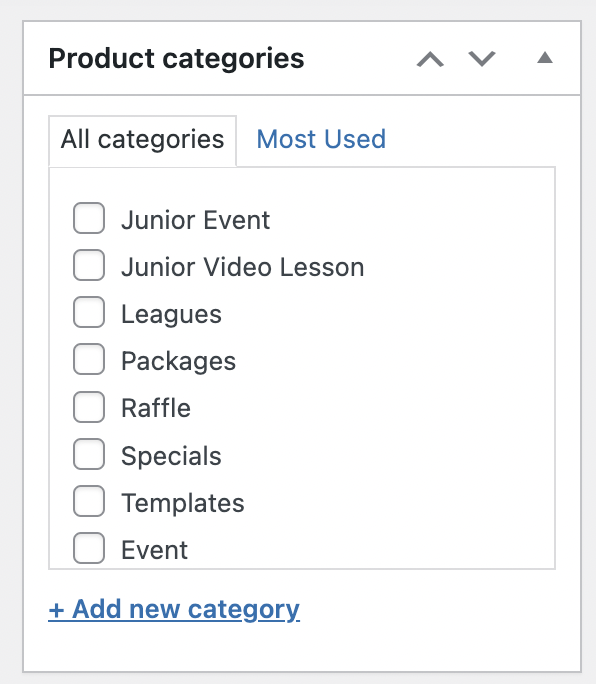
6. IMPORTANT: Add your new product to a store category. If no appropriate category exists, you can create one on the fly by clicking the "Add Category" link.
7. Add at least one image in the Product Image section. It should be at least 500x500 pixels in size.
8. Scroll to the top and click the PUBLISH button.
If you have any questions, please do not hesitate to reach out to Teesnap Support by emailing us at support@teesnap.com or calling 844-458-1032