.png?width=240&height=55&name=Untitled%20design%20(86).png)
To set up an email, or series of emails, that are triggered to send based on a subscriber's date field:
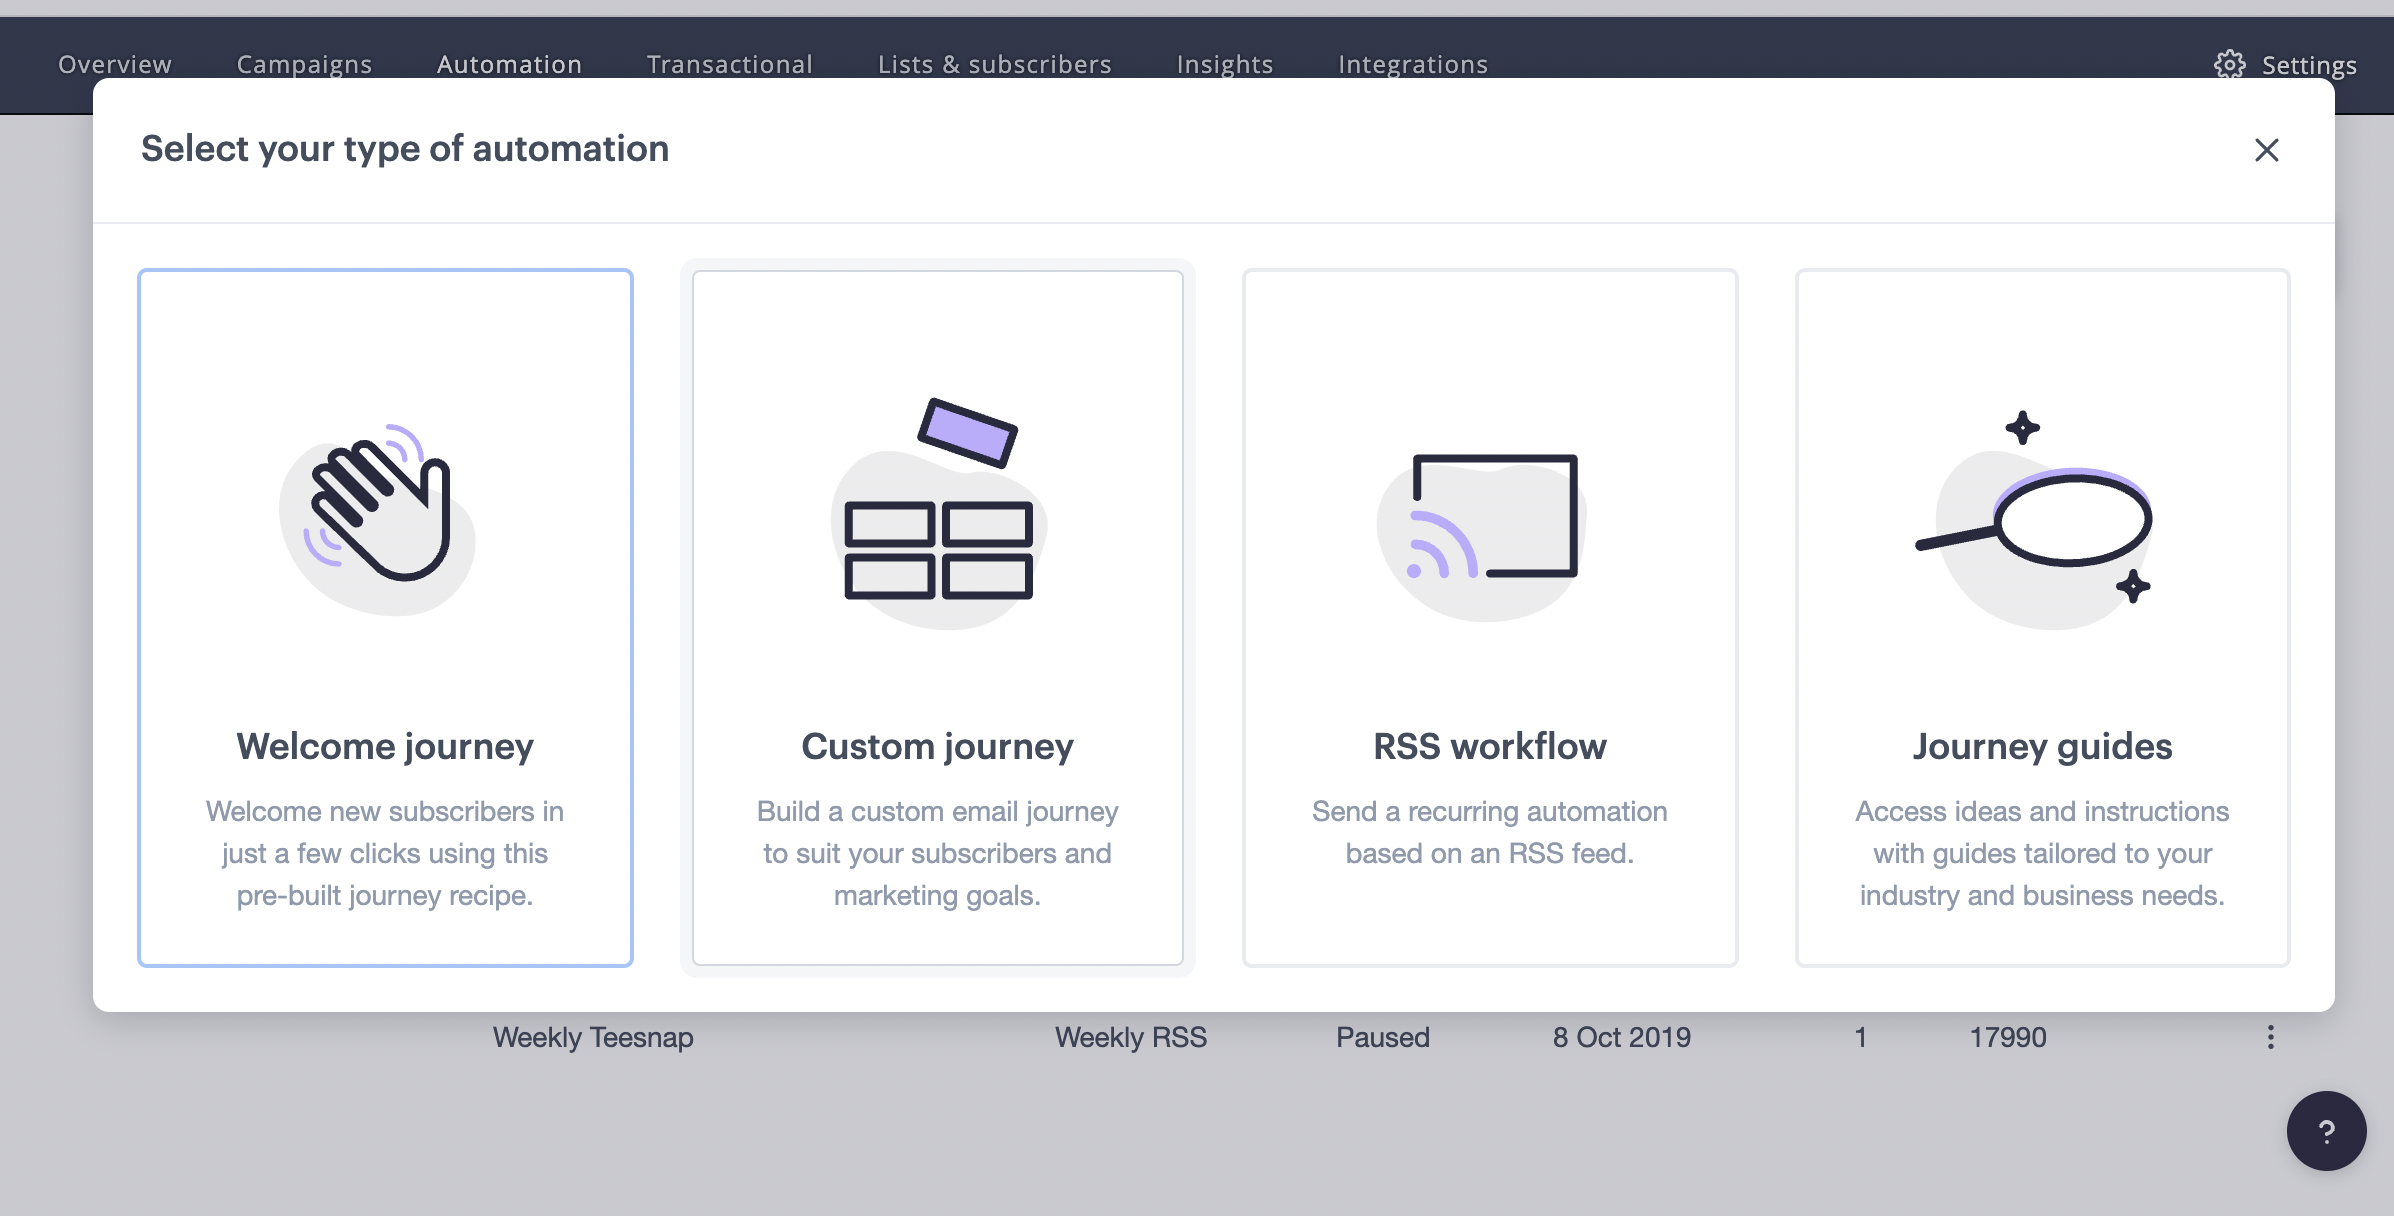
- Open Automation and click Create a new workflow.
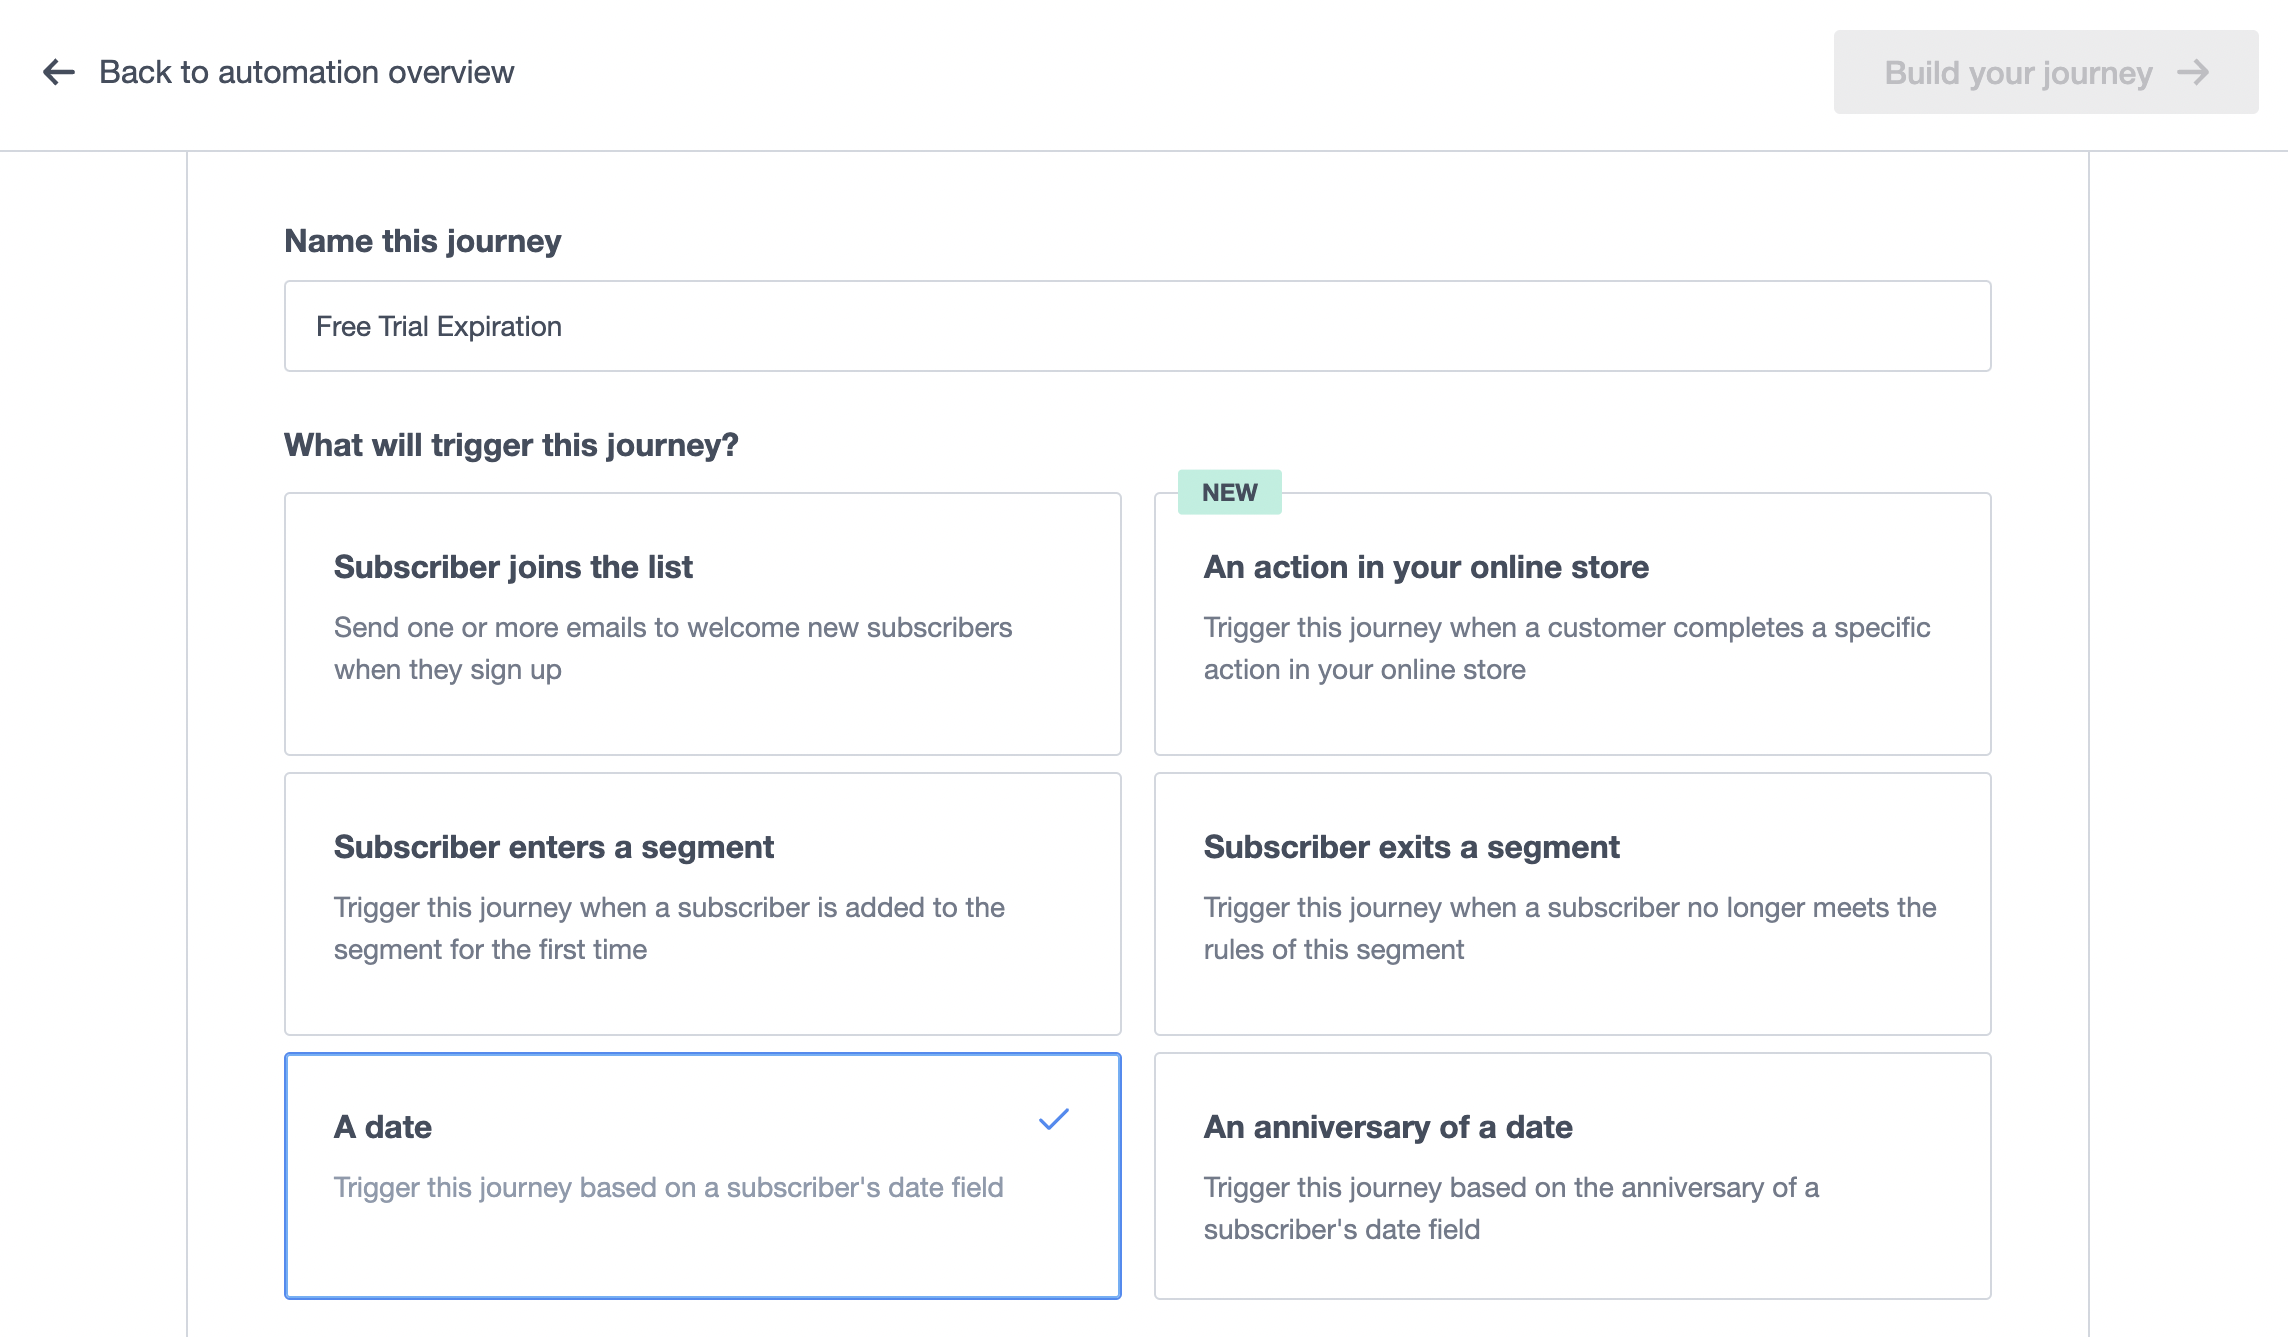
- Select A date as the trigger.
- Name the workflow, for example: "Free trial expiration."
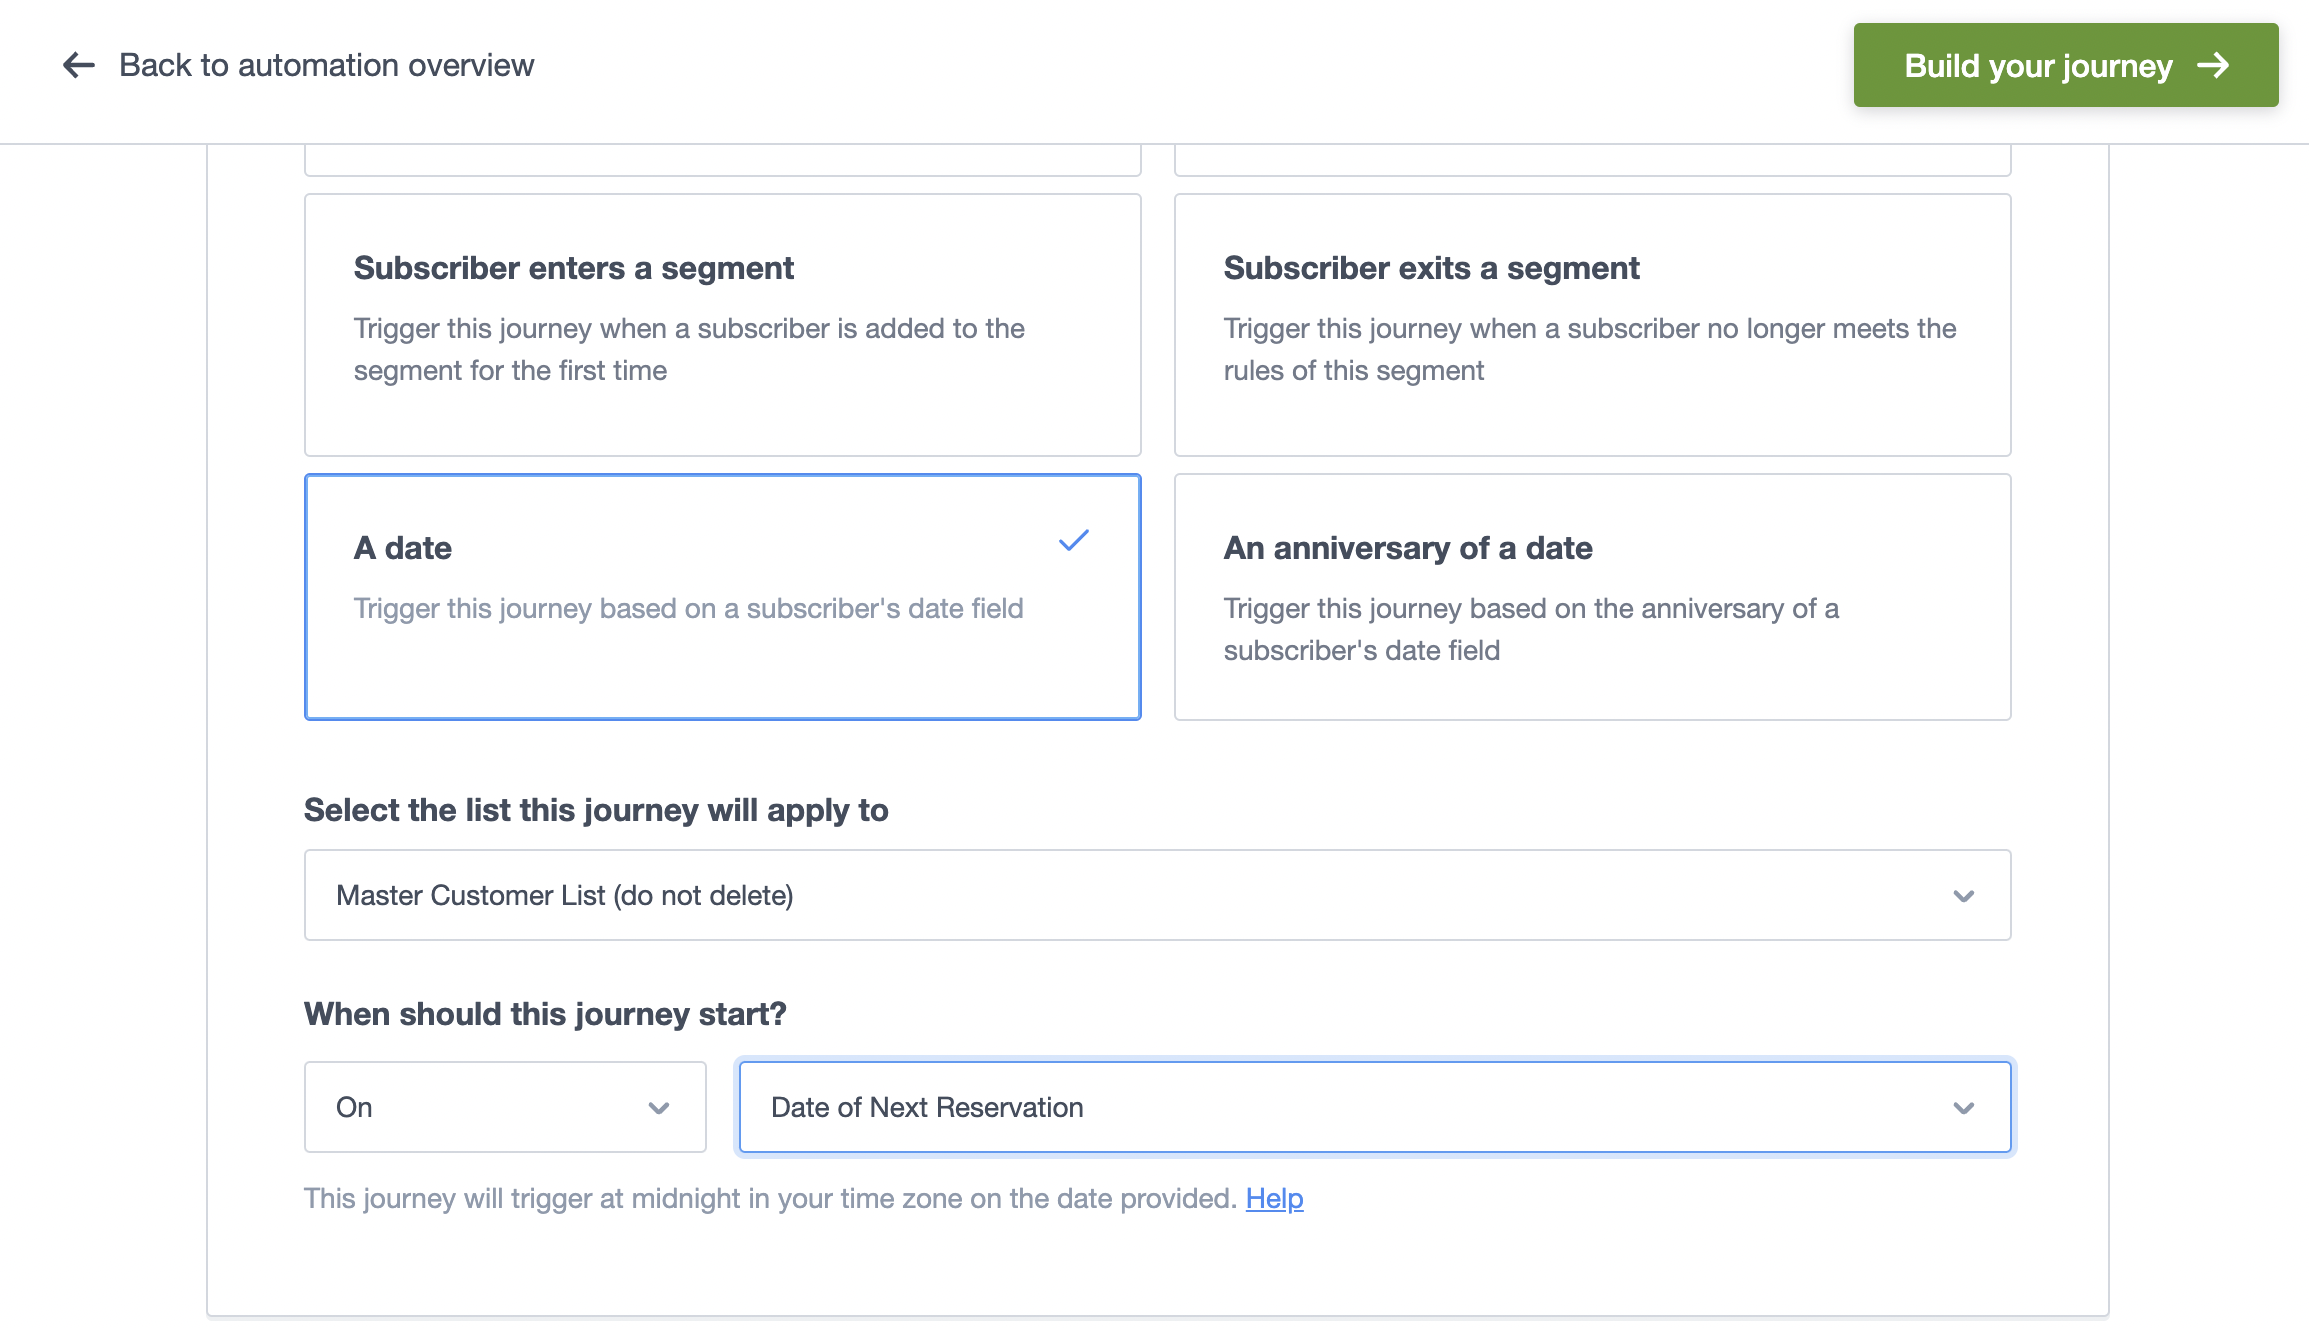
- Choose a subscriber list. If you only have one list it is selected for you.
- Choose a date field. If your list only has one date field it is selected for you. If there are none, you can add one now.
- Click Create workflow.
- Follow the on-screen instructions to define the email details: when it will be sent, who will receive the email (only applies if you have segments), the email name, and so on. Then click Next.
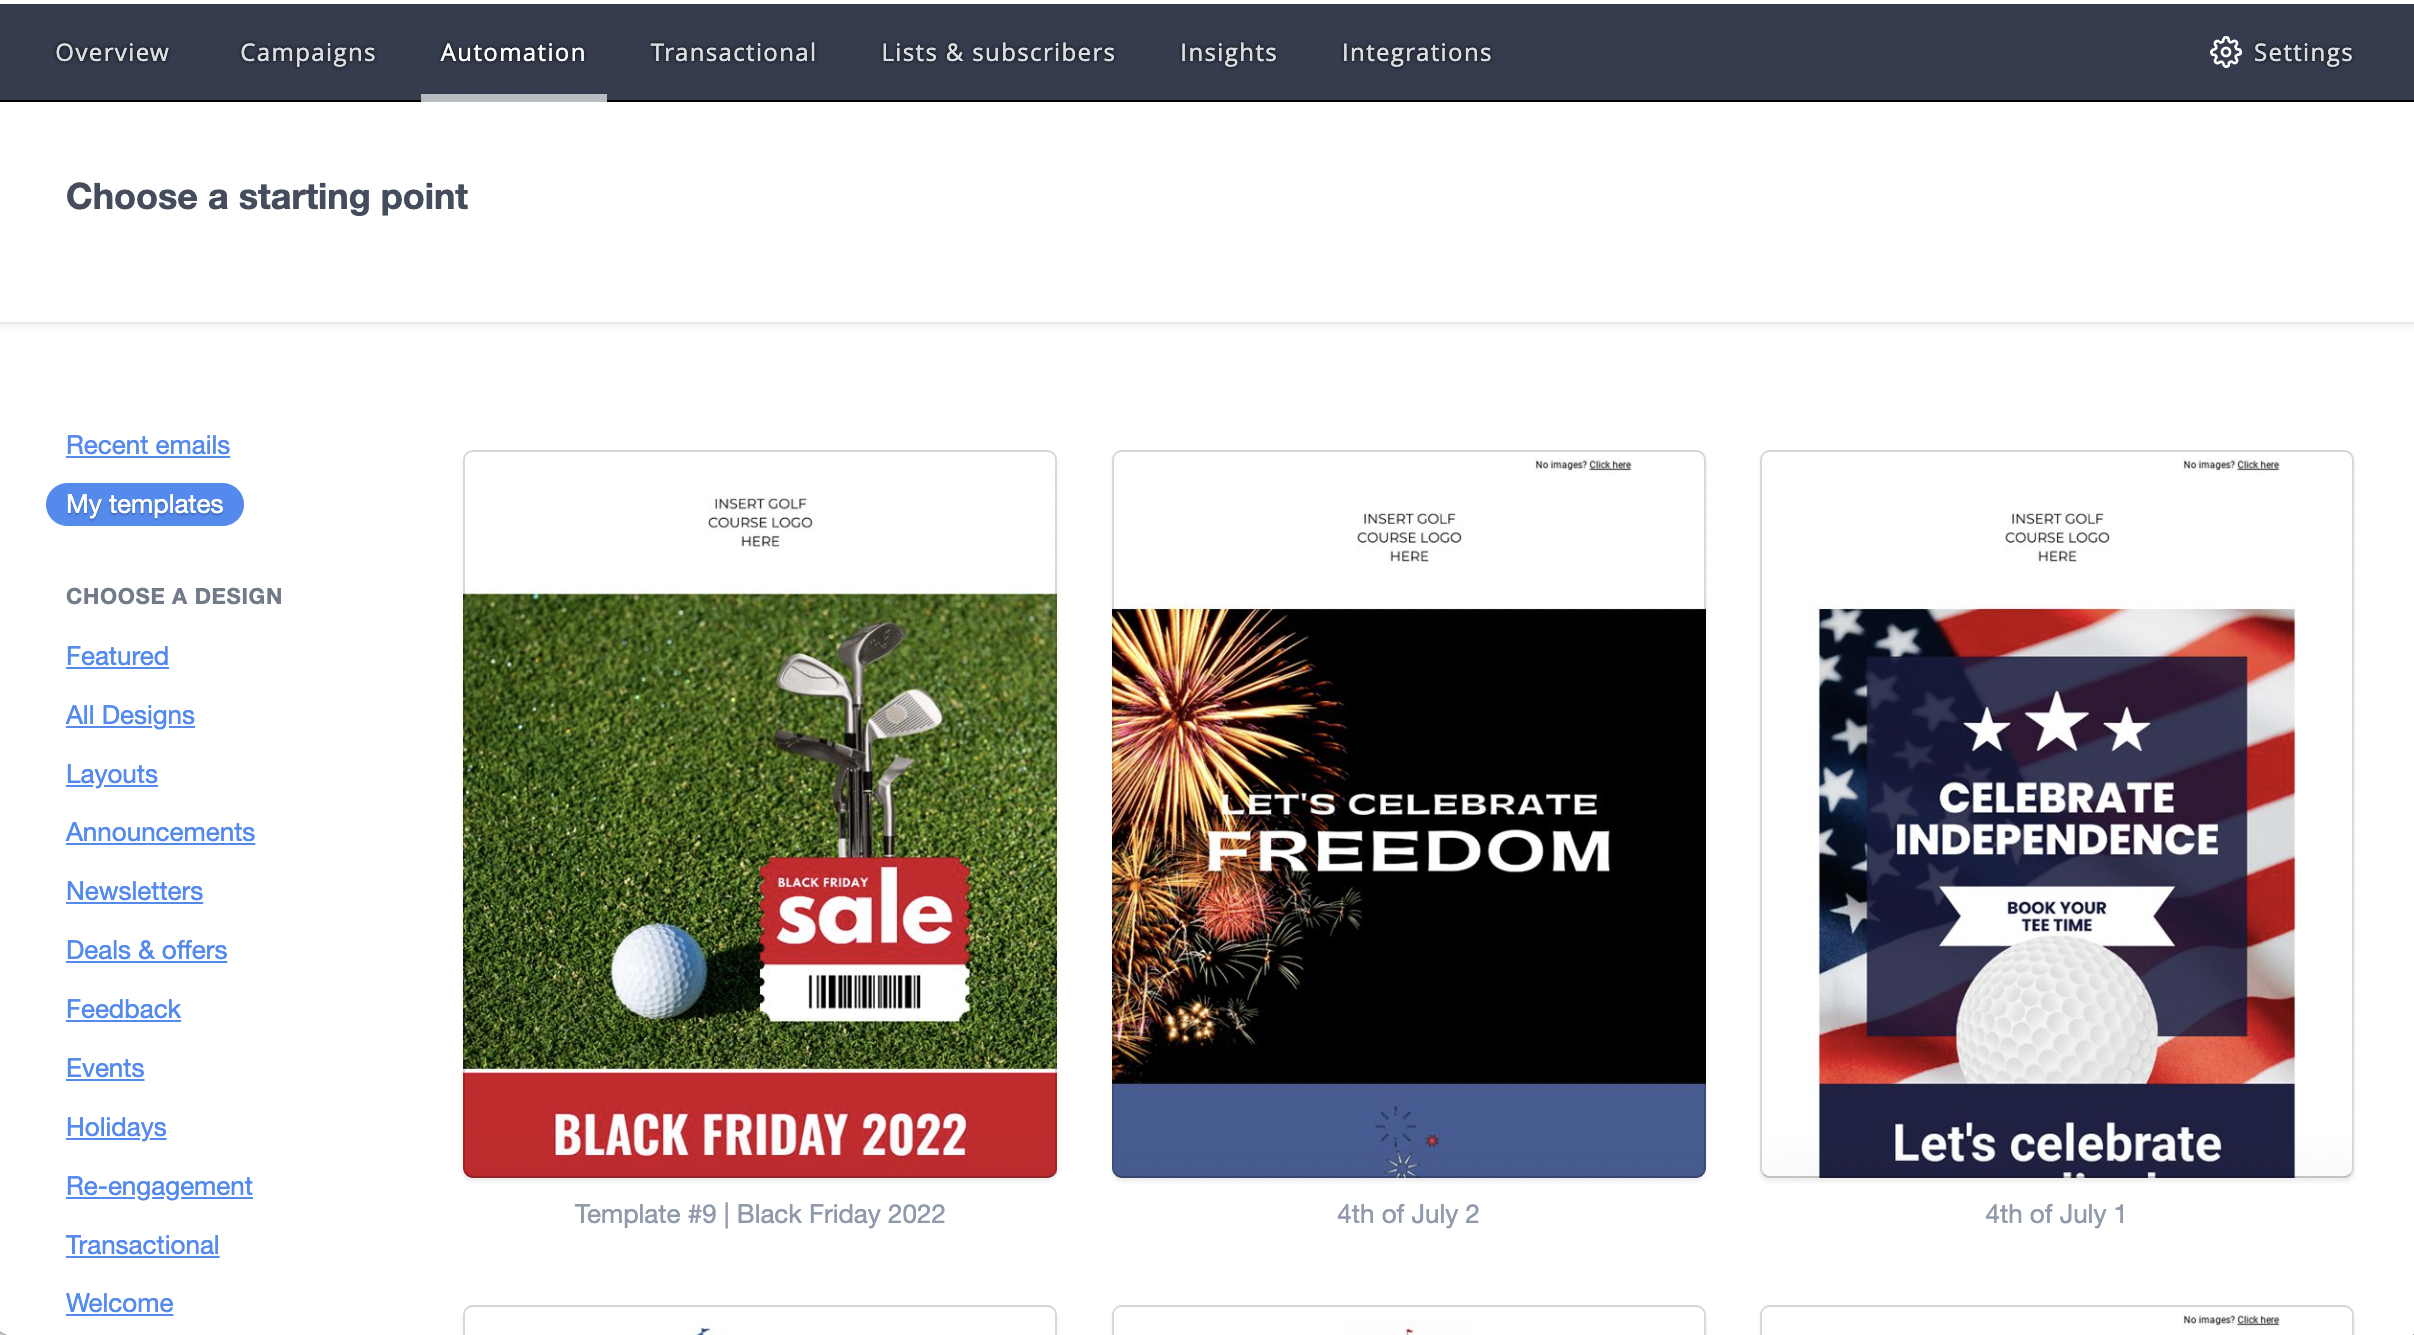
- Select a template and create your email content.
- After you have finalized and saved the email you'll see the overview page for your workflow. To activate it now, click Start workflow.
Send a sequence of emails
There is no limit to the number of emails you can add to a workflow. To set up a series of emails to send in sequential order, click Add a new email to this workflow.
Naming workflows, and emails within workflows
When you create a workflow you are prompted to name the workflow, and then name every email added to the workflow. These names are for use in your account only.
If your workflow only contains one email, you might decide to use the same name in both places. When you're creating a workflow series it helps to write unique, descriptive names for each email so you can see at a glance what each one is for.
If you have any questions, please do not hesitate to reach out to Teesnap Support by emailing us at support@teesnap.com or calling 844-458-1032.