Editing and Managing Bills
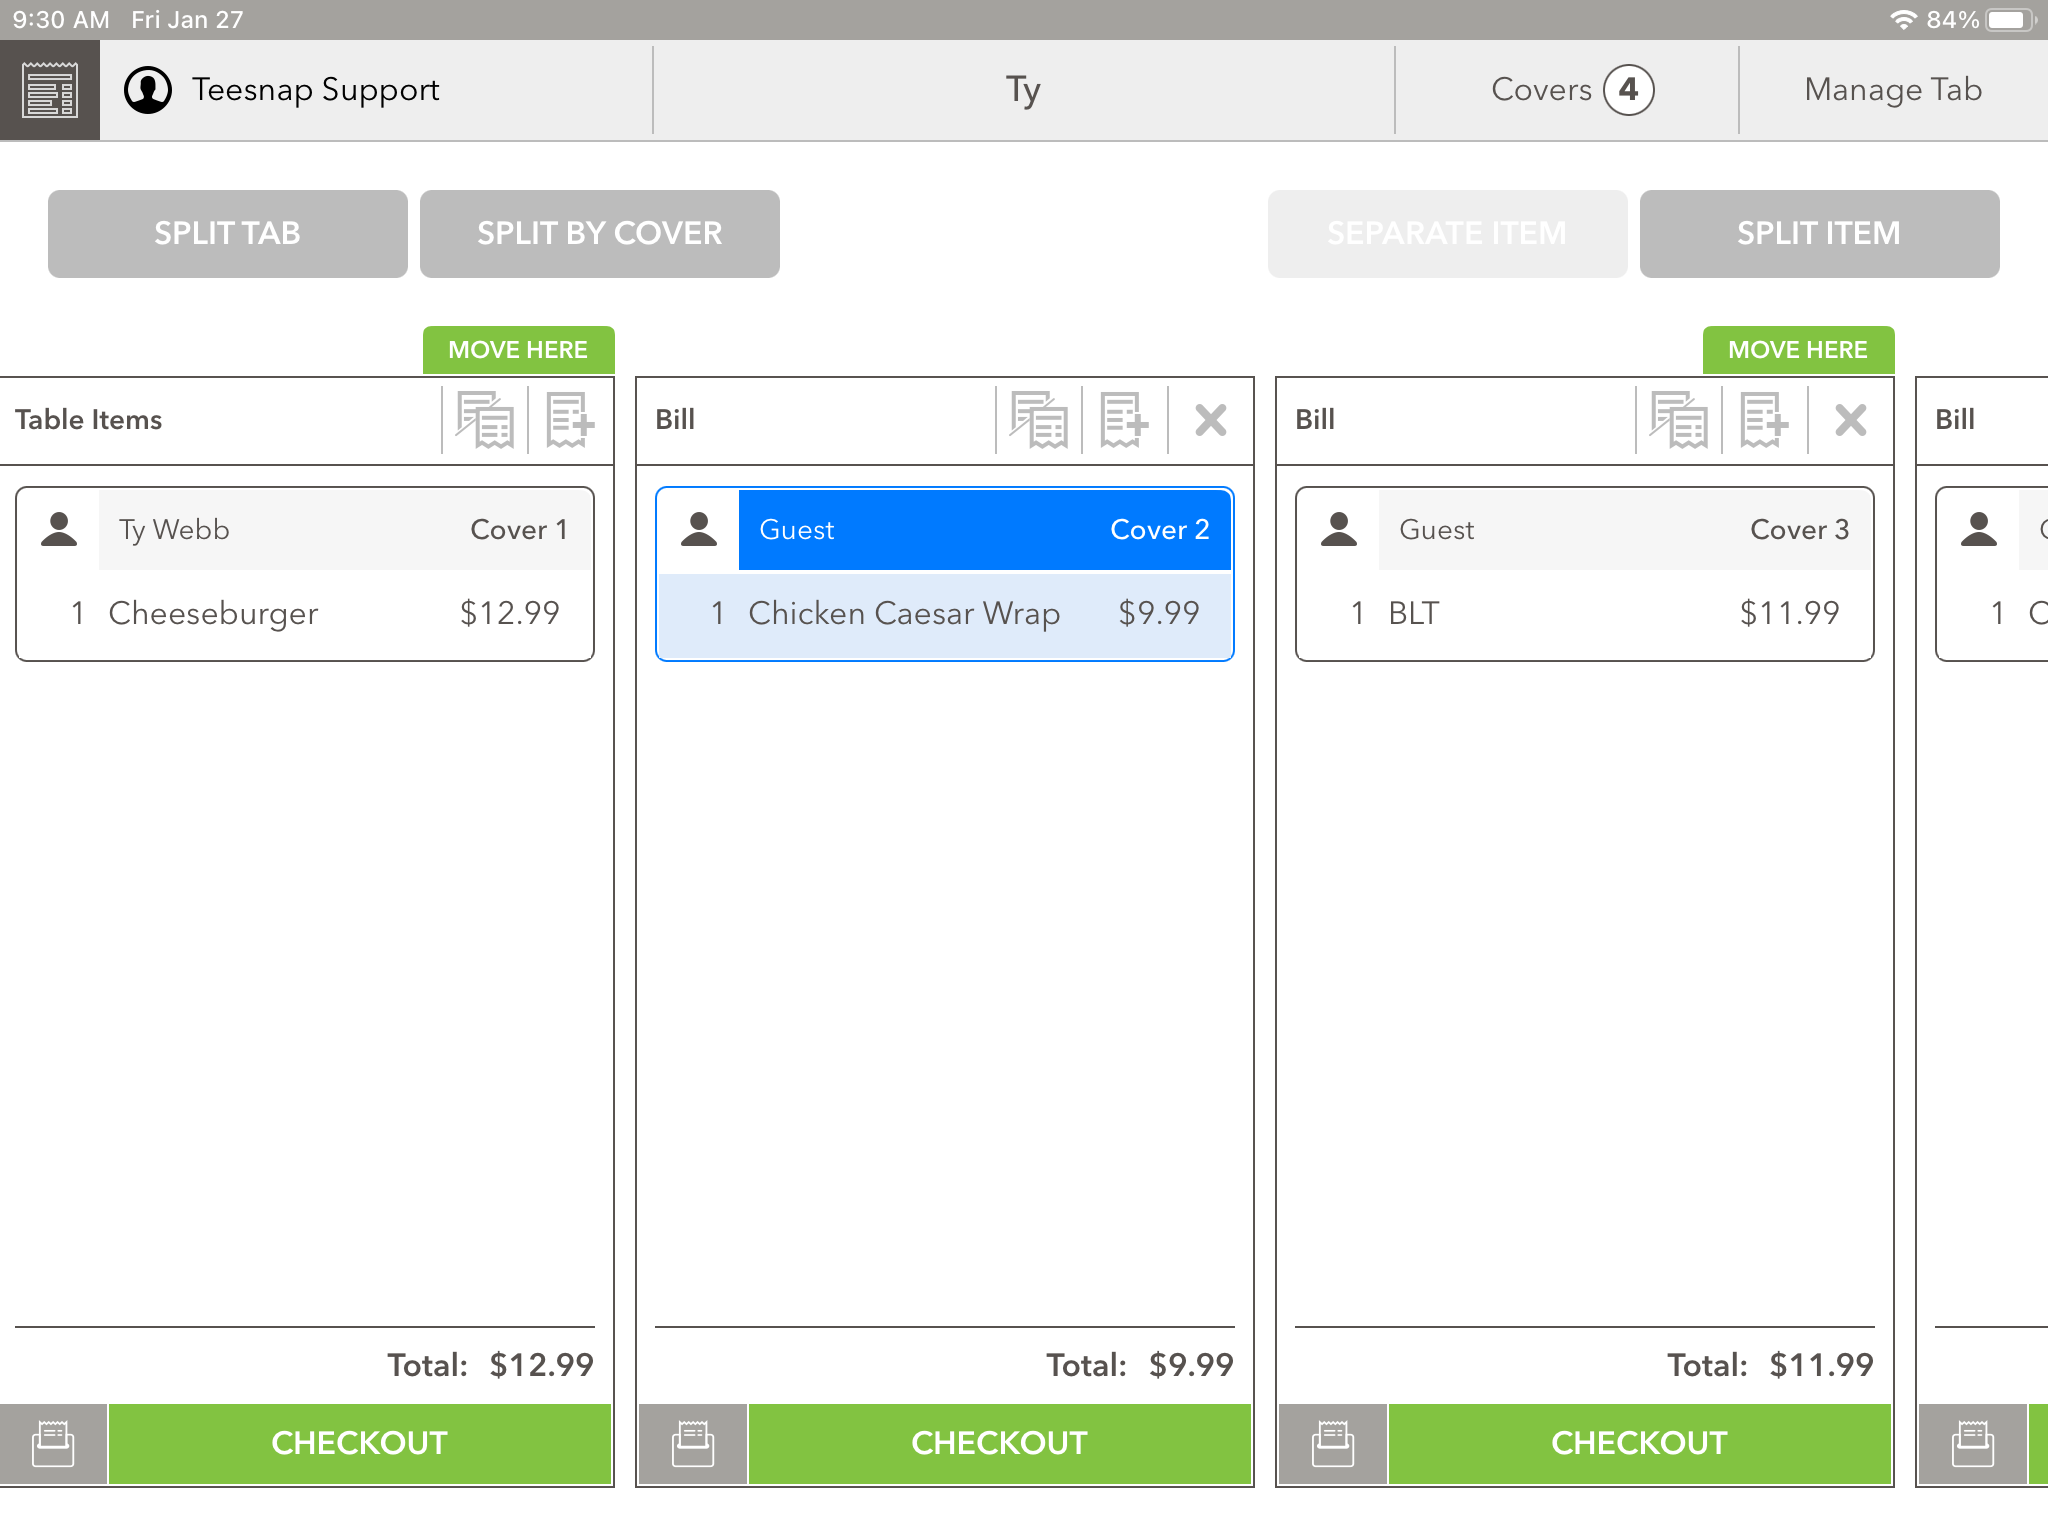
The Manage Bills screen allows the user to view and organize each bill prior to checkout. The Manage Bills screen includes functionality to evenly split the tab by a selected amount of people, by covers, and to split products between covers.
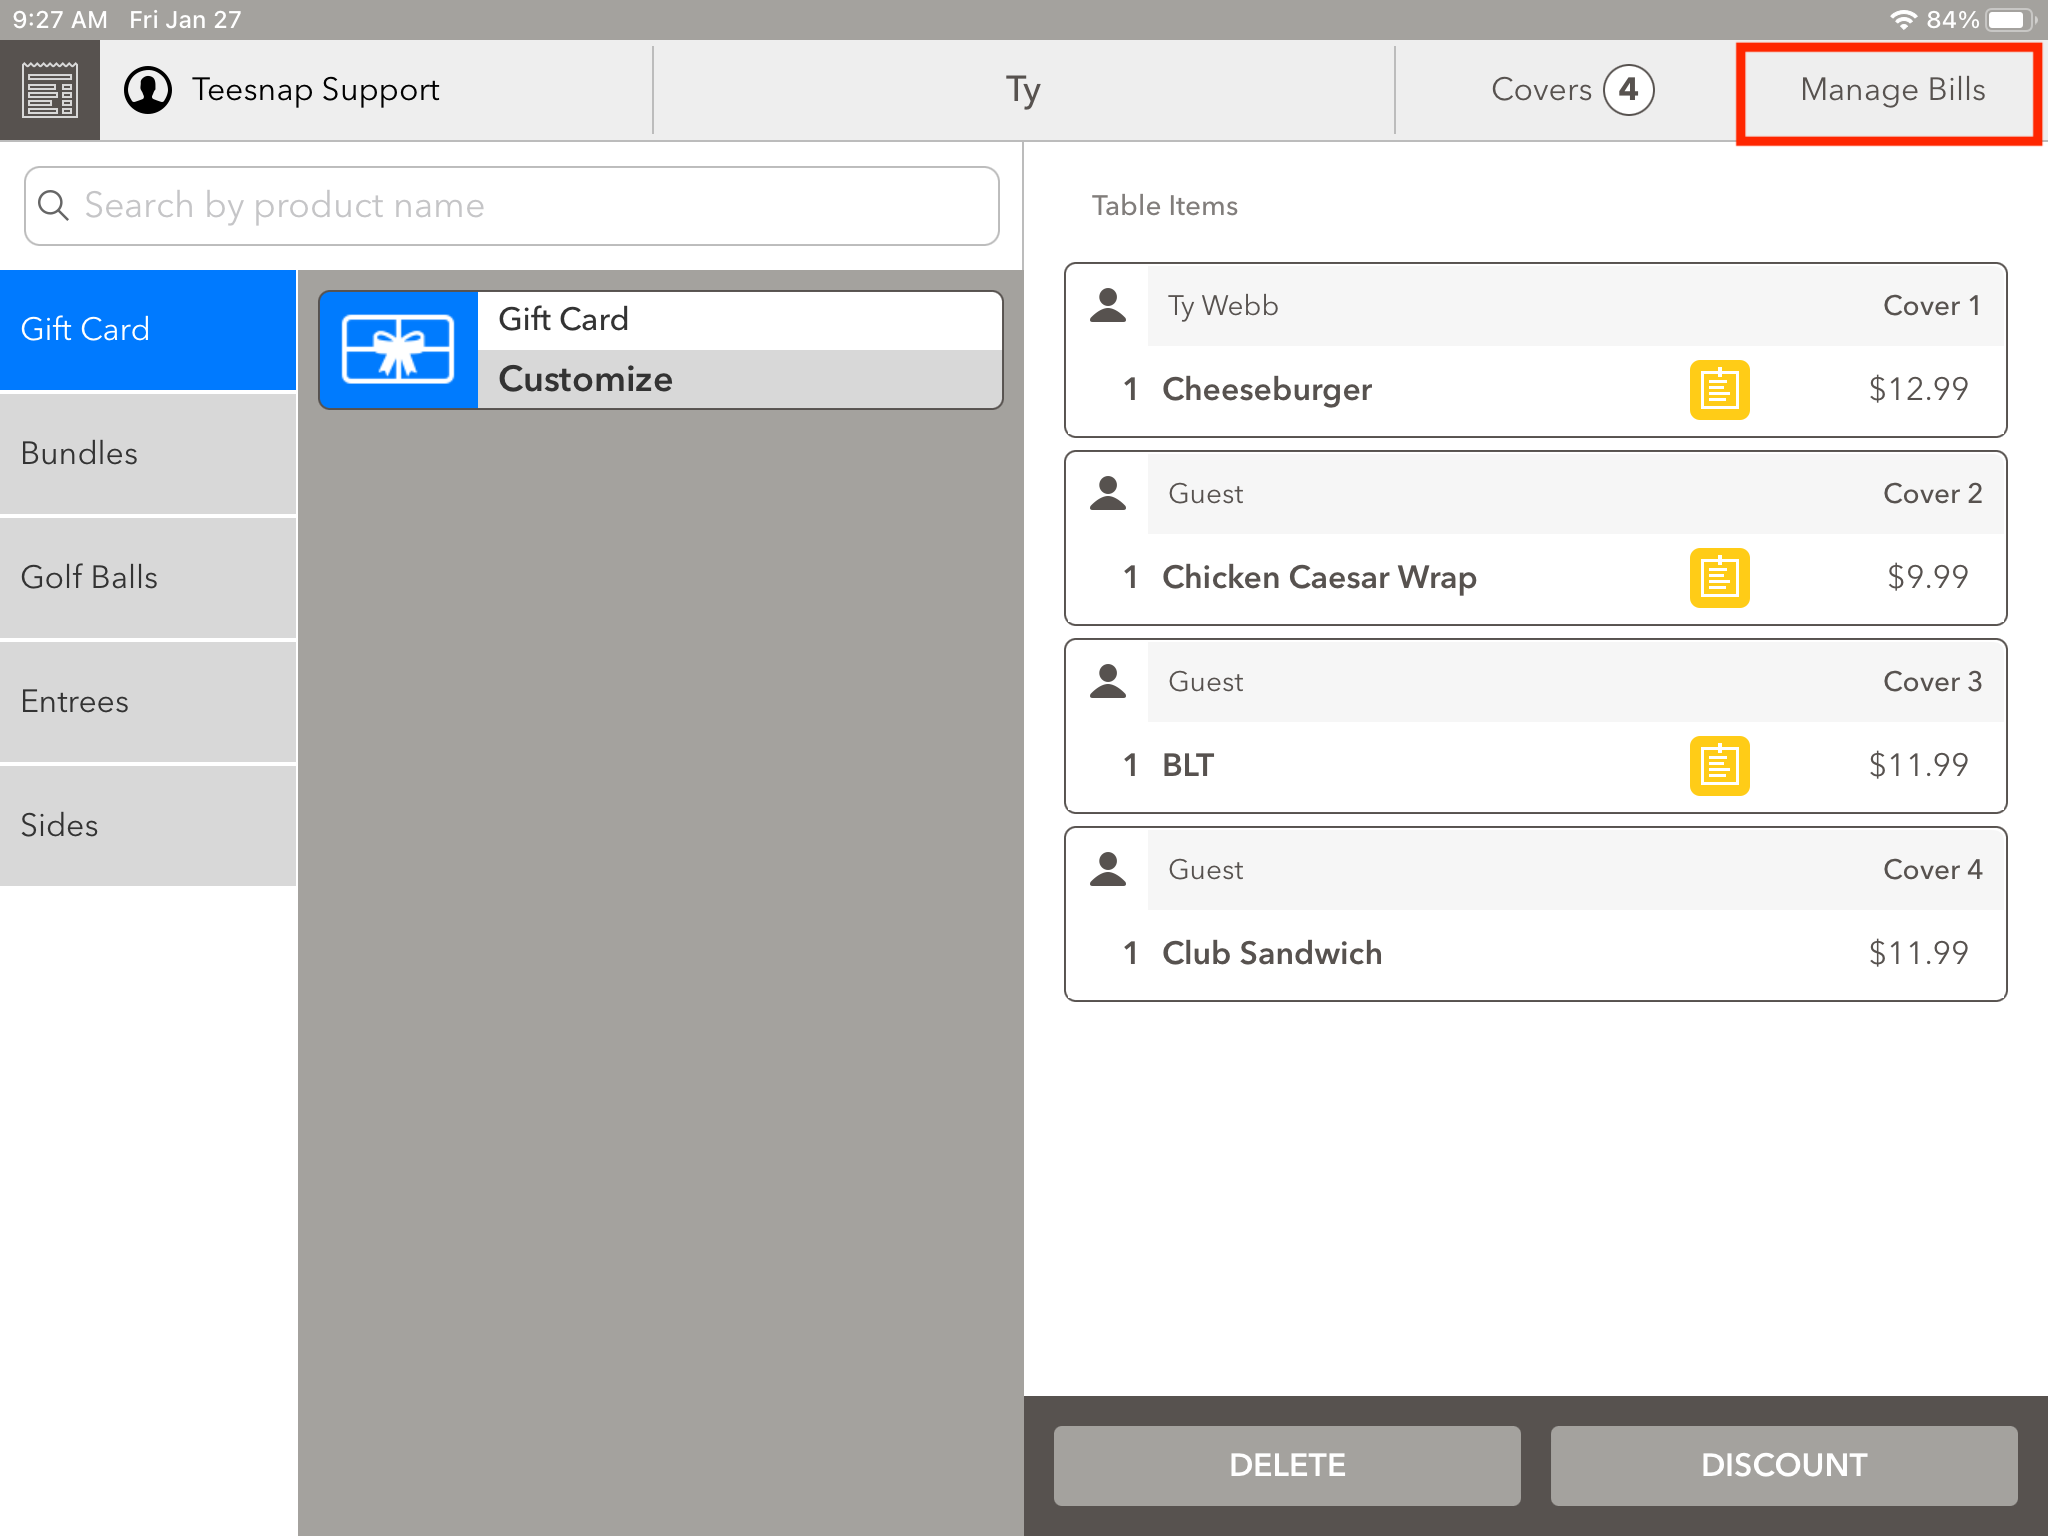
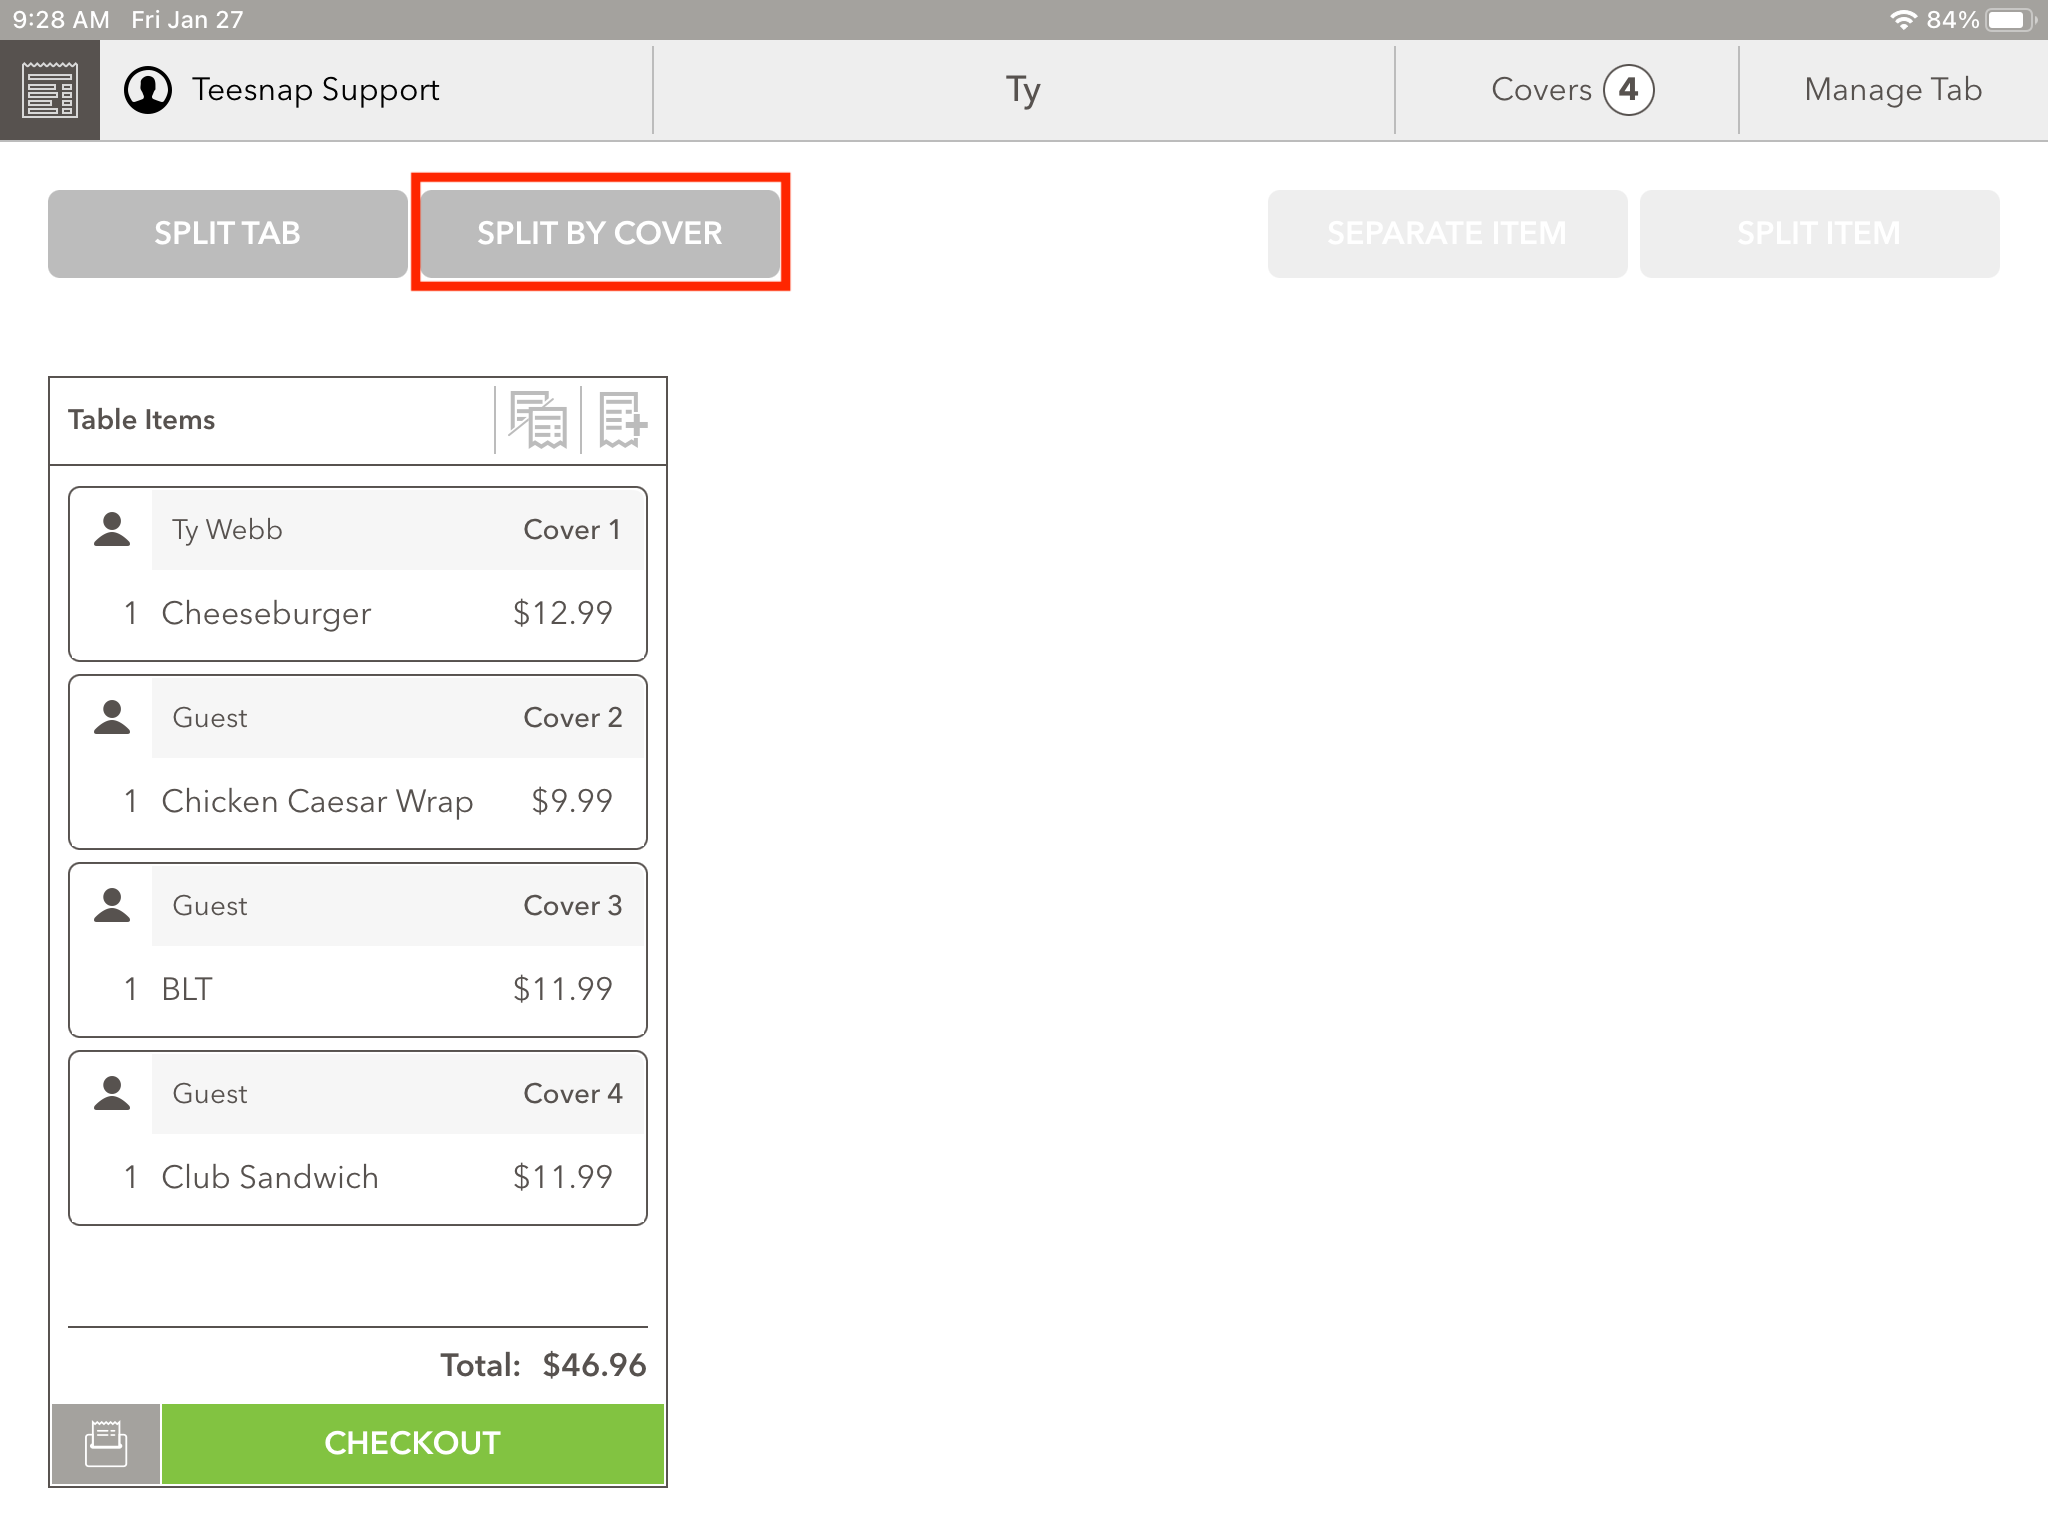
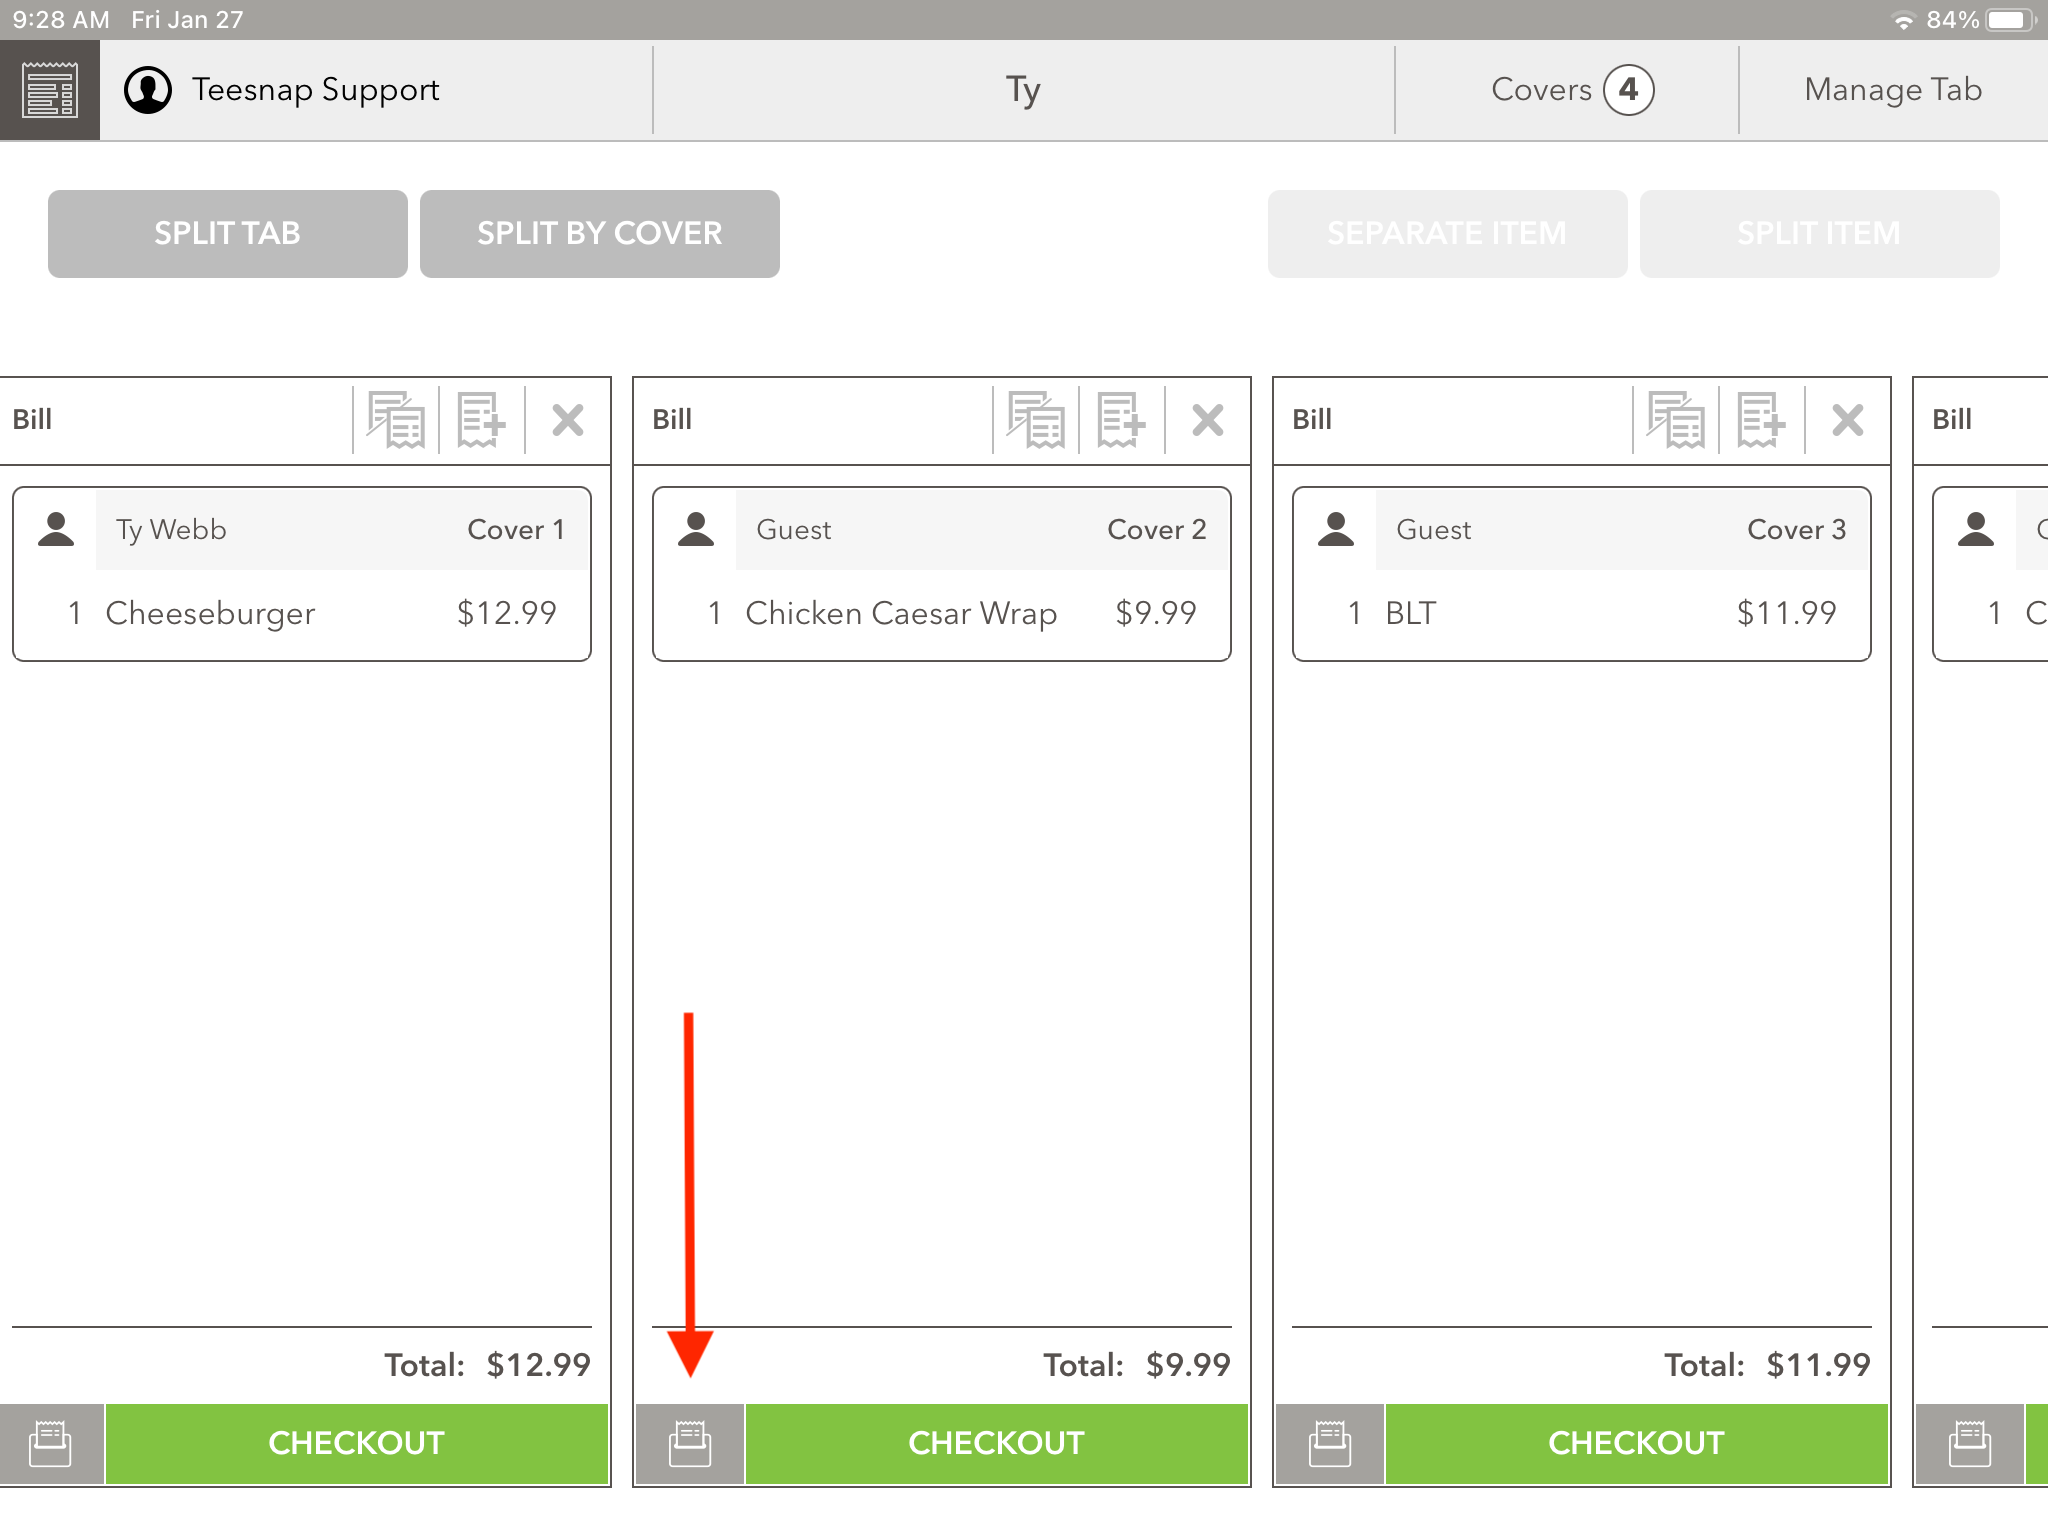
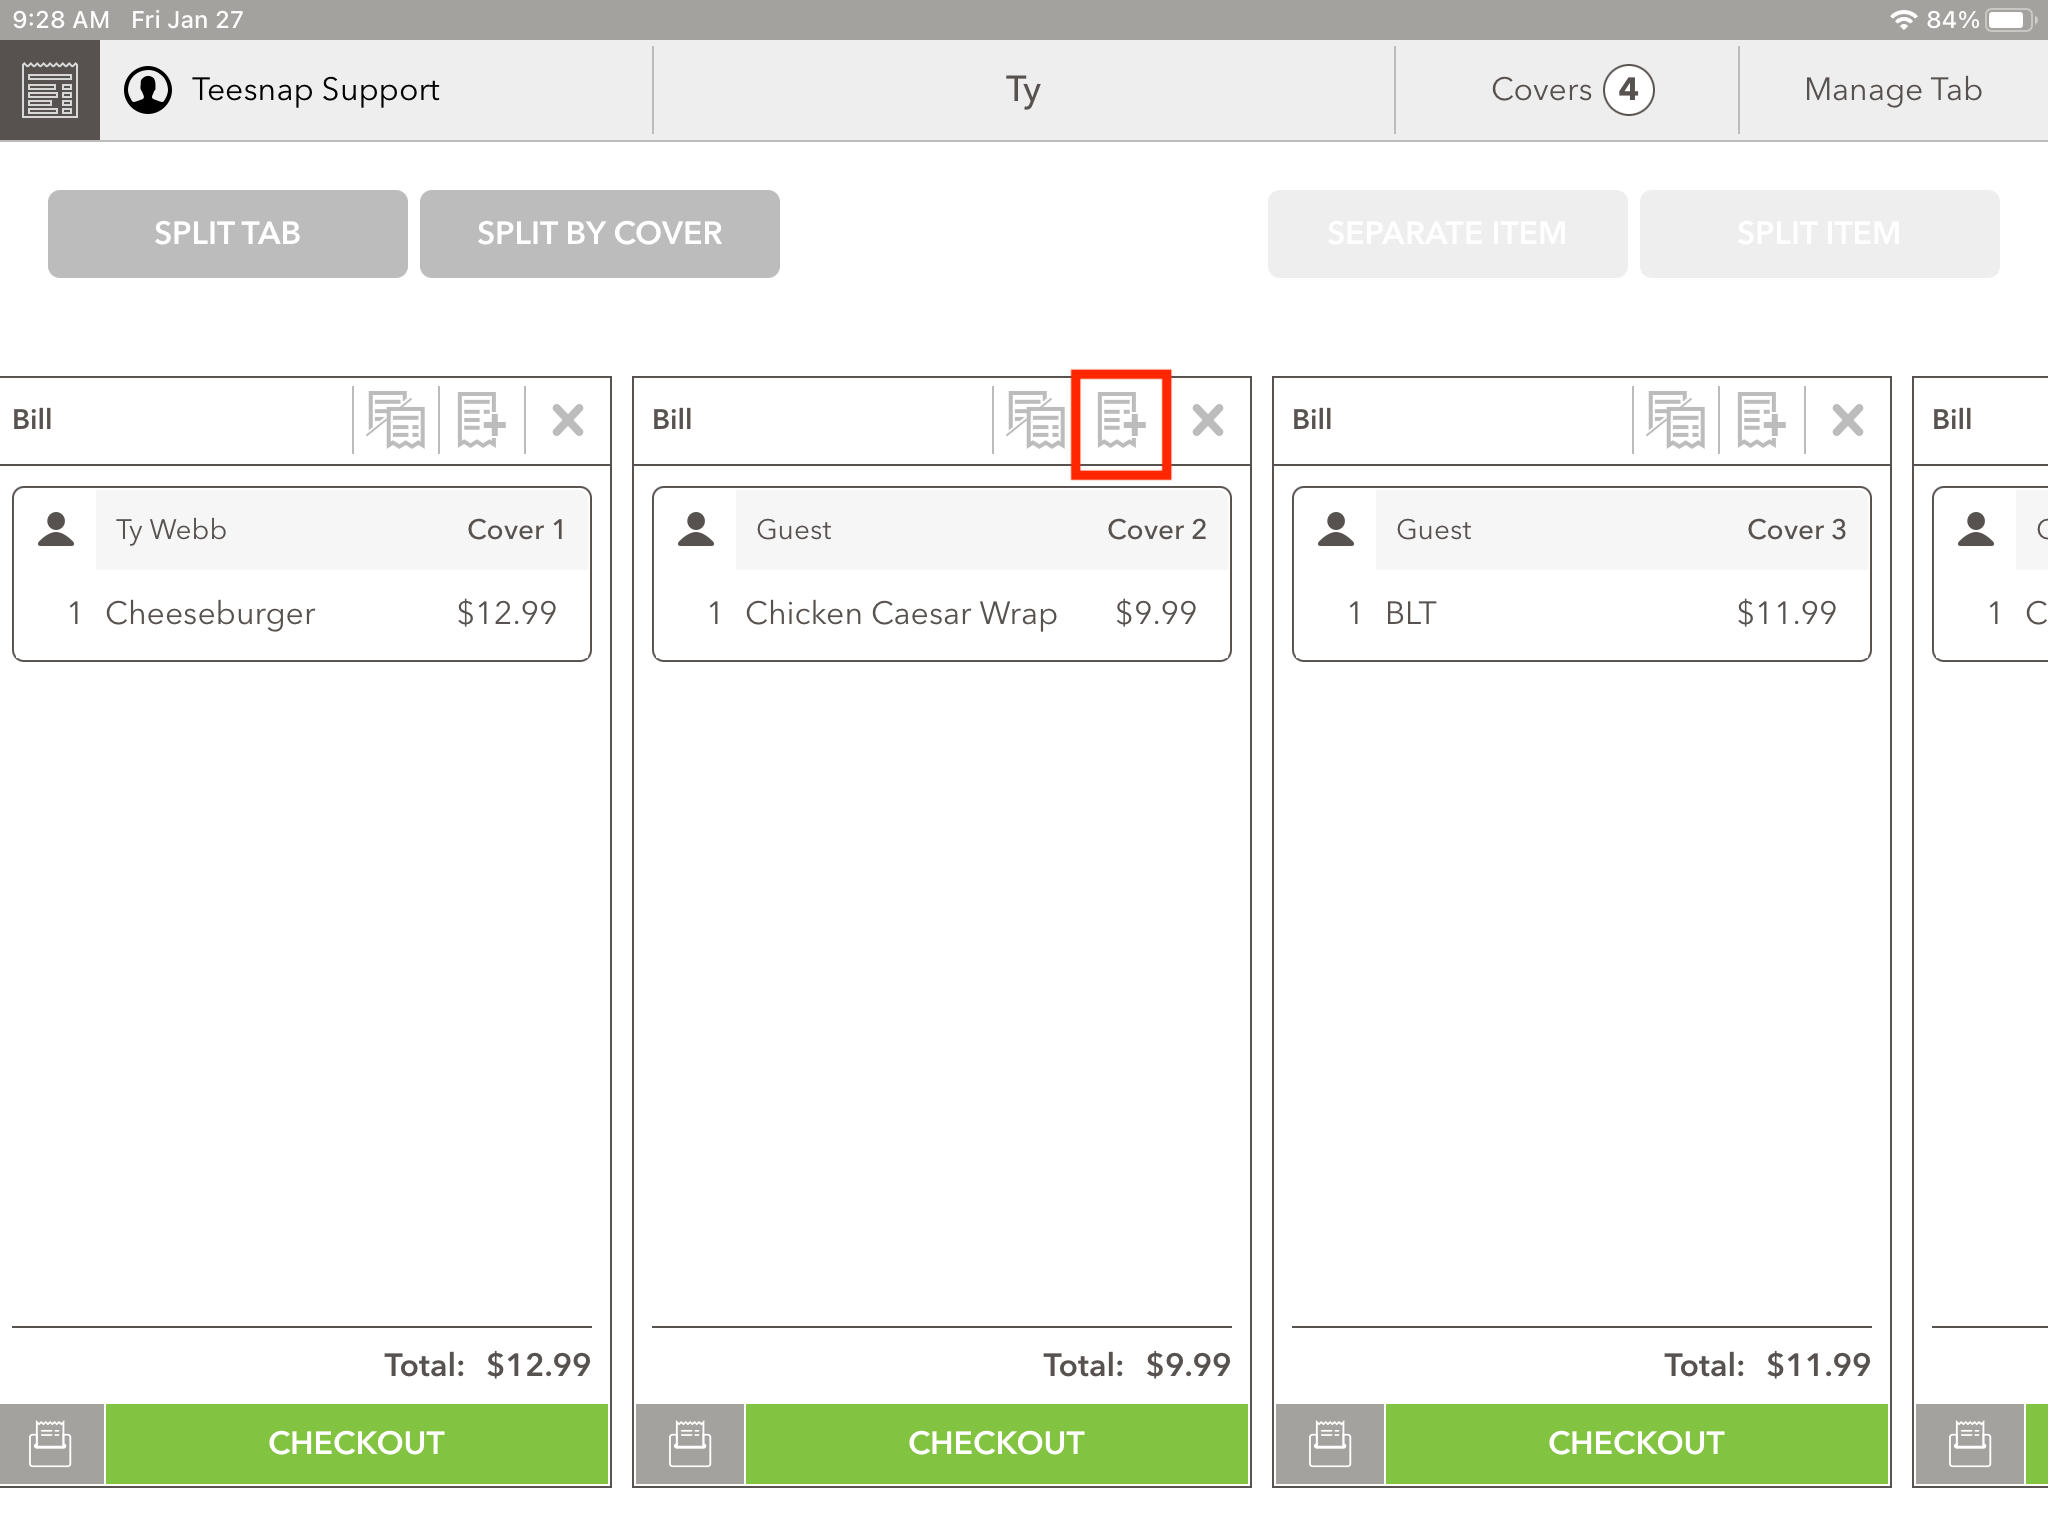
In this example, we have split the tab by the number of covers, which gives us 4 separate bills.
- Tapping on the gray printer icon next to Checkout will allow you to print out a bill to present to the customer at the table. It will also allow the printing of a credit card receipt with tip and signature line.
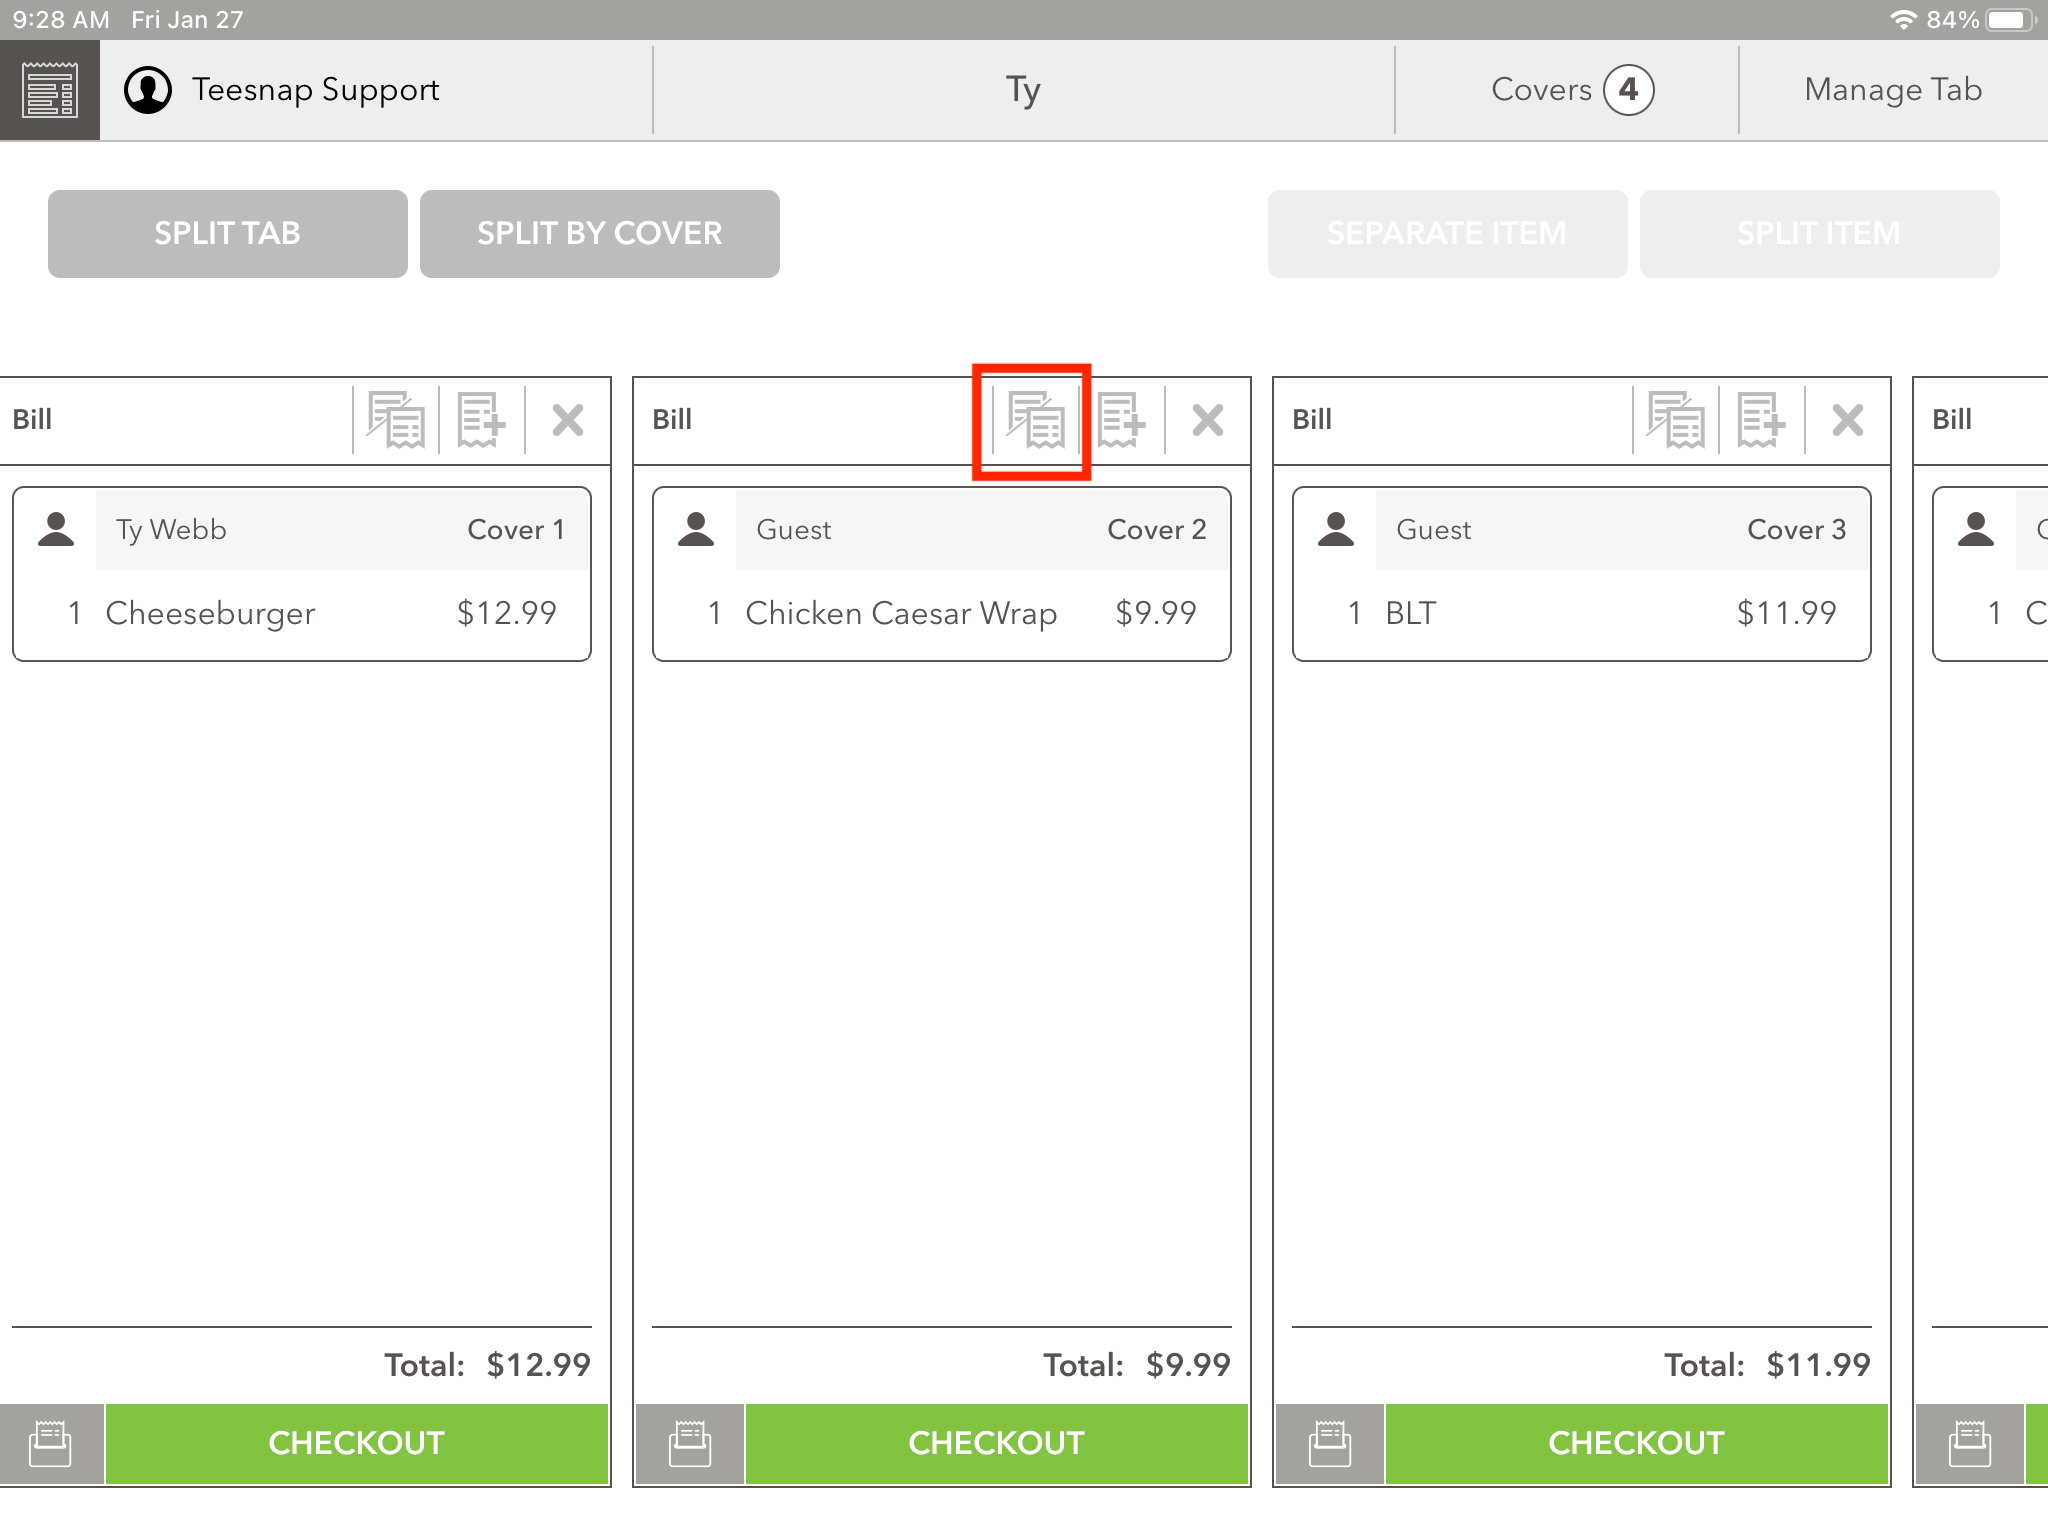
- Tapping on button #1 will allow you to split the bill between different people.
- Tapping on button #2 will allow you to add a bill to the tab.
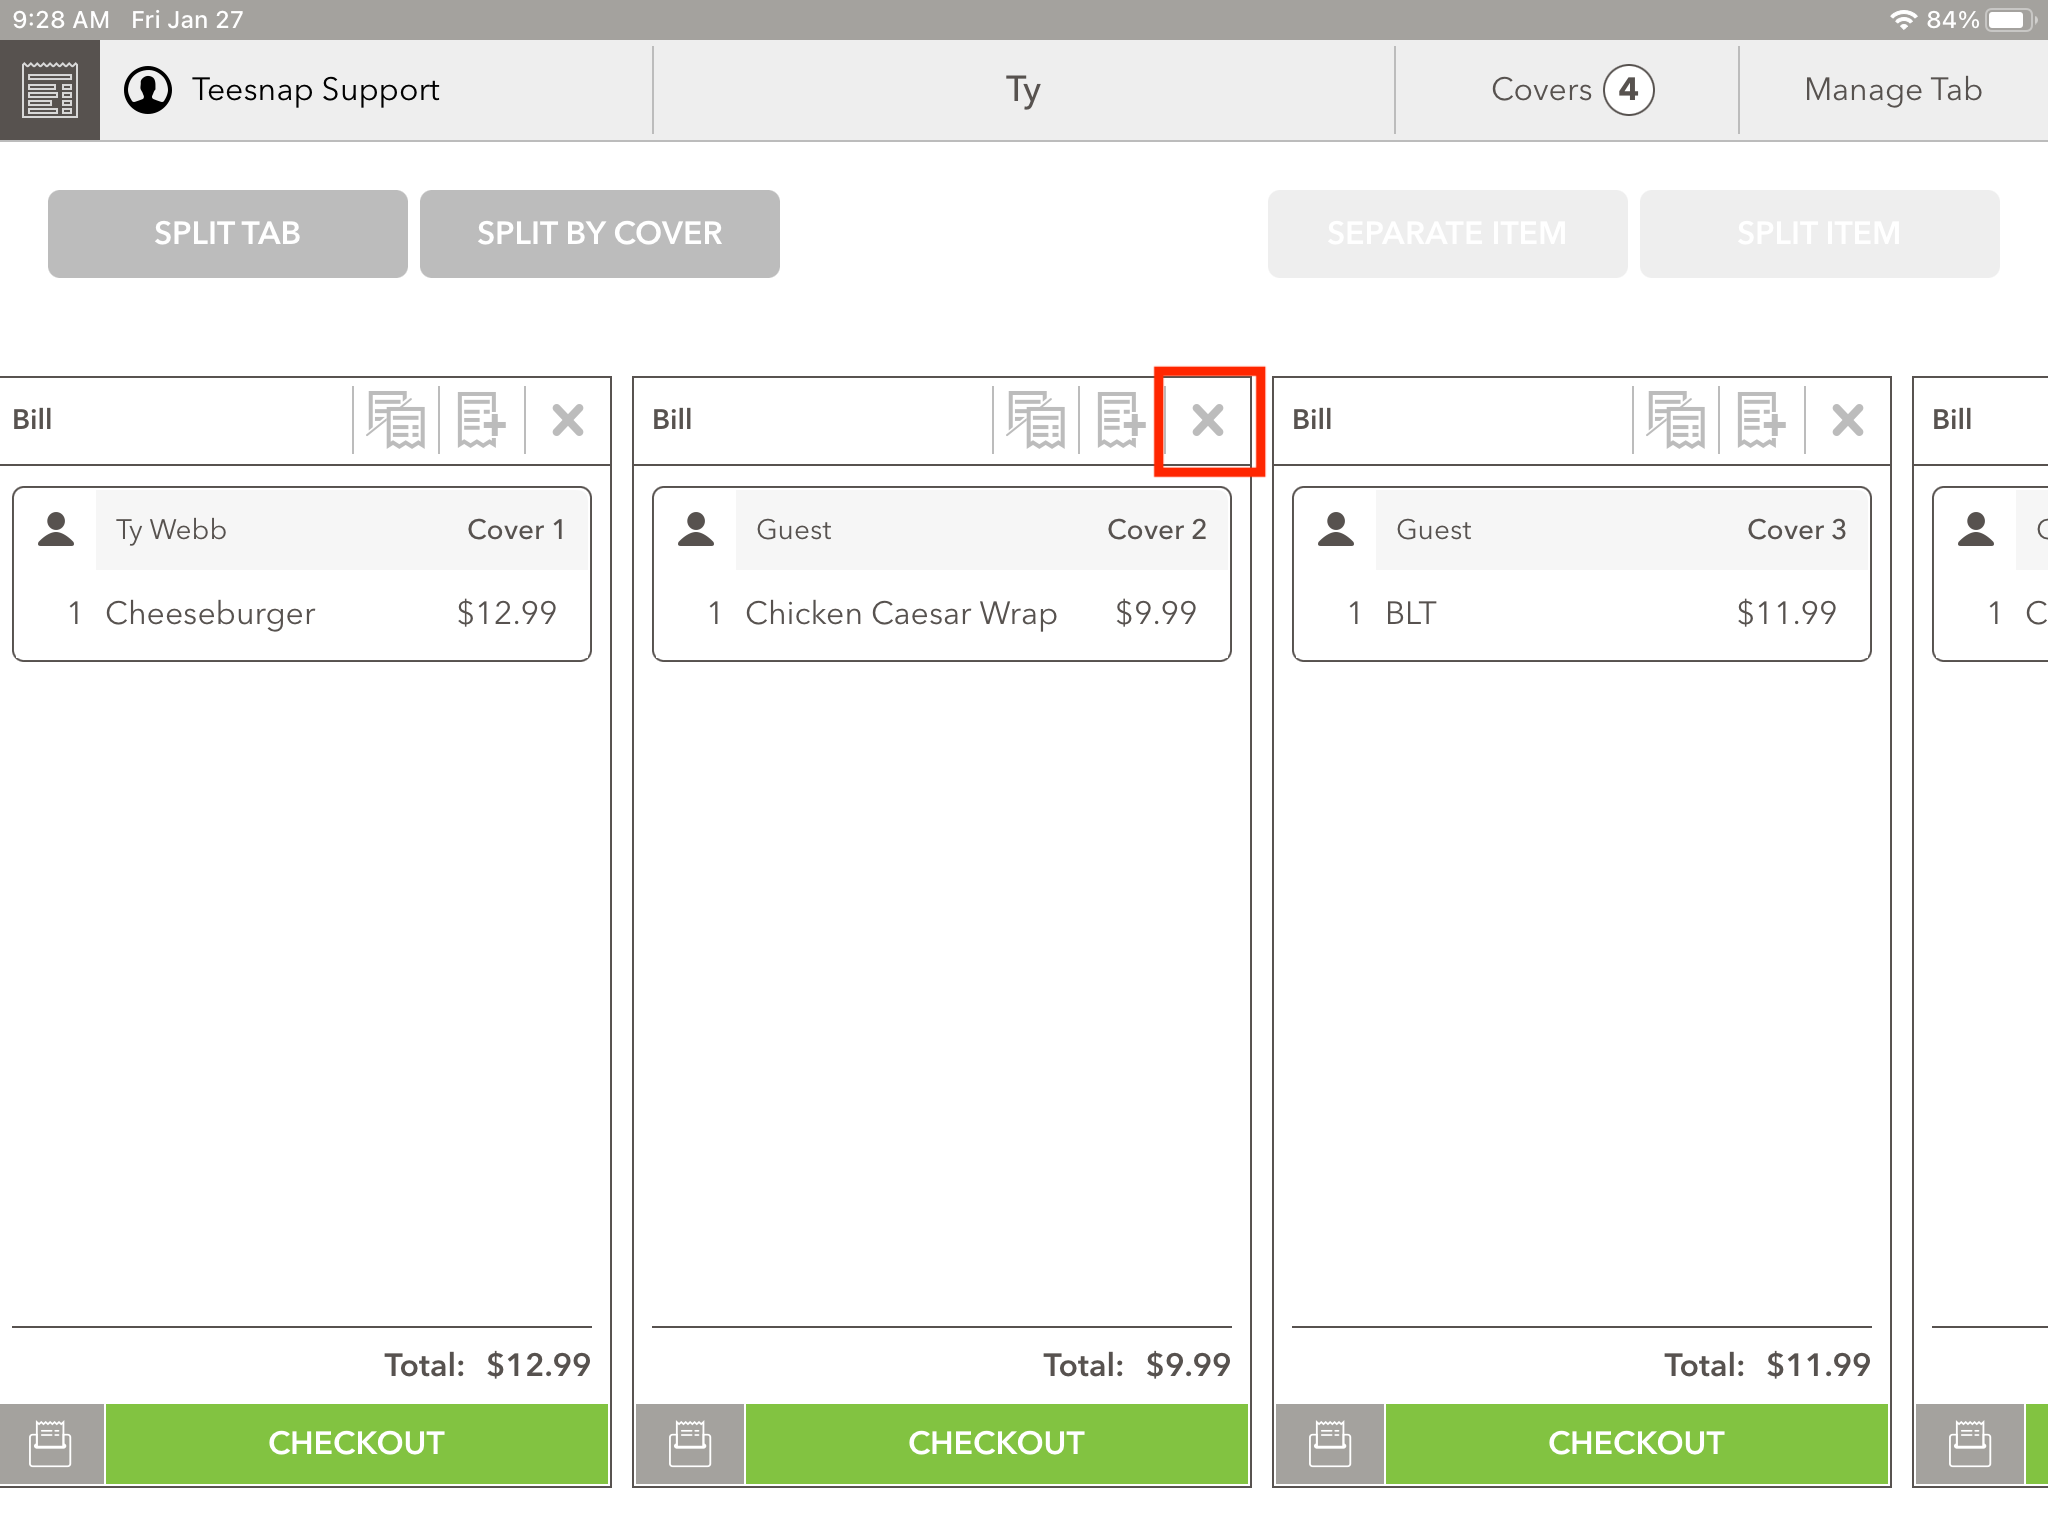
- Tapping on the X will remove that bill and move any associated products to table items.
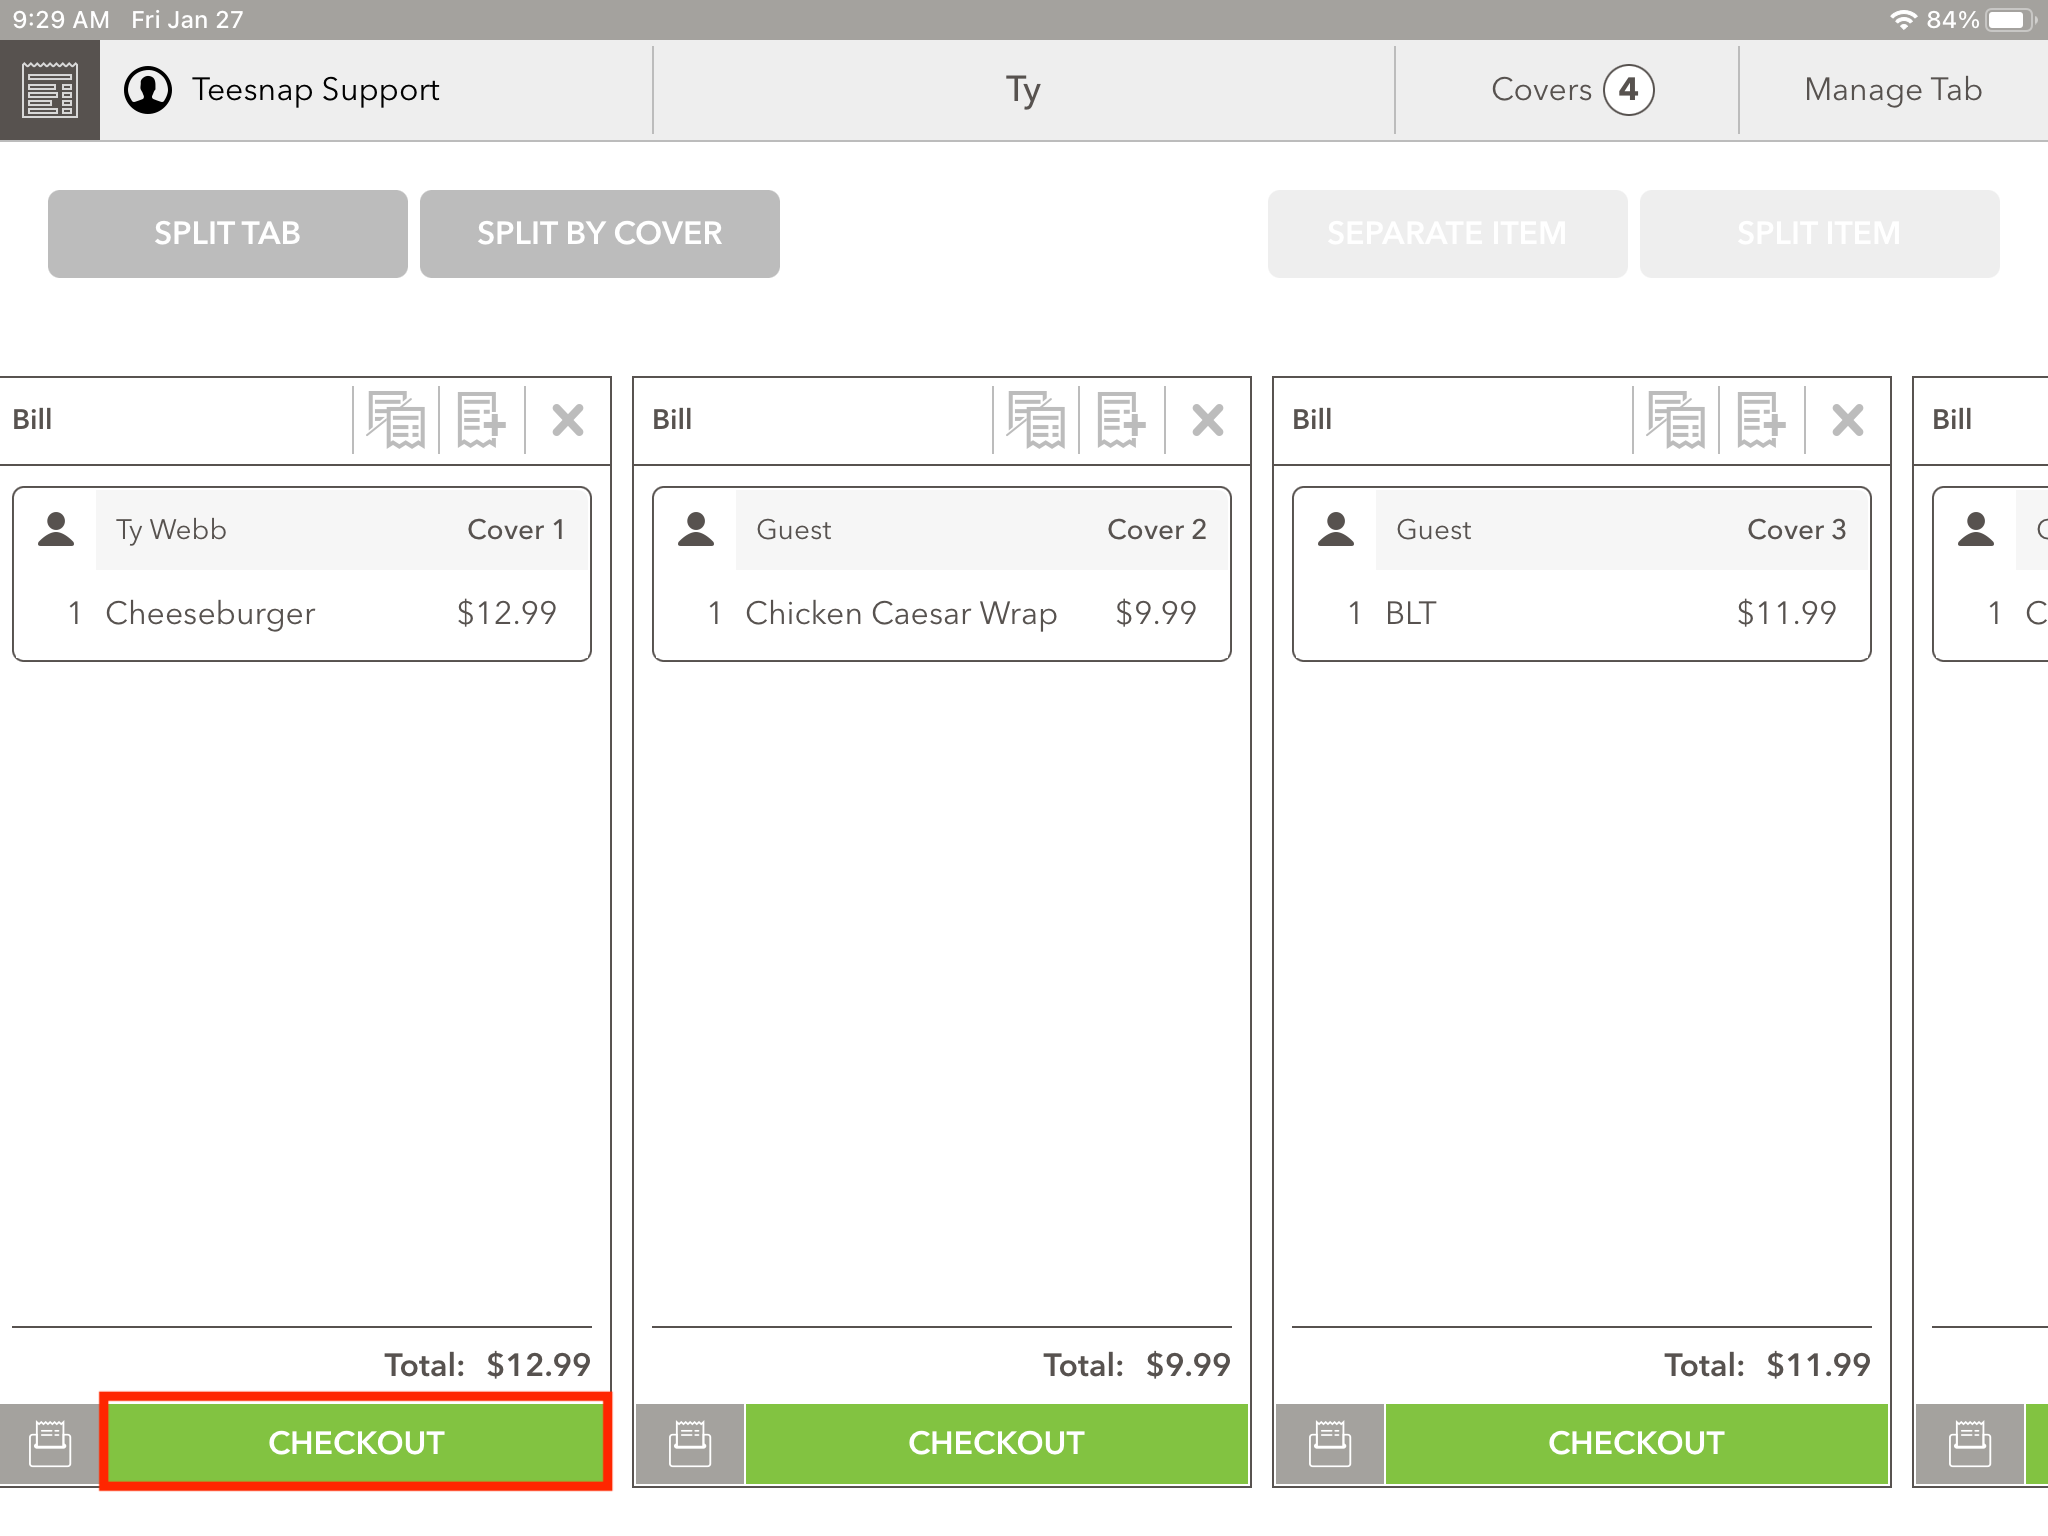
When a customer is ready to checkout, simply tap on the Checkout button to process the transaction.
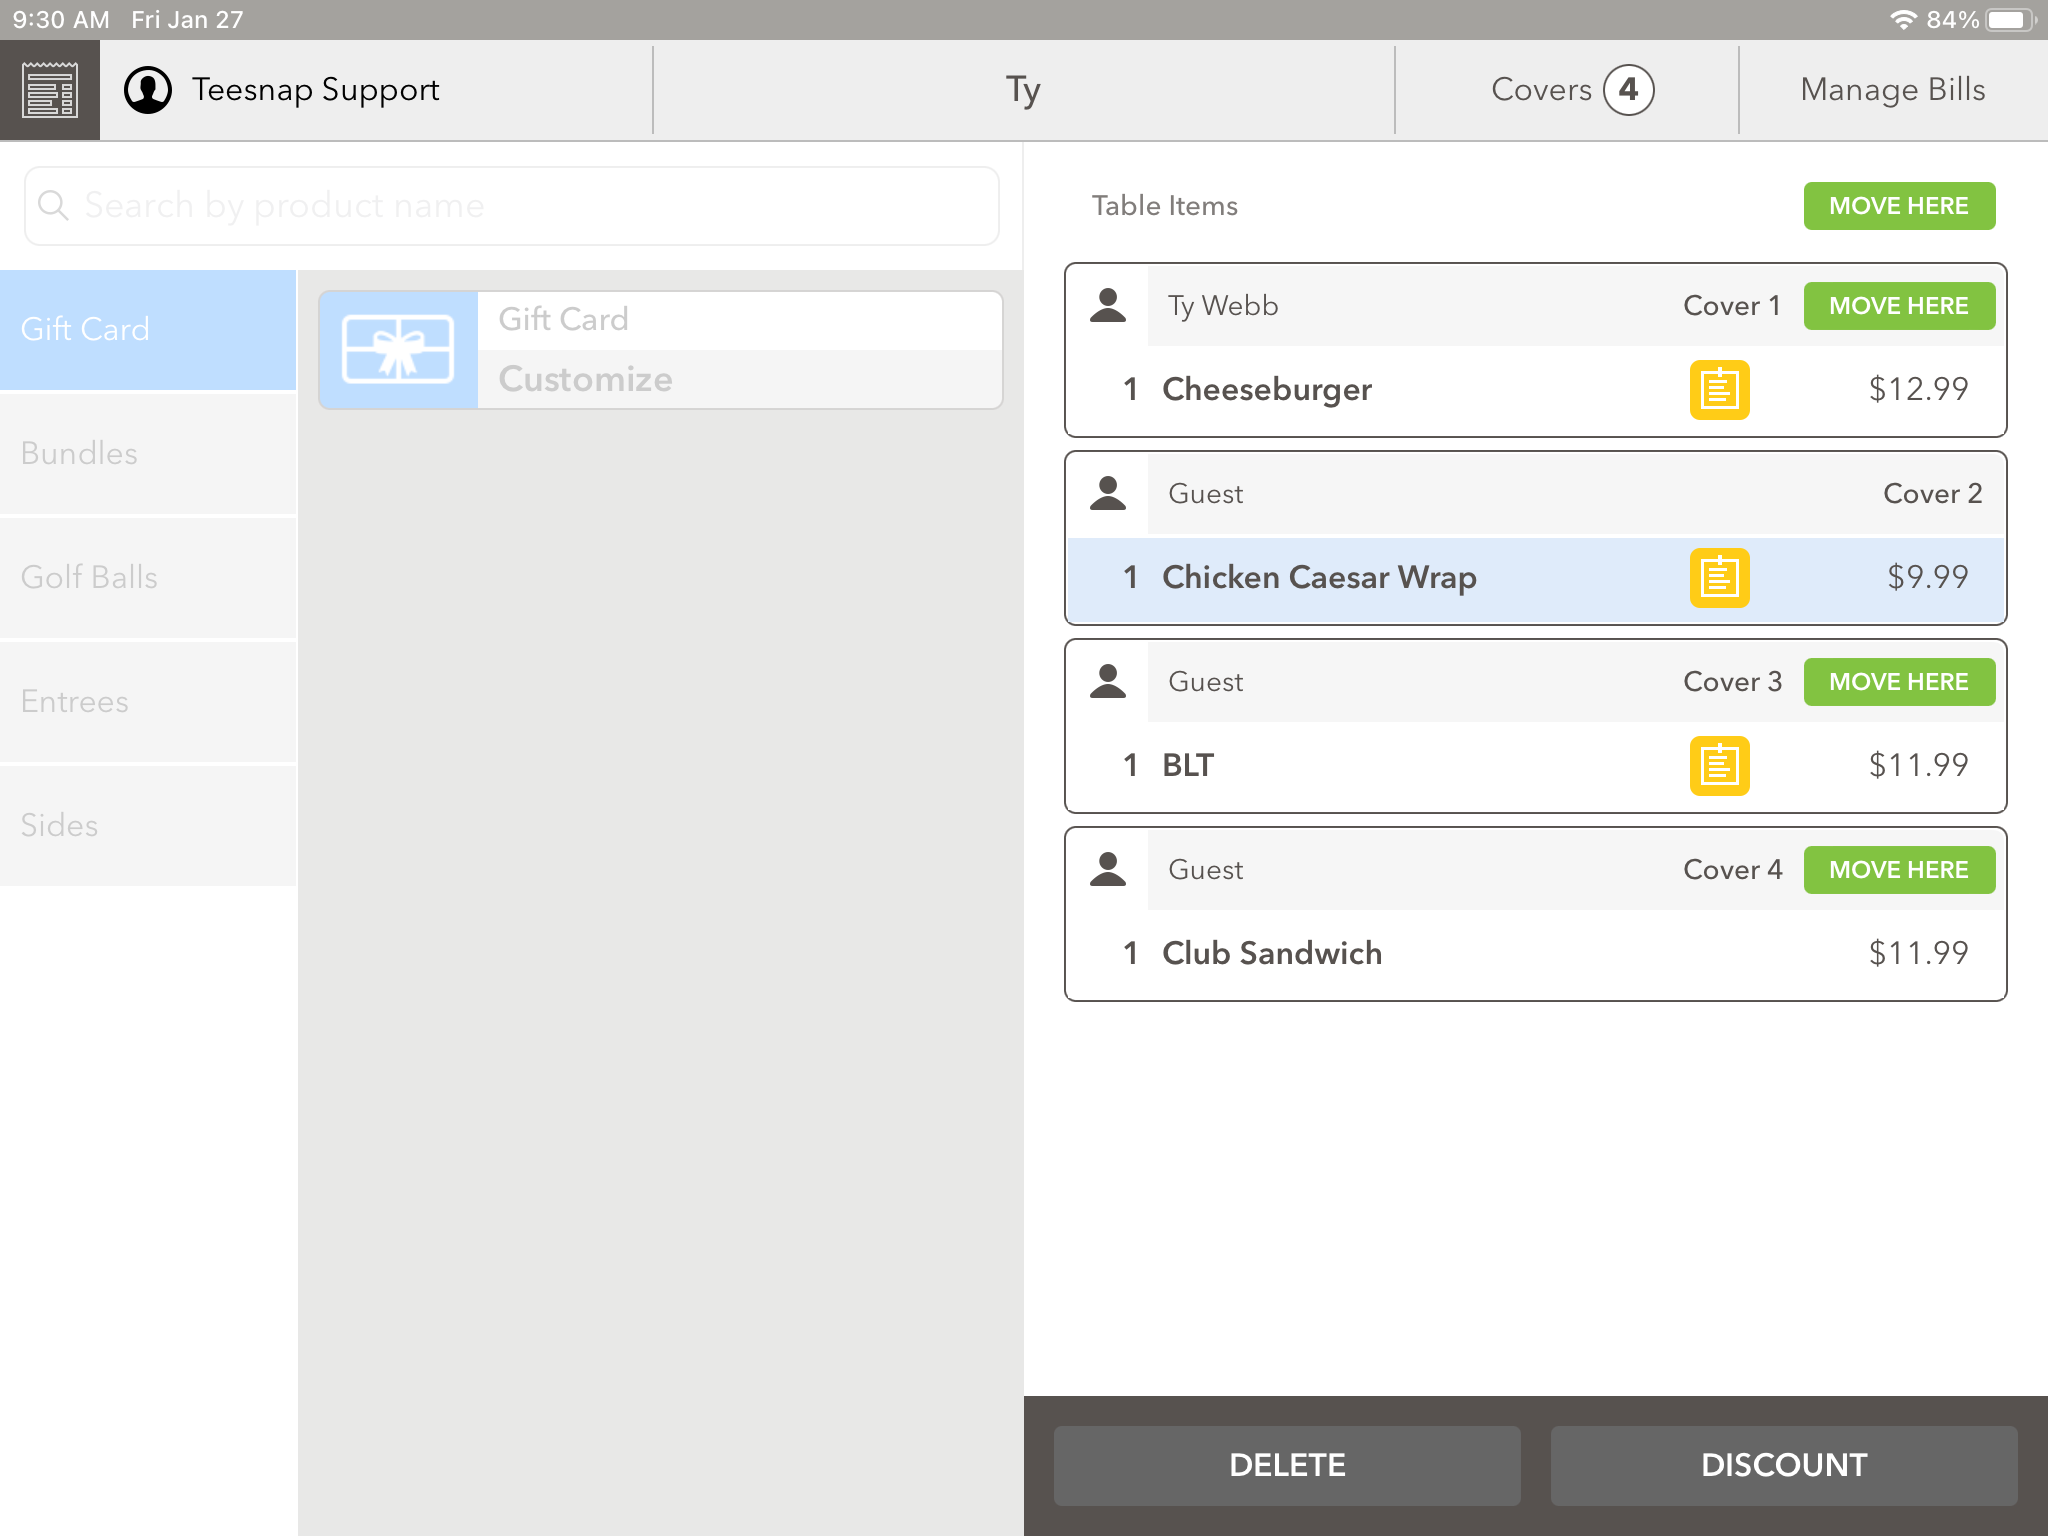
You also have the ability to move products between covers on both the Manage Tabs and Manage Bills screens. To move items, tap and hold on the product until the green Move Here button appears. Tap on the Move Here button to move that product to the selected cover.
NEW: we now also have the ability to pre-authorize a credit card from the Manage Bills screen. That article can be found here.
.png?width=240&height=55&name=Untitled%20design%20(86).png)