This article describes how to add products to a display category so they can be located and added to sales in the Shopping Cart.
There are two different ways to attach a product to a display category.
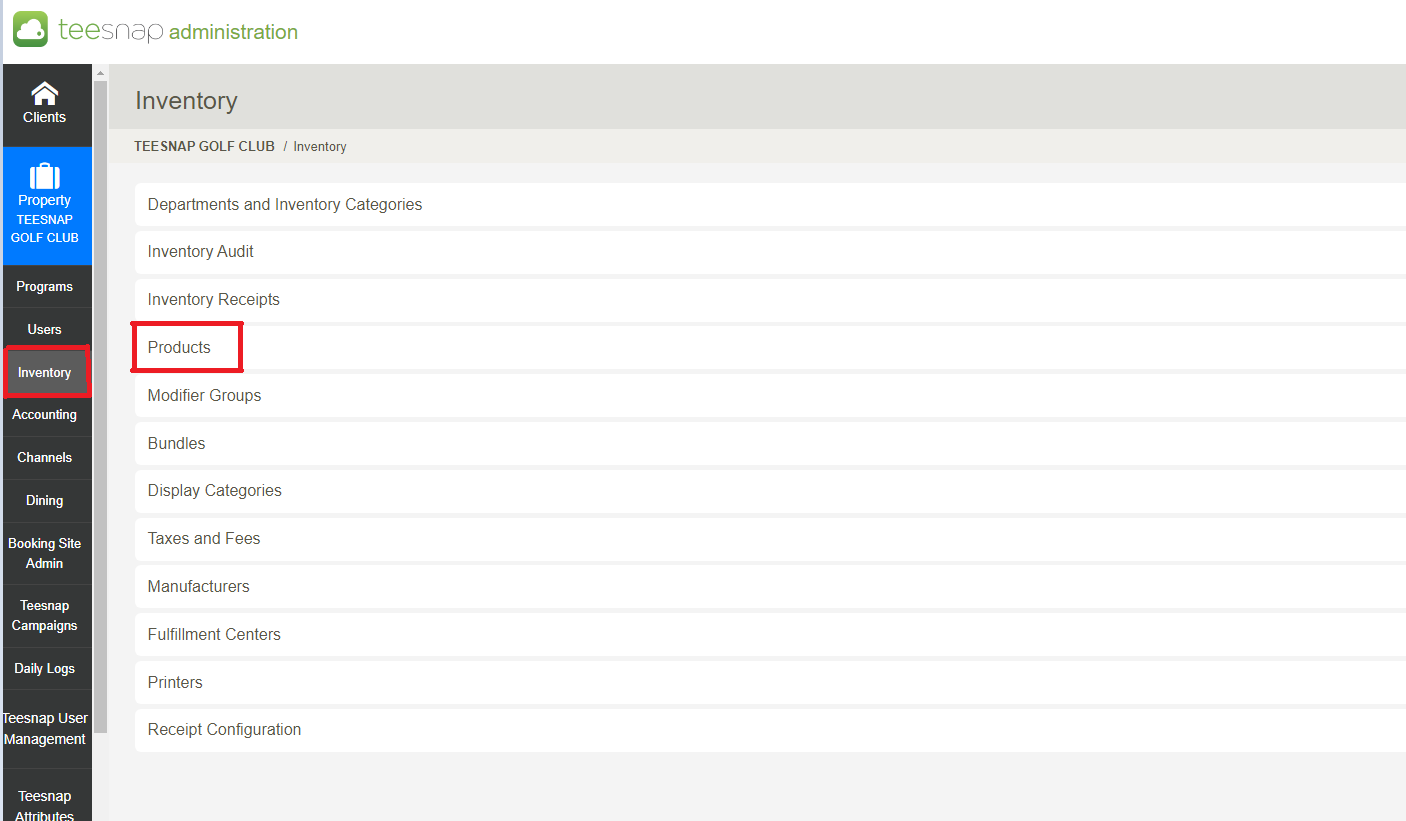
METHOD #1: Edit the product itself. To do this, log into the Teesnap Admin Portal at admin.teesnap .com. Select Inventory then Products
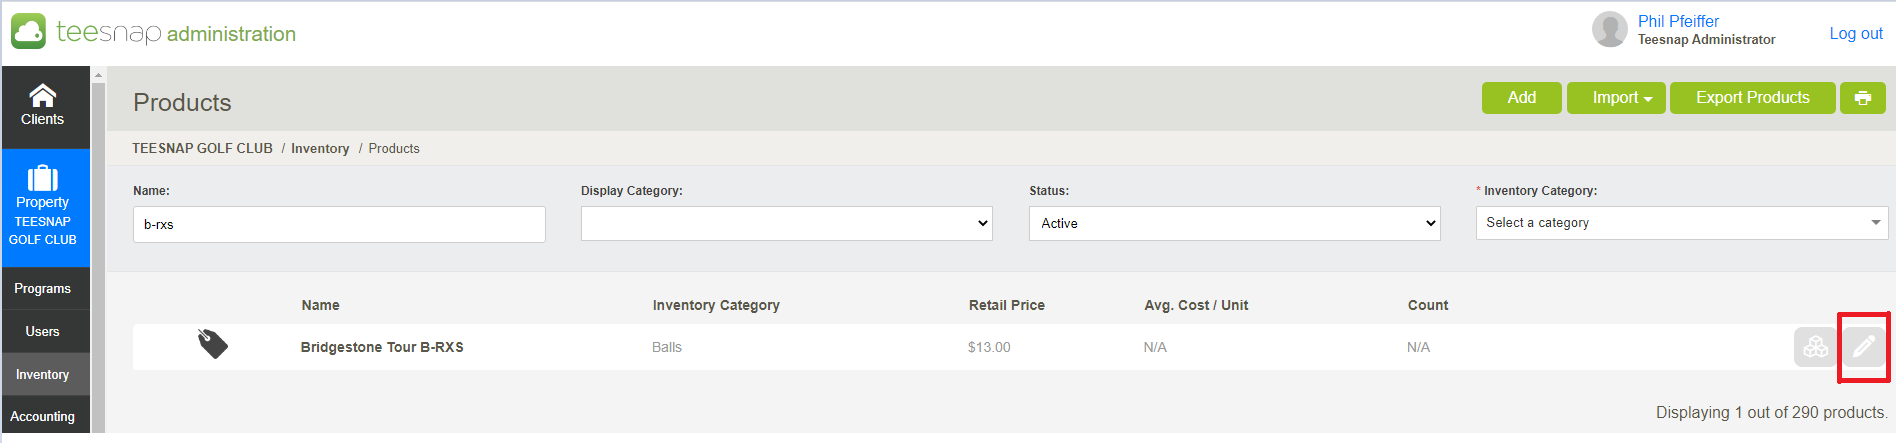
Search for the product in question by filtering the list of products using one or more of the four filtering methods (Name, Display Category, Status, or Inventory Category). To edit the product, click on the Edit Product icon at the far right.
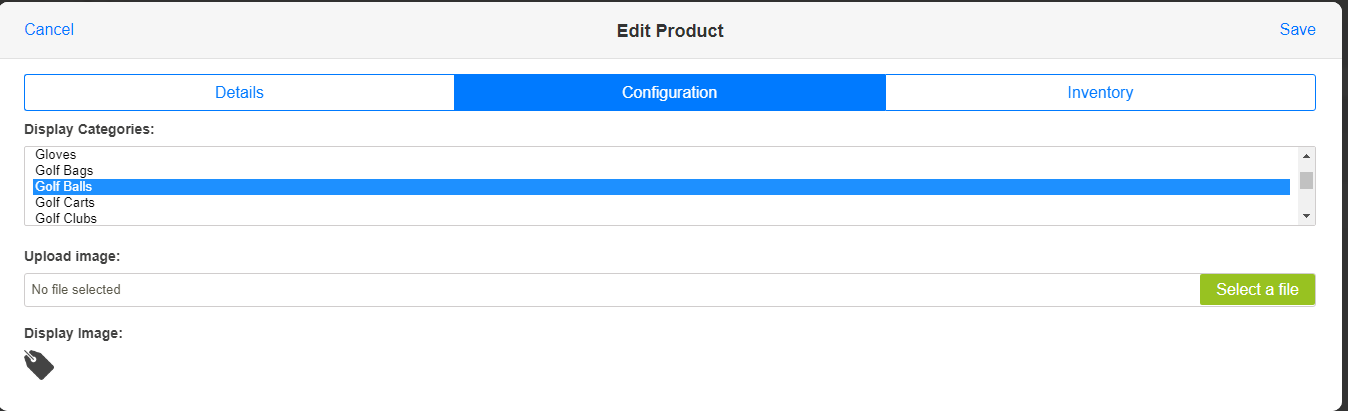
On the Edit Product window, click on the Configuration tab. Select the desired Display Category from the available list. Hit Save to save the changes.
METHOD #2: Edit the Display Category. To do this, go to Inventory, then Display Categories.
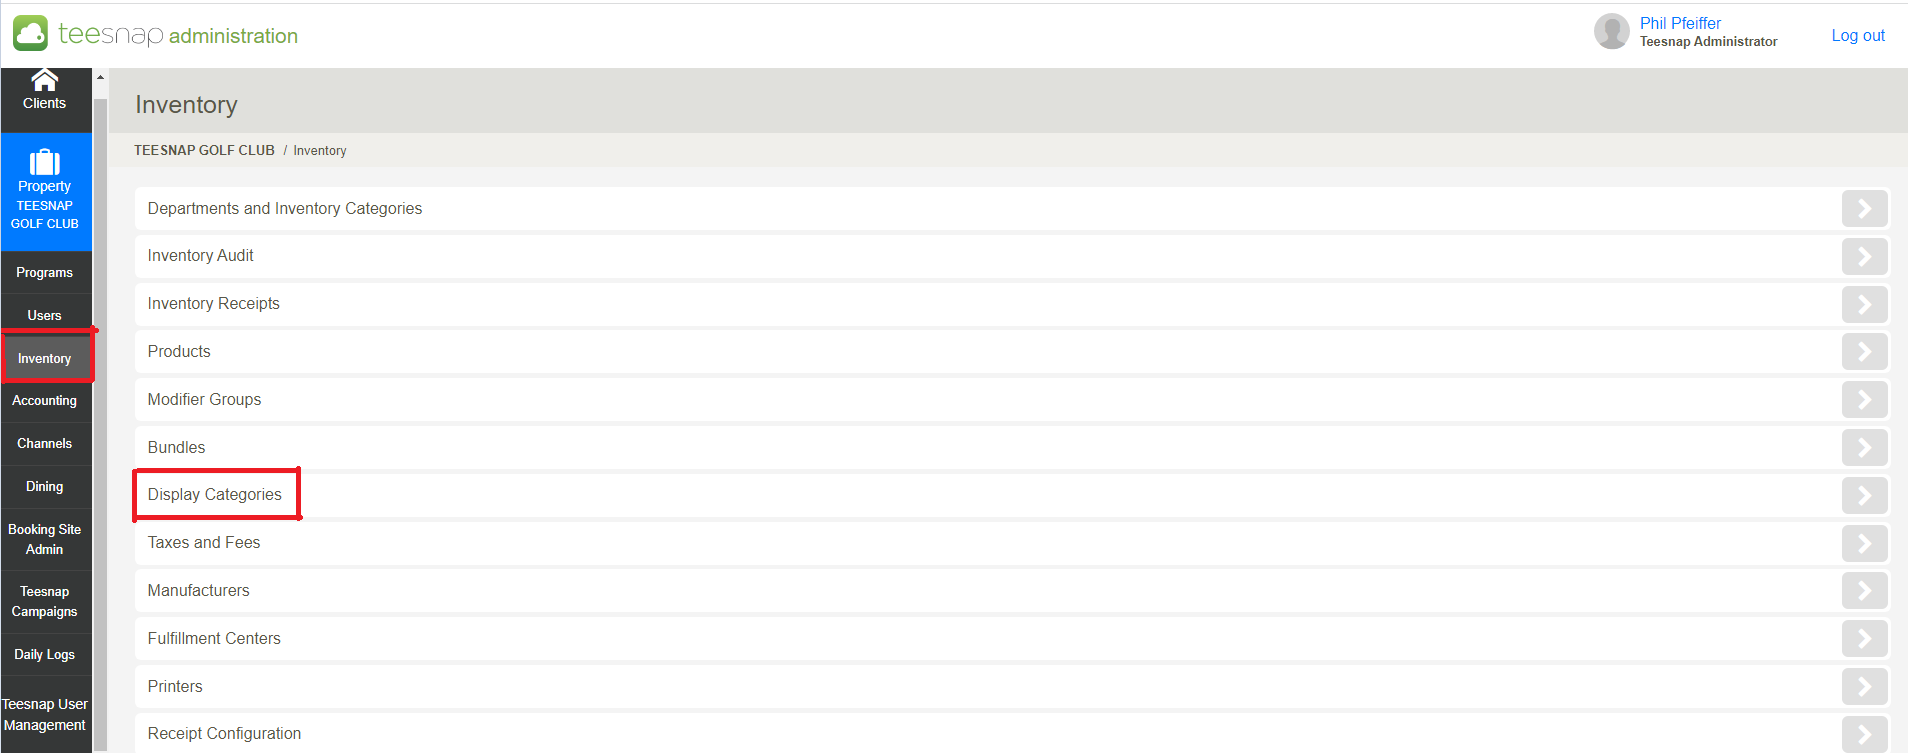
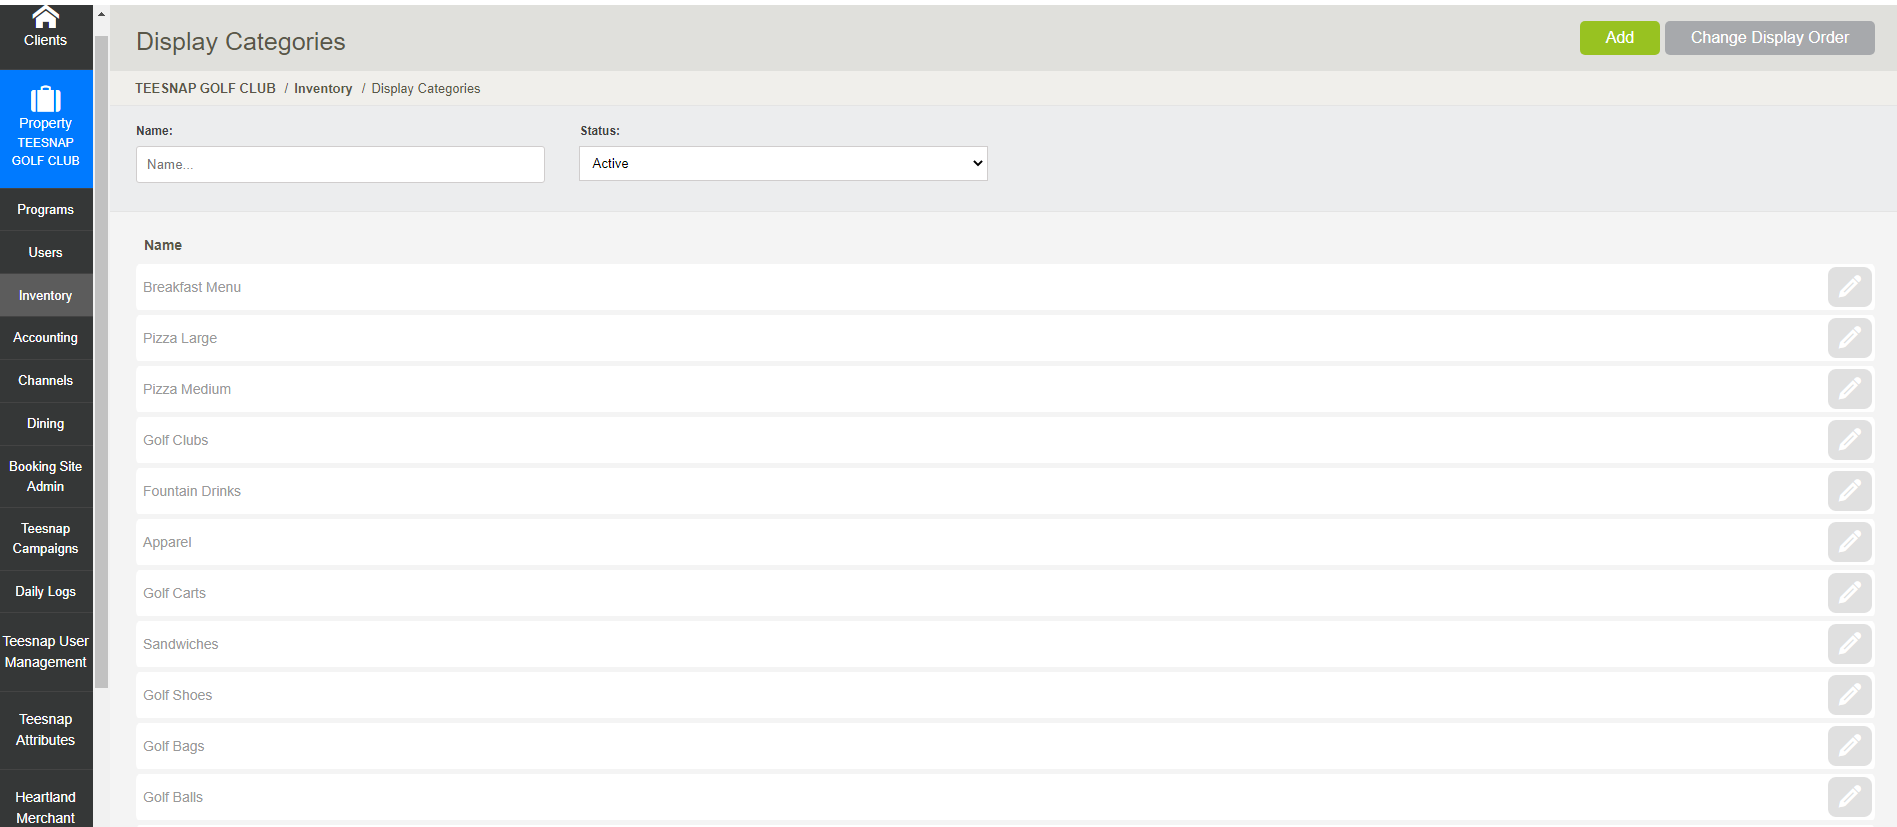
This brings up the Display Categories. Select the Display Category to which you wish to add the product.
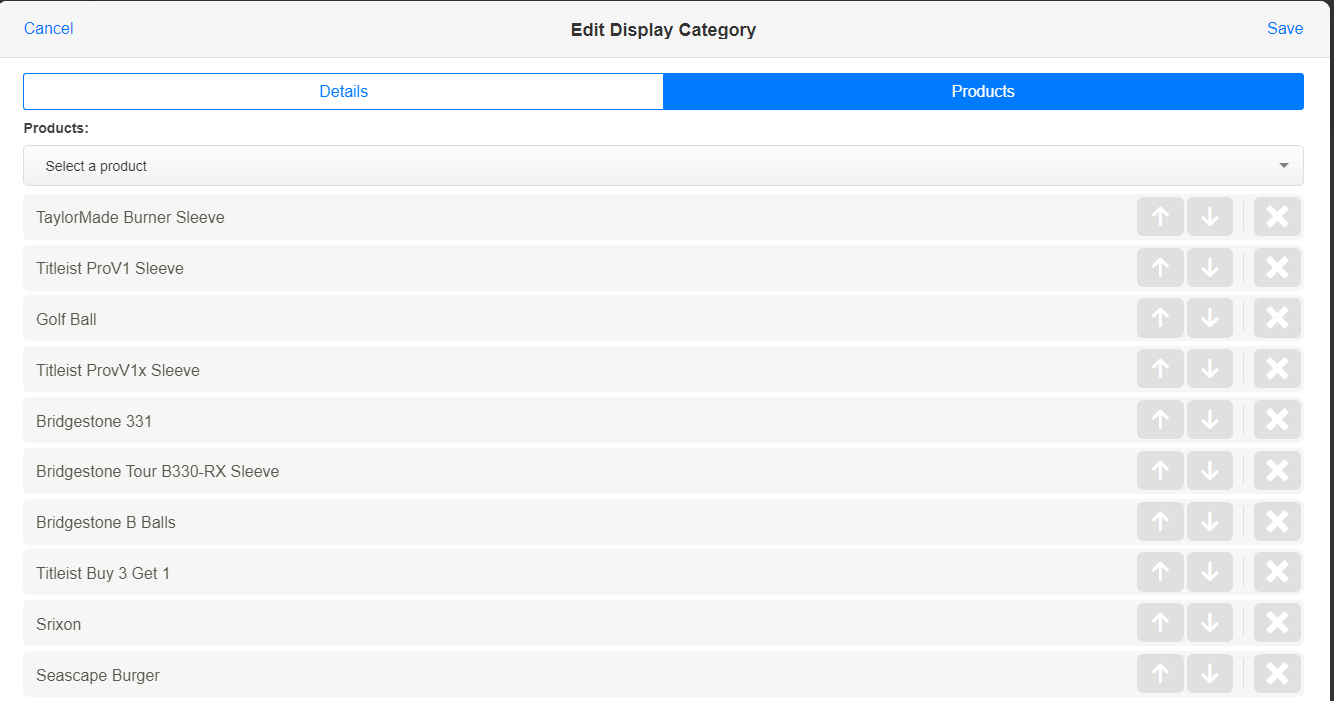
Once the Display Category is selected, go to the Products tab to see the products currently assigned.
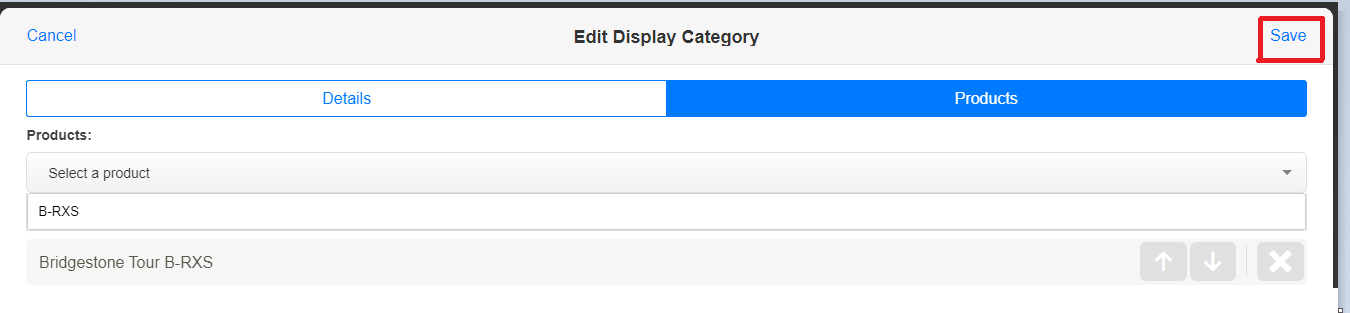
You can now search for the product you wish to add by typing the product name under the Select a Product prompt. Once the correct product is selected, click Add.

Confirm that the product has been added and click Save.
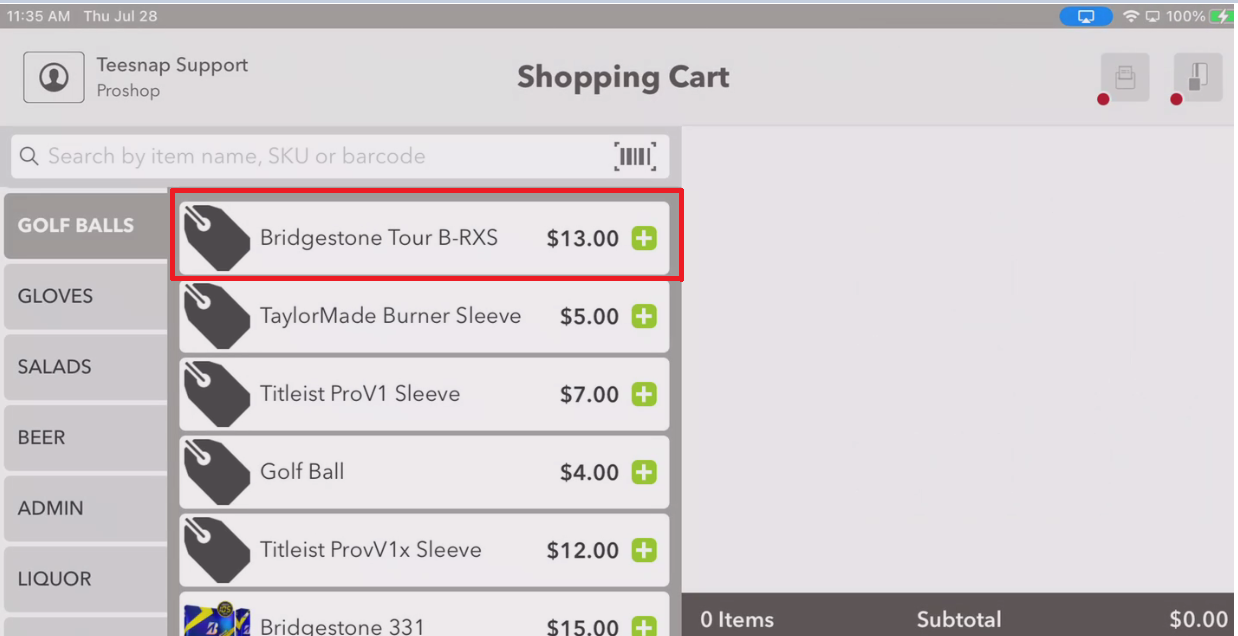
Regardless of the method chosen, you can now go to the iPad to confirm the product is now assigned to the desired Display Category. To do this, log into the iPad, go to the Shopping Cart, and select the Display Category in question.