How do I make products tax-inclusive?
How do I make products tax-inclusive in Teesnap?
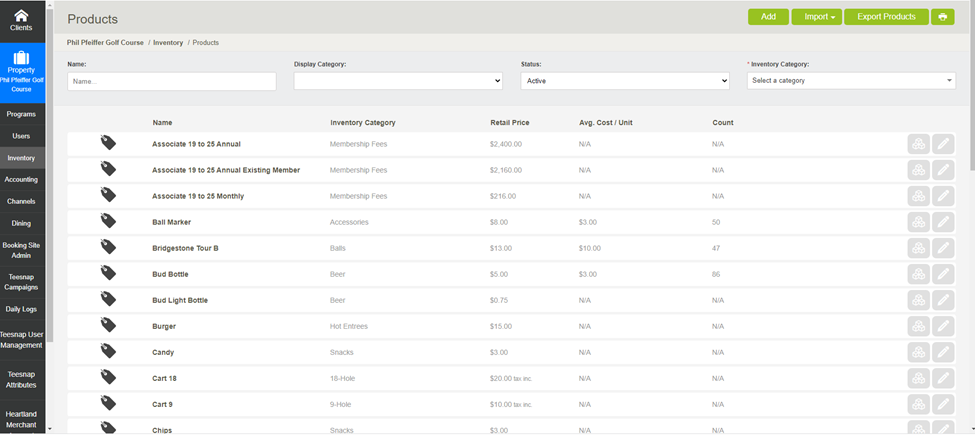
To make a product tax-inclusive, log into the Admin Portal and go to Inventory/Products.

Search for the product you would like to adjust. Once you have located the product, click on the pencil icon at the far right to edit the product.

In the Edit Product window, on the Details tab, change the Tax Included flag to Yes. Make sure the Retail Price is set to the FINAL DESIRED PRICE INCLUSIVE OF TAX.

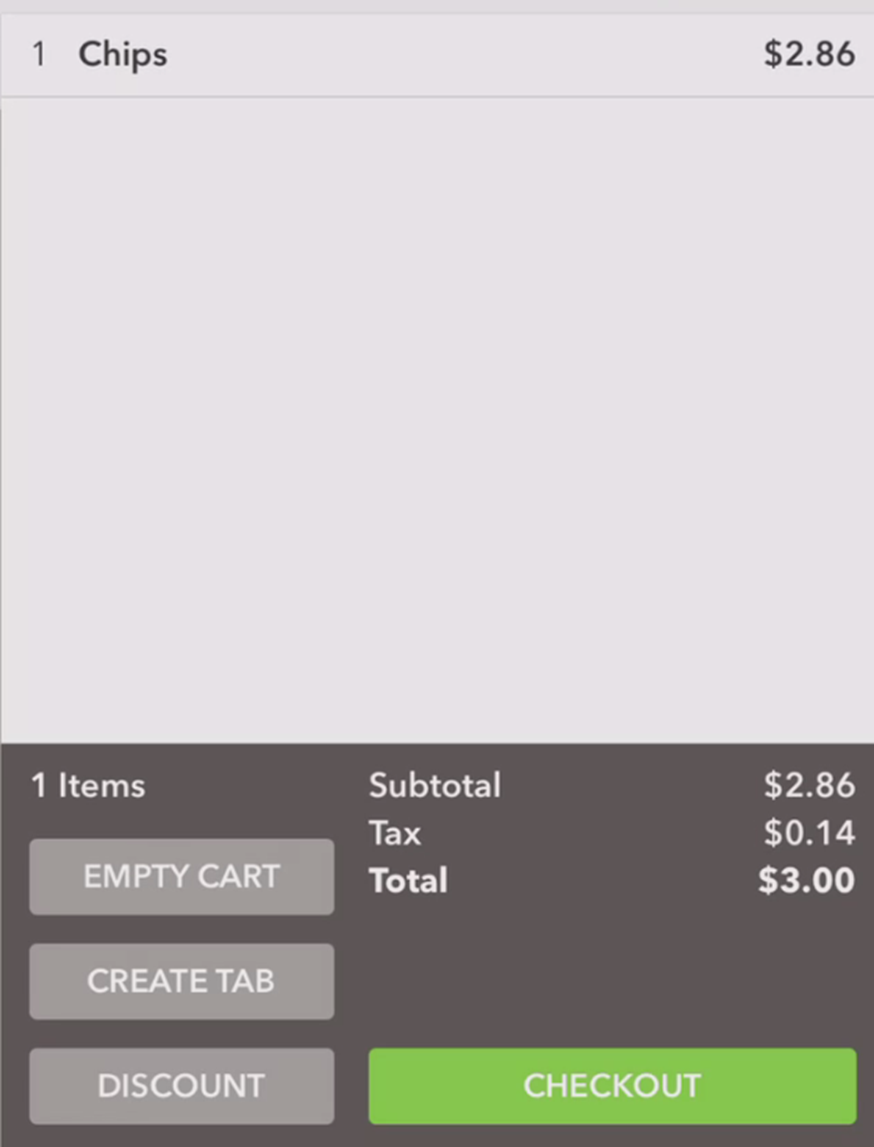
Verify the changes by logging into the iPad, going into the Shopping Cart, and ringing in the product in question.

.png?width=240&height=55&name=Untitled%20design%20(86).png)