How to Assign a Table to an Employee
In this article, you will find step-by-step instructions on how to assign a table to a server.
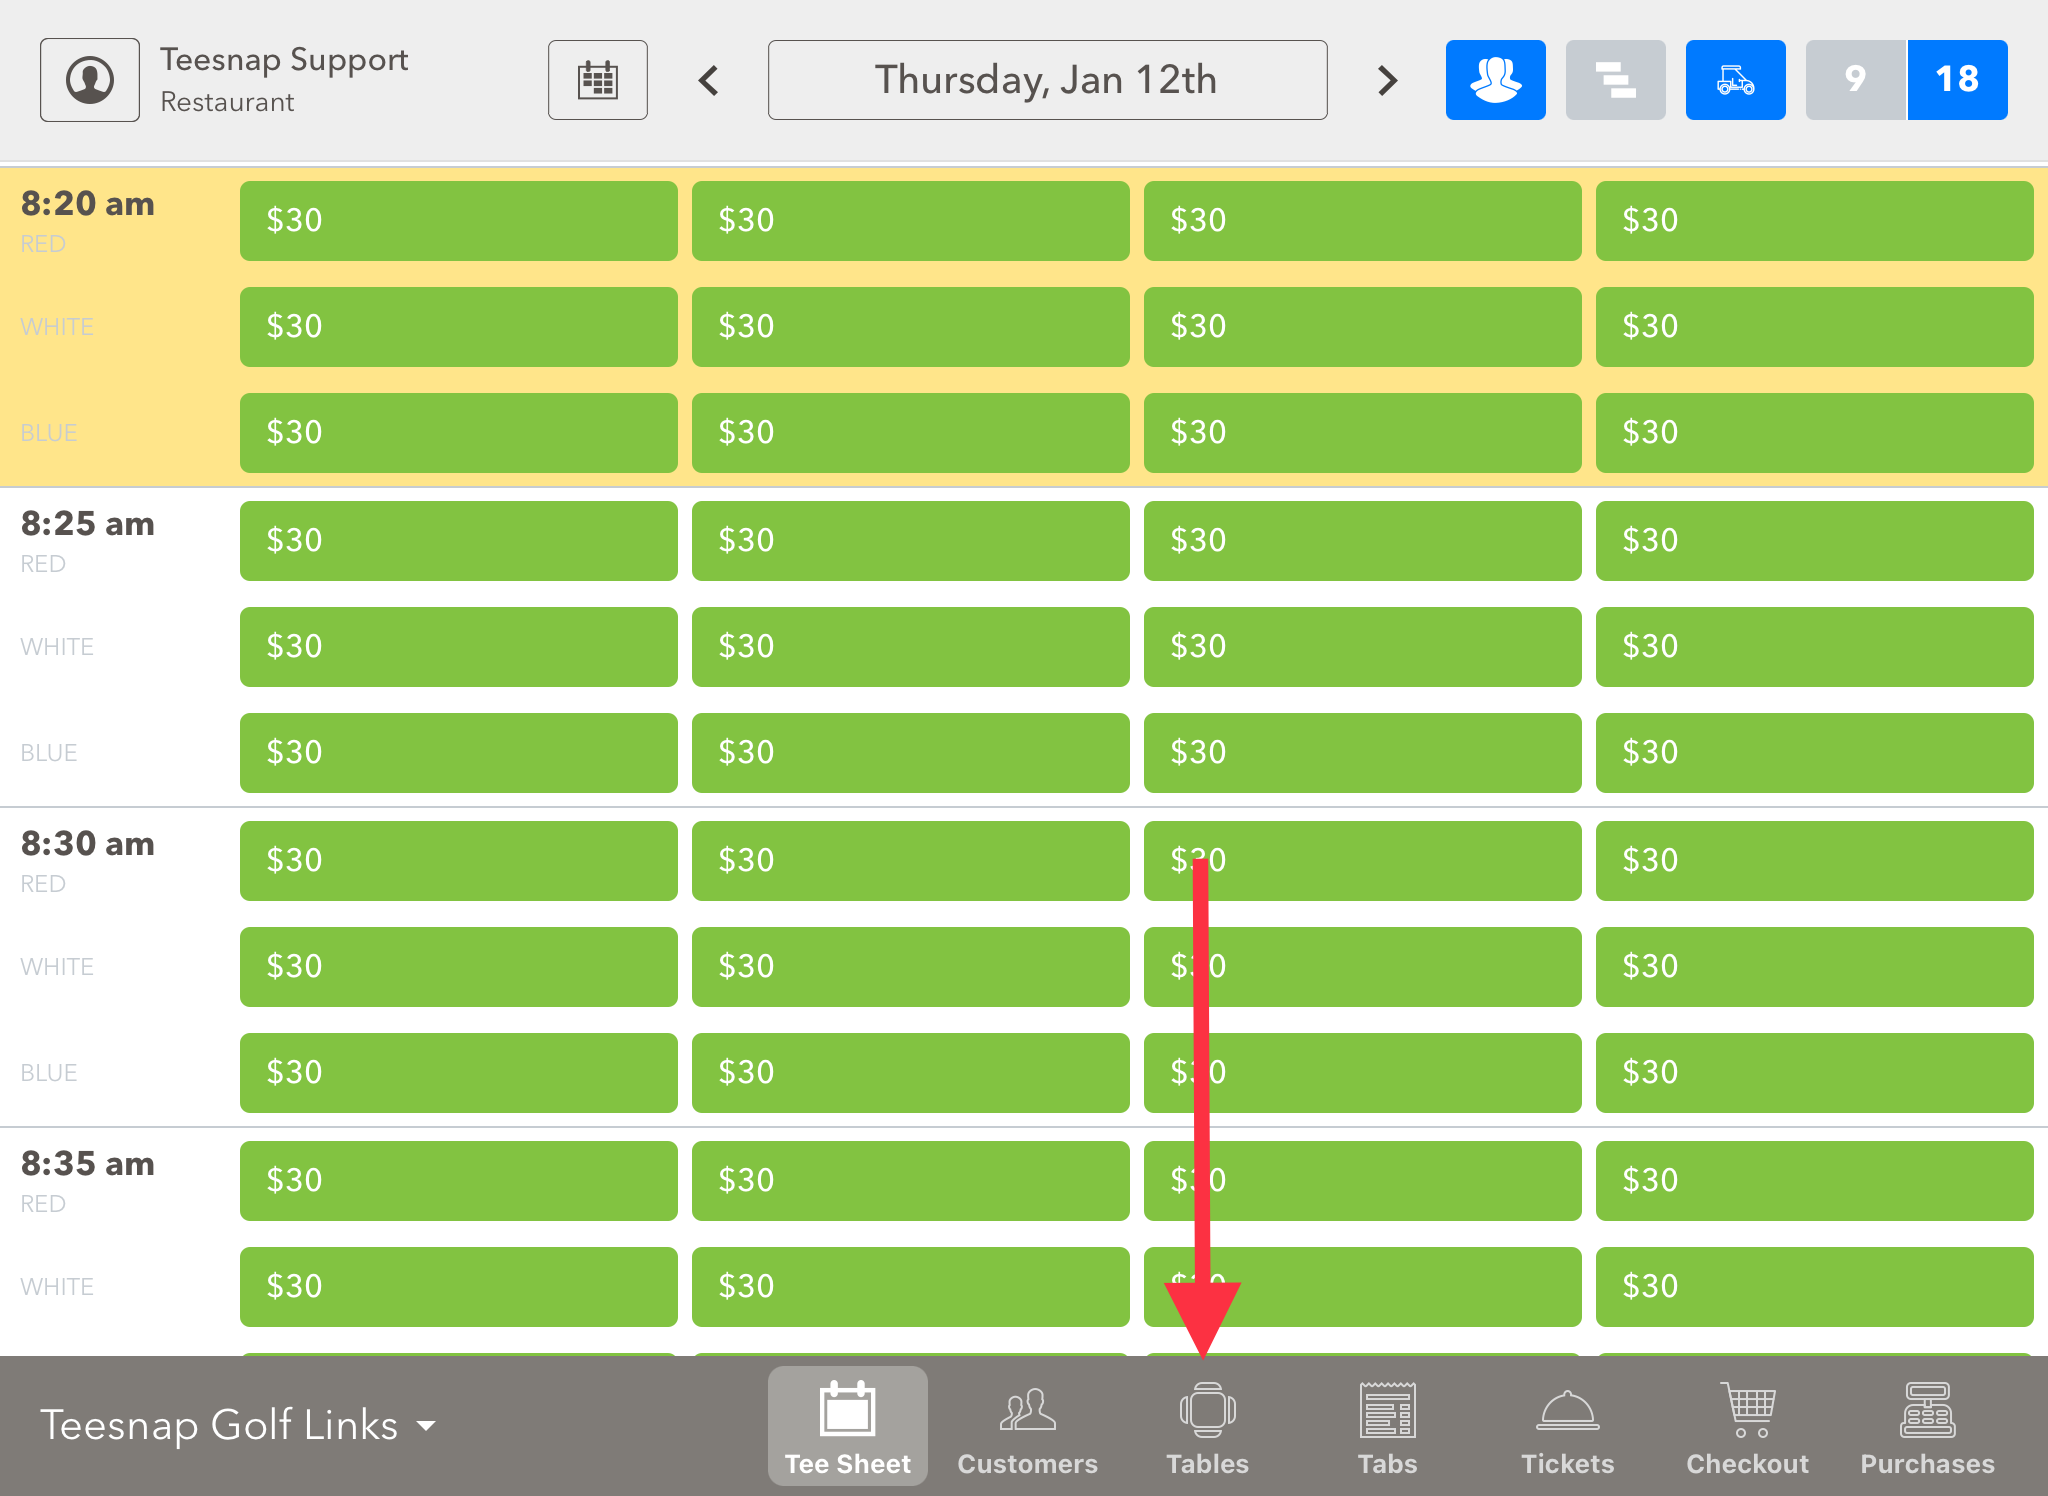
1. Select the Tables option at the bottom of the iPad
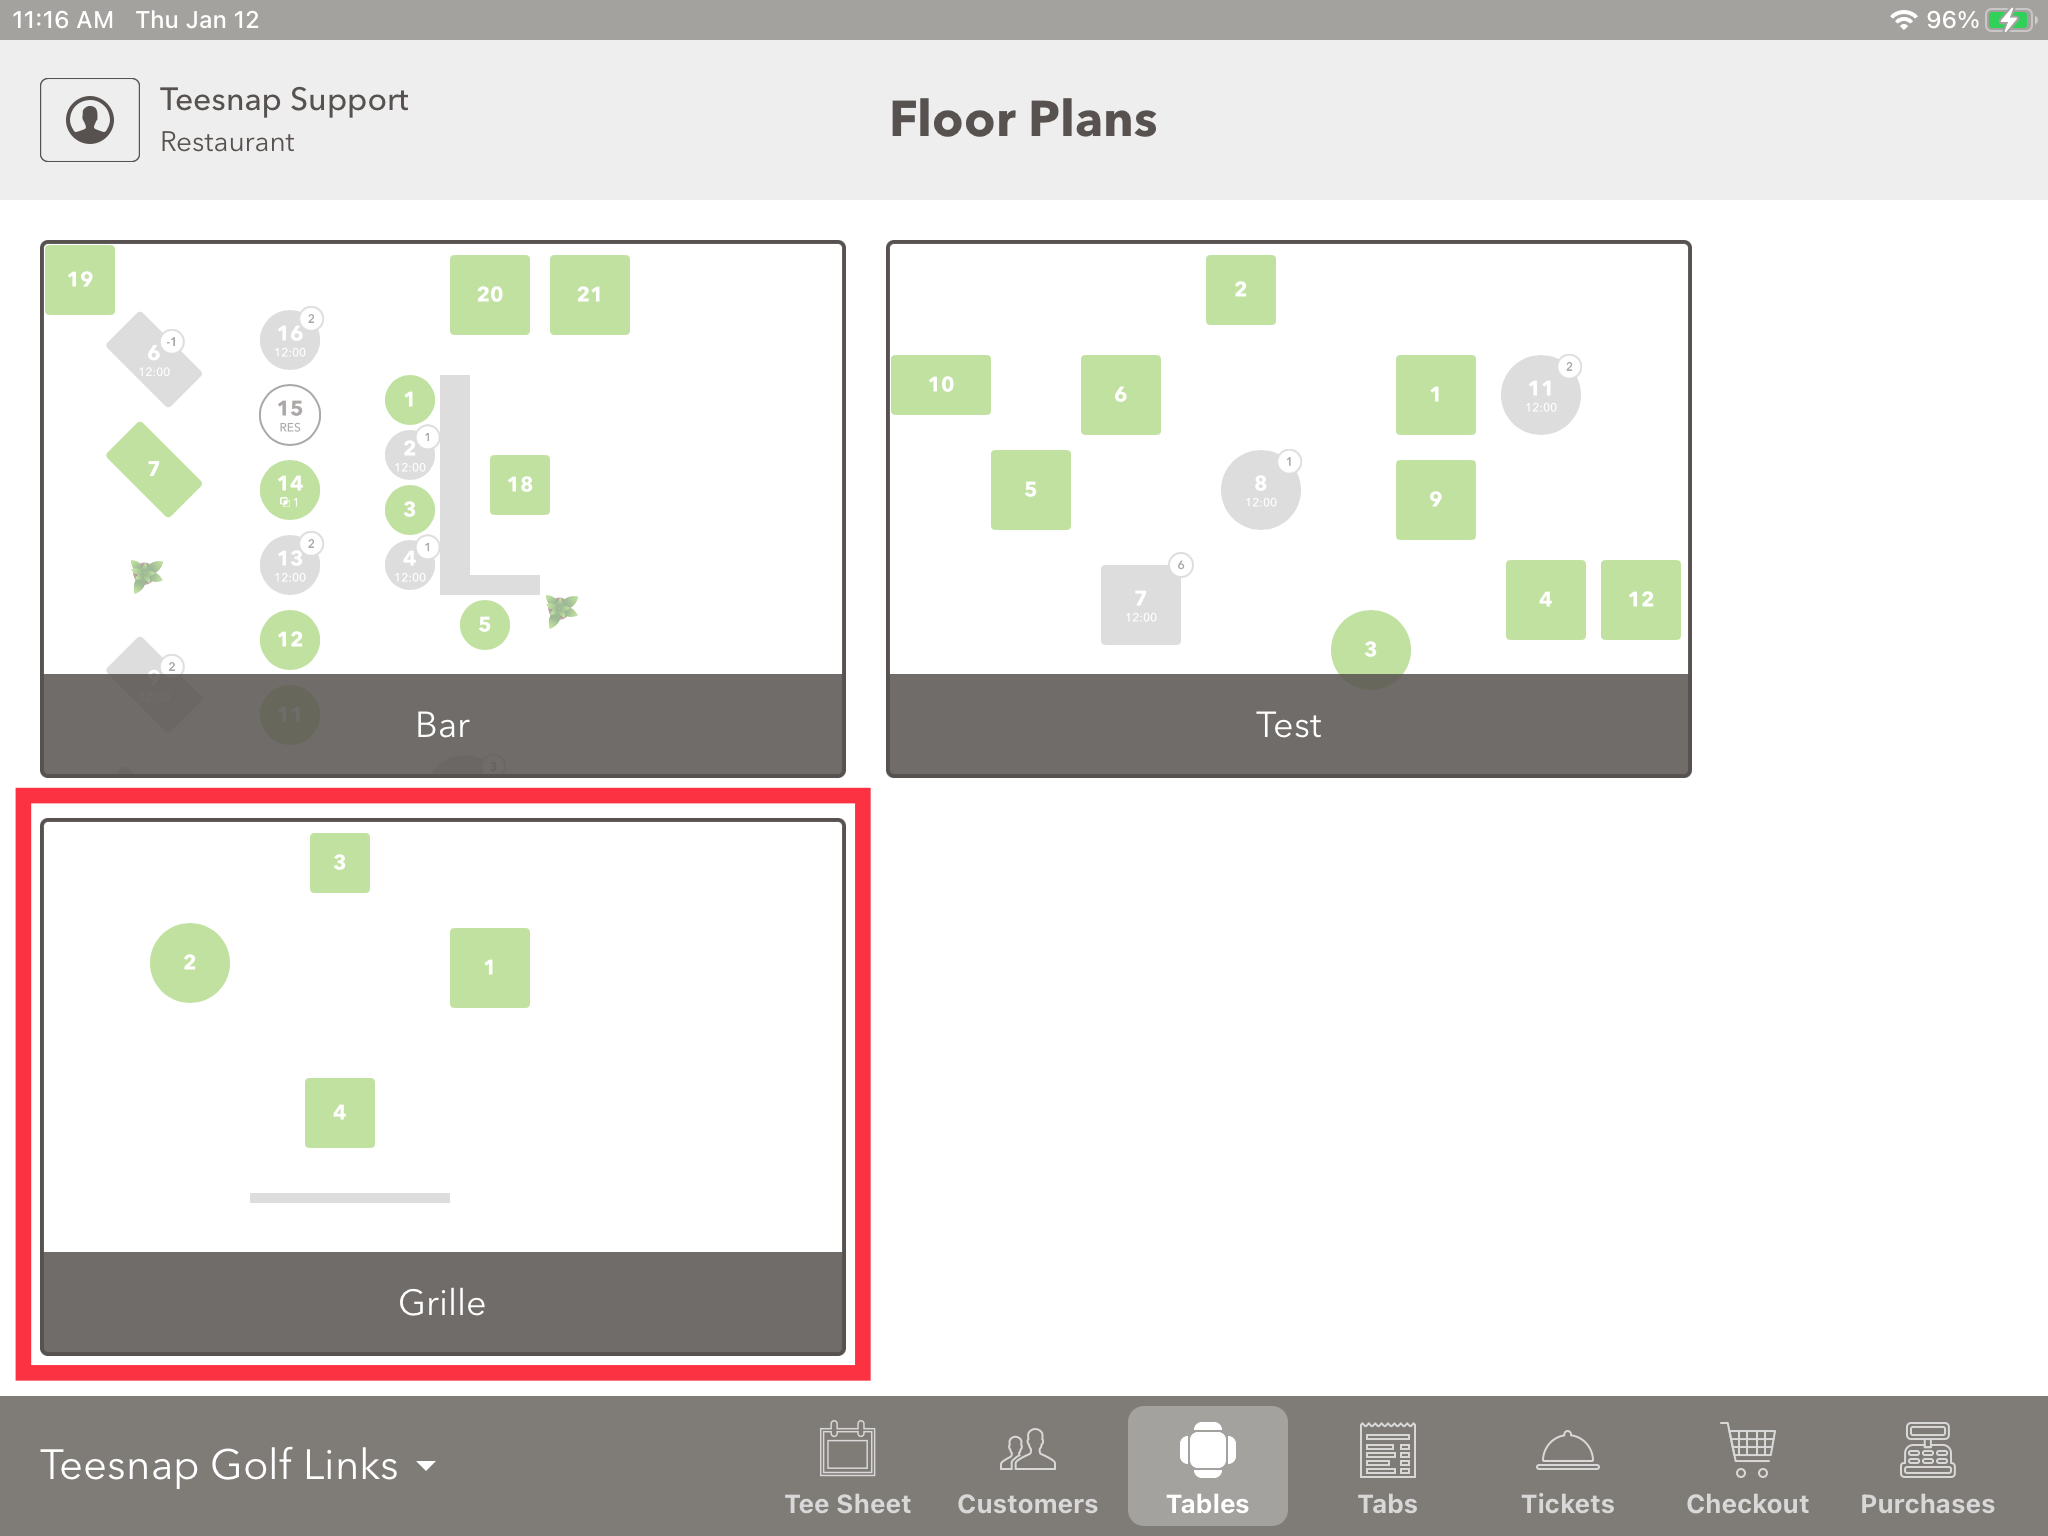
2. Select the Floor Plan Map that corresponds to the location you are assigning a table for
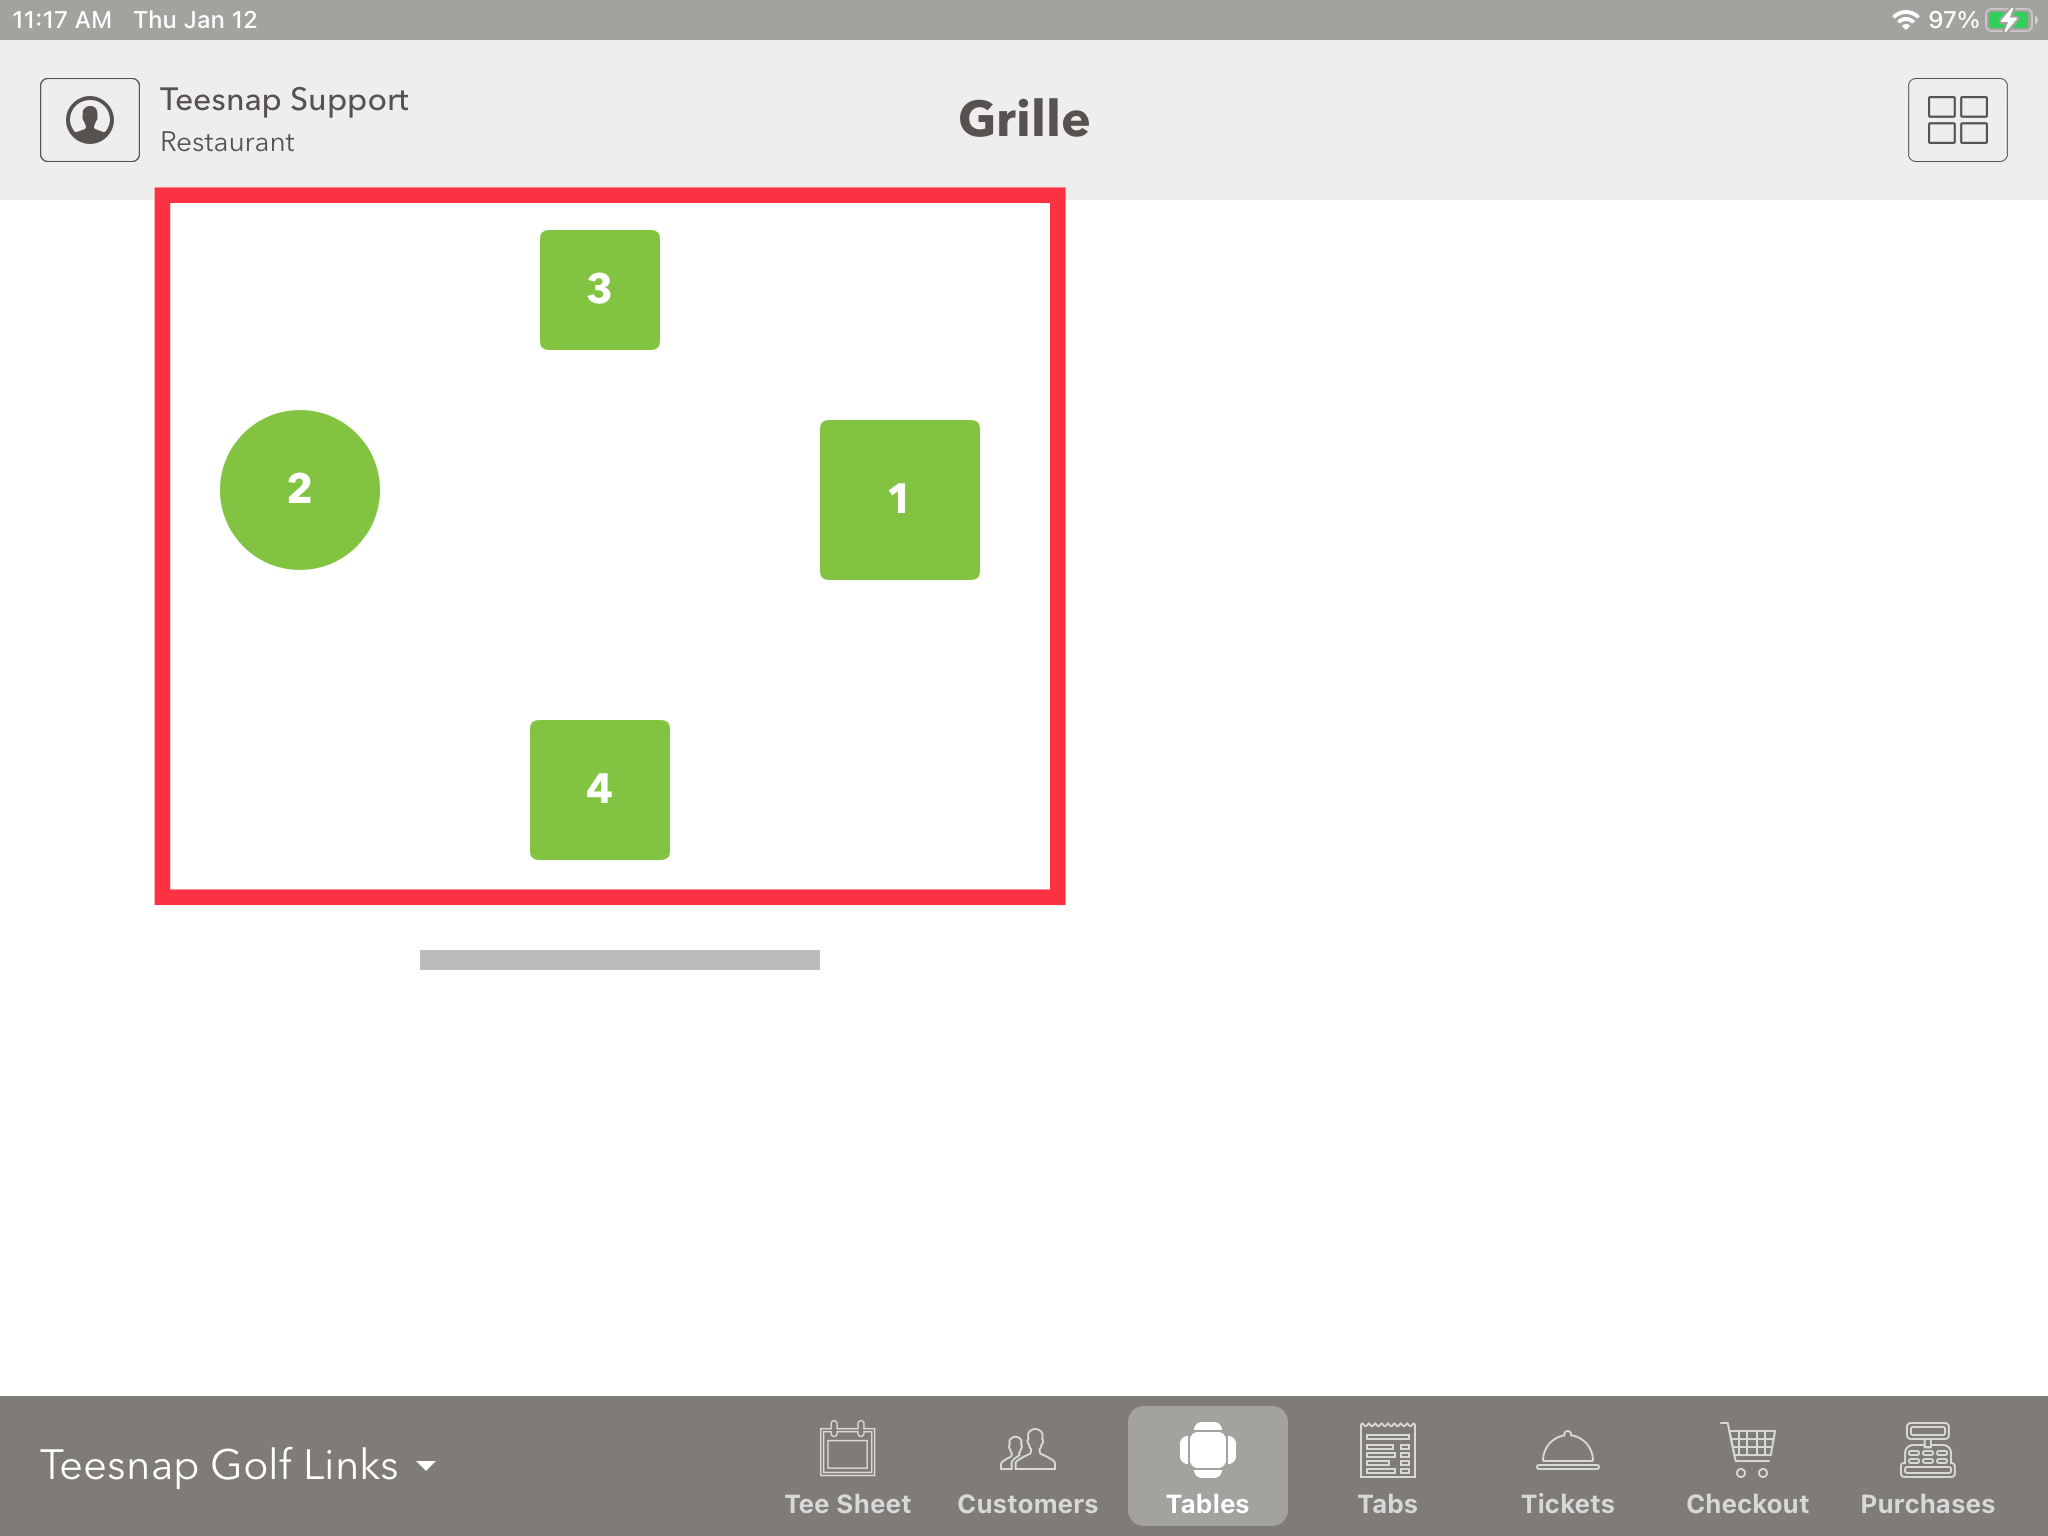
3. Select the Table Number you would like to assign to a server
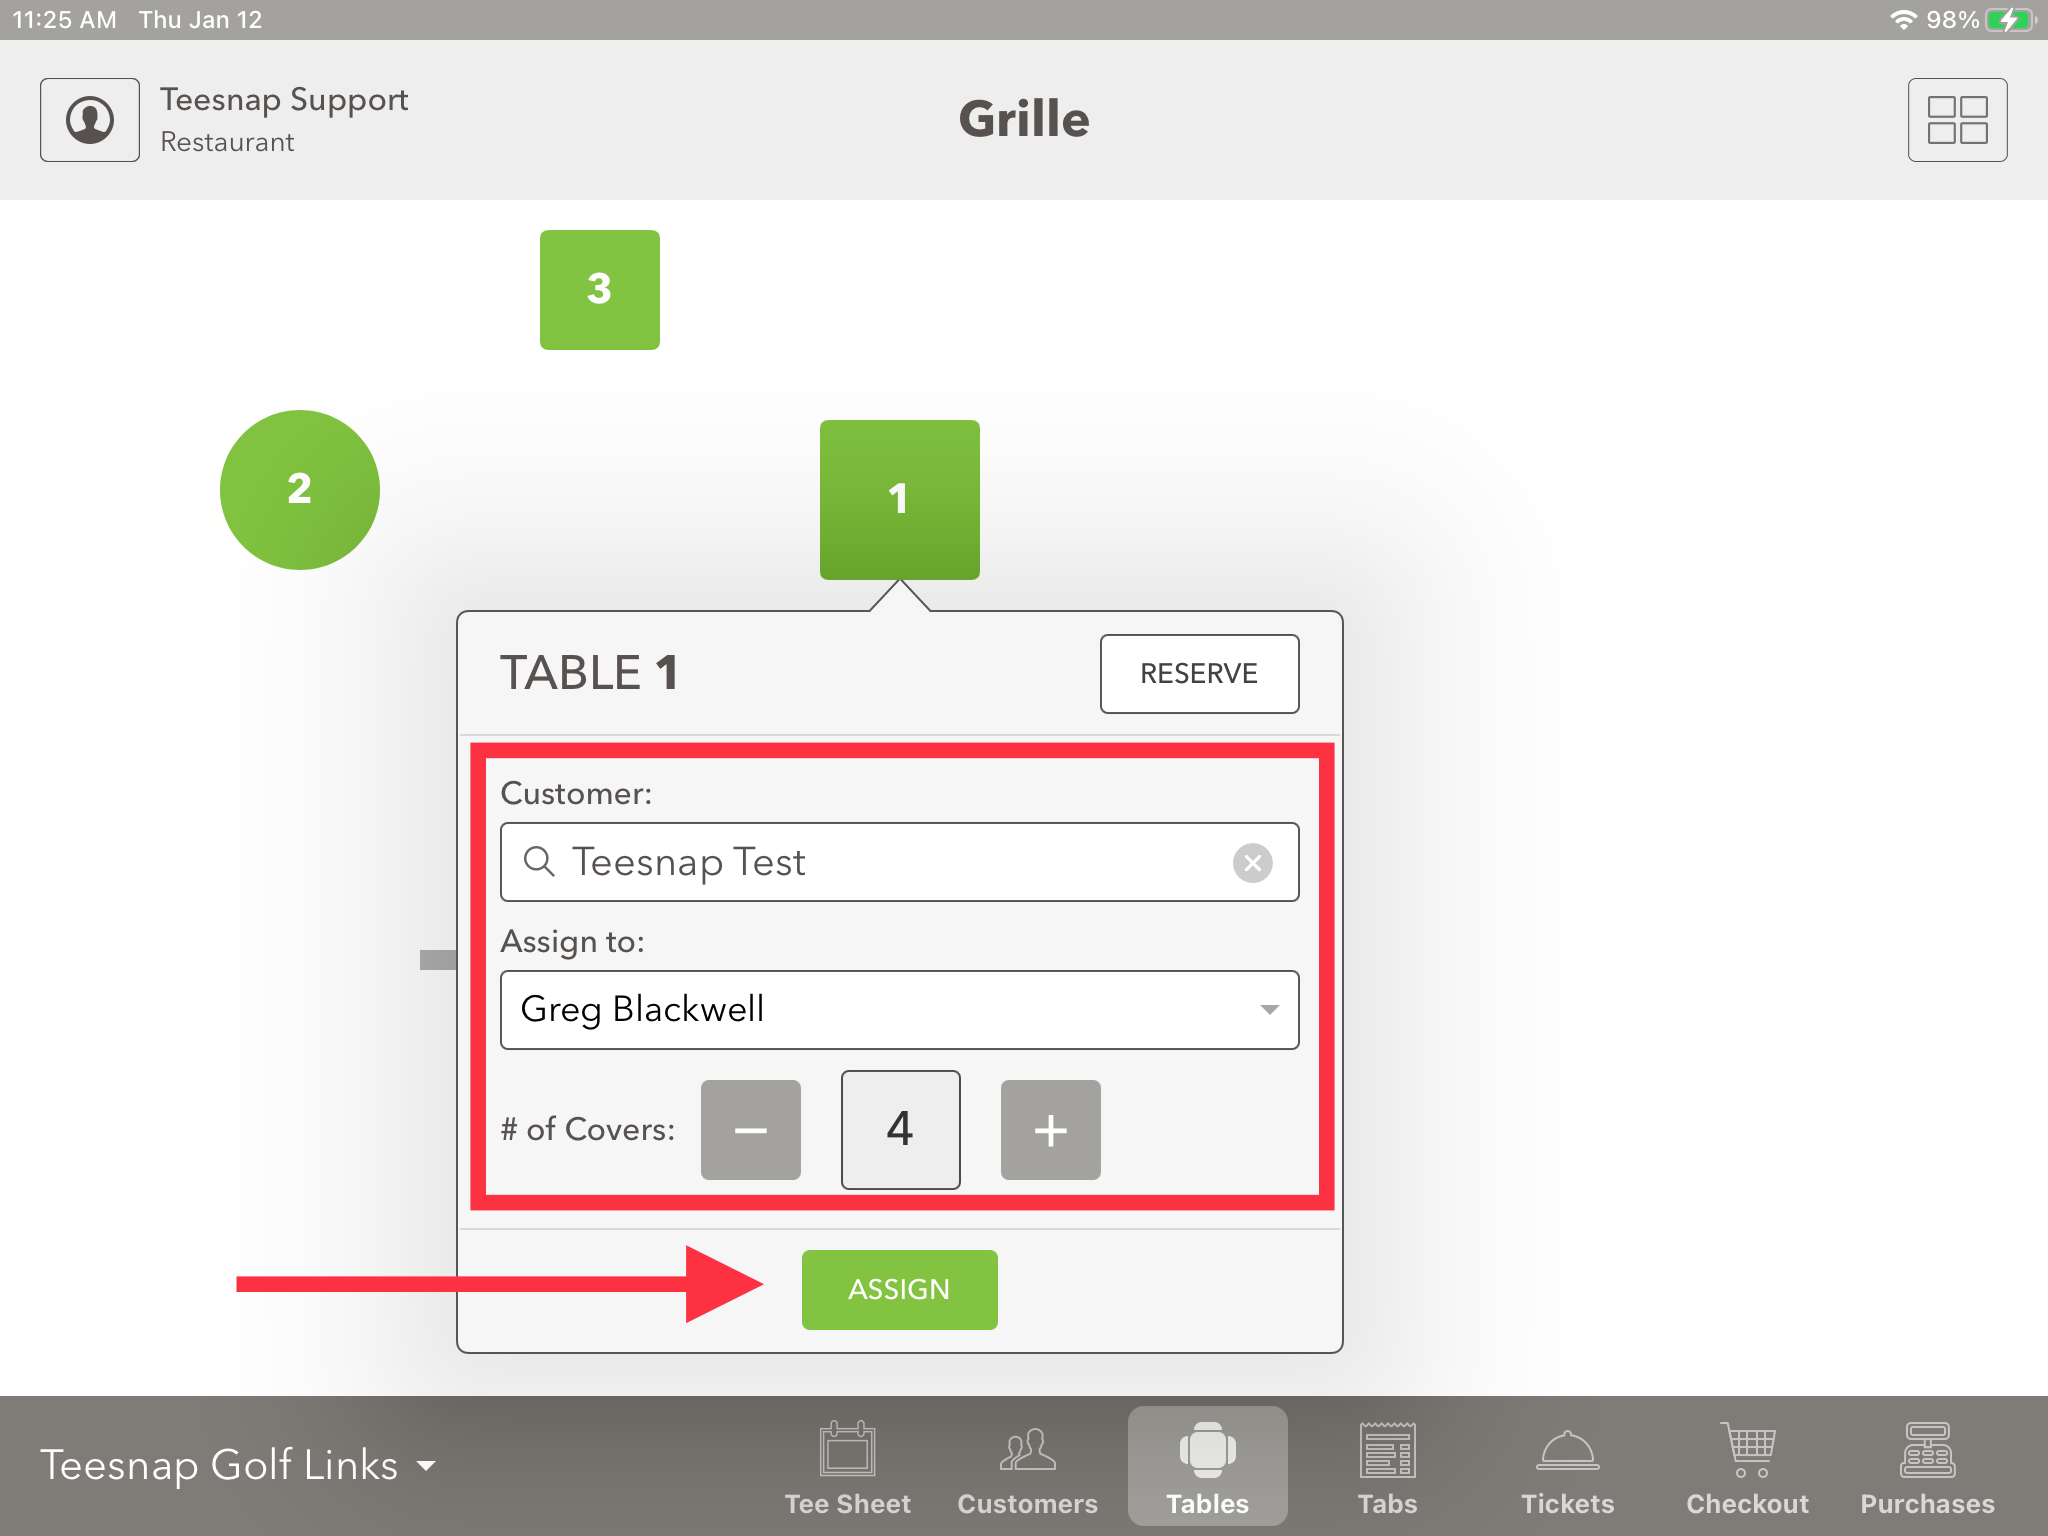
4. Use the dropdown menu under Assign to select the employee serving the table. At this time, you can also attach a customer record and adjust the number of covers for the table. Once complete select Assign.
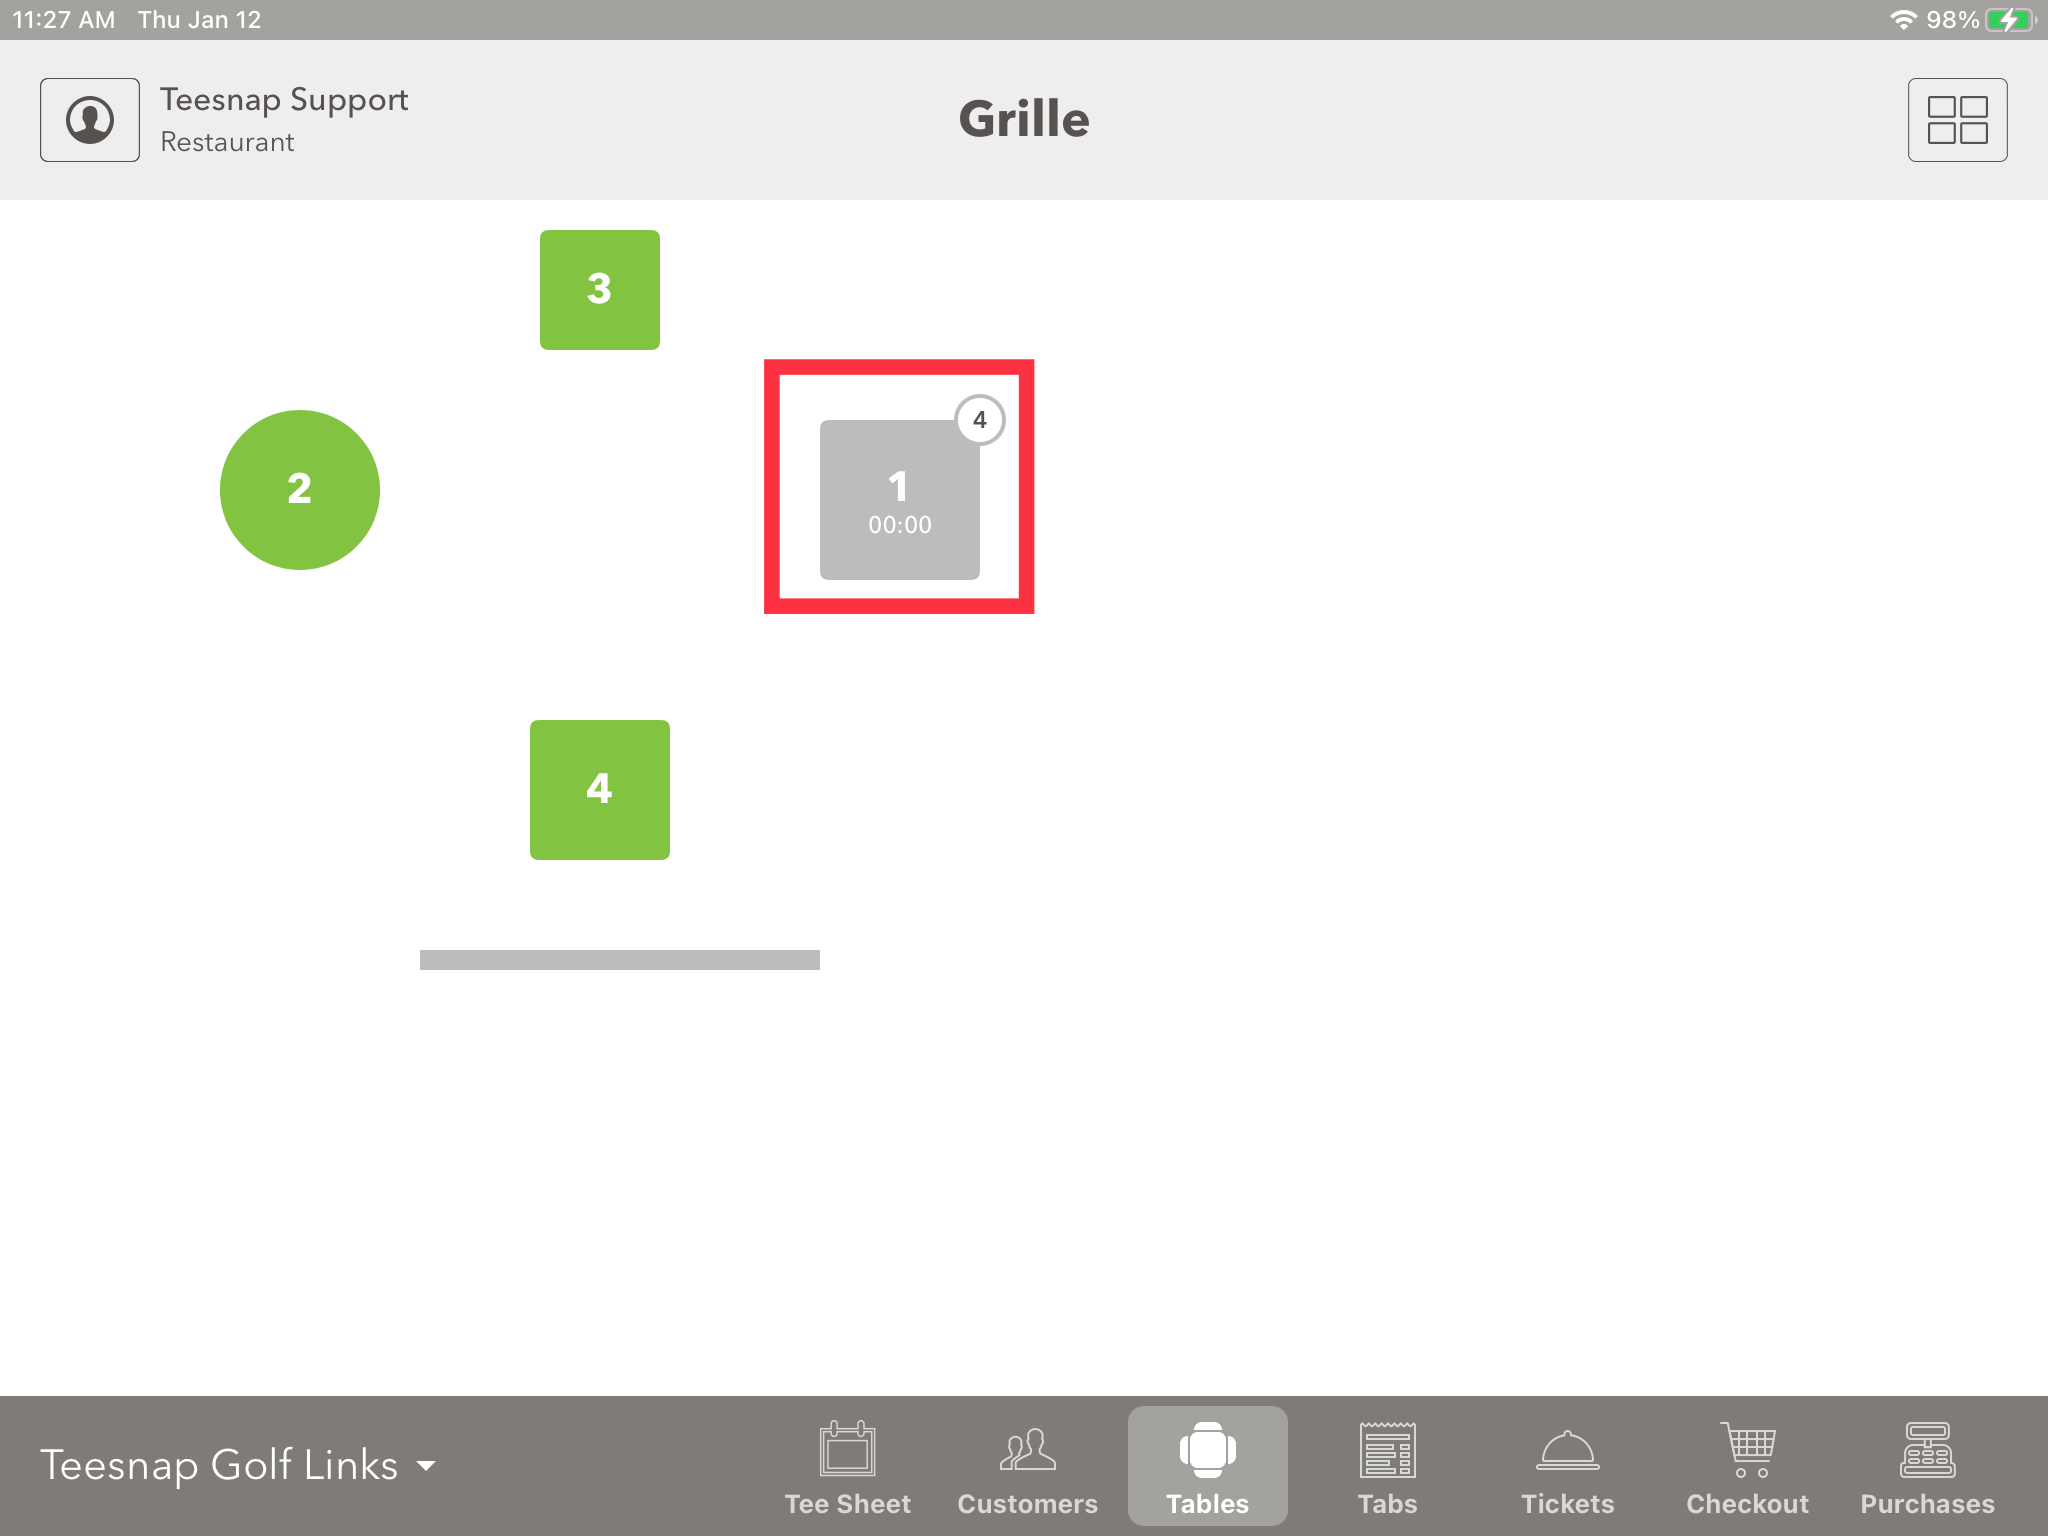
5. Once reserved, the table turns grey with a table clock, and the number of covers for the table. Tap on the table to begin a tab for that table and enter customer orders.
If you have any questions, please do not hesitate to reach out to Teesnap Support by emailing us at support@teesnap.com or calling 844-458-1032
.png?width=240&height=55&name=Untitled%20design%20(86).png)