.png?width=240&height=55&name=Untitled%20design%20(86).png)
This article describes the process for adding decorations to a floor plan like walls, shapes, and symbols.
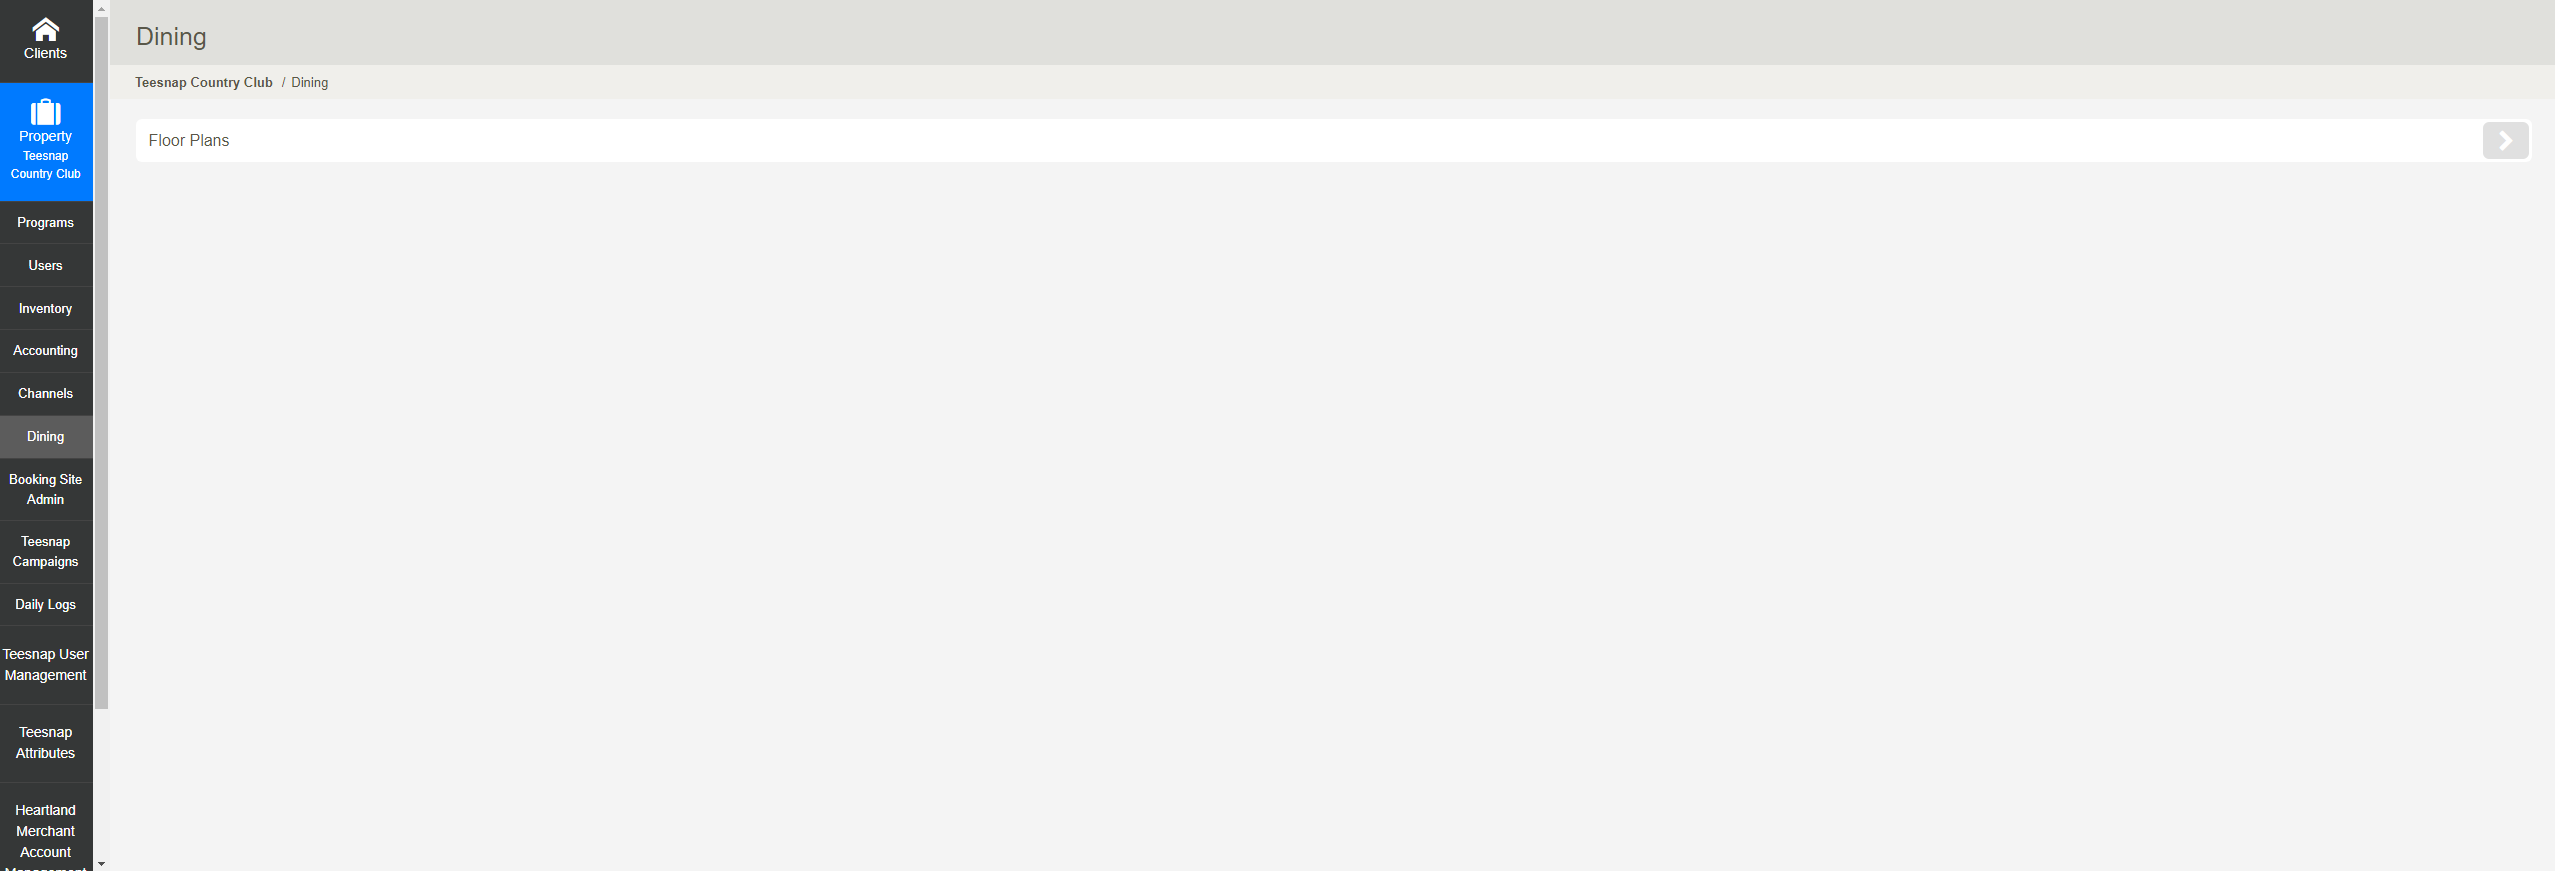
Adding some decorations to a floor plan can assist with making it more accurate and intuitive to use. To do this, log into the Teesnap Admin Portal at admin.teesnap.com. Go to Dining, then click on the floor plan that you wish to edit.
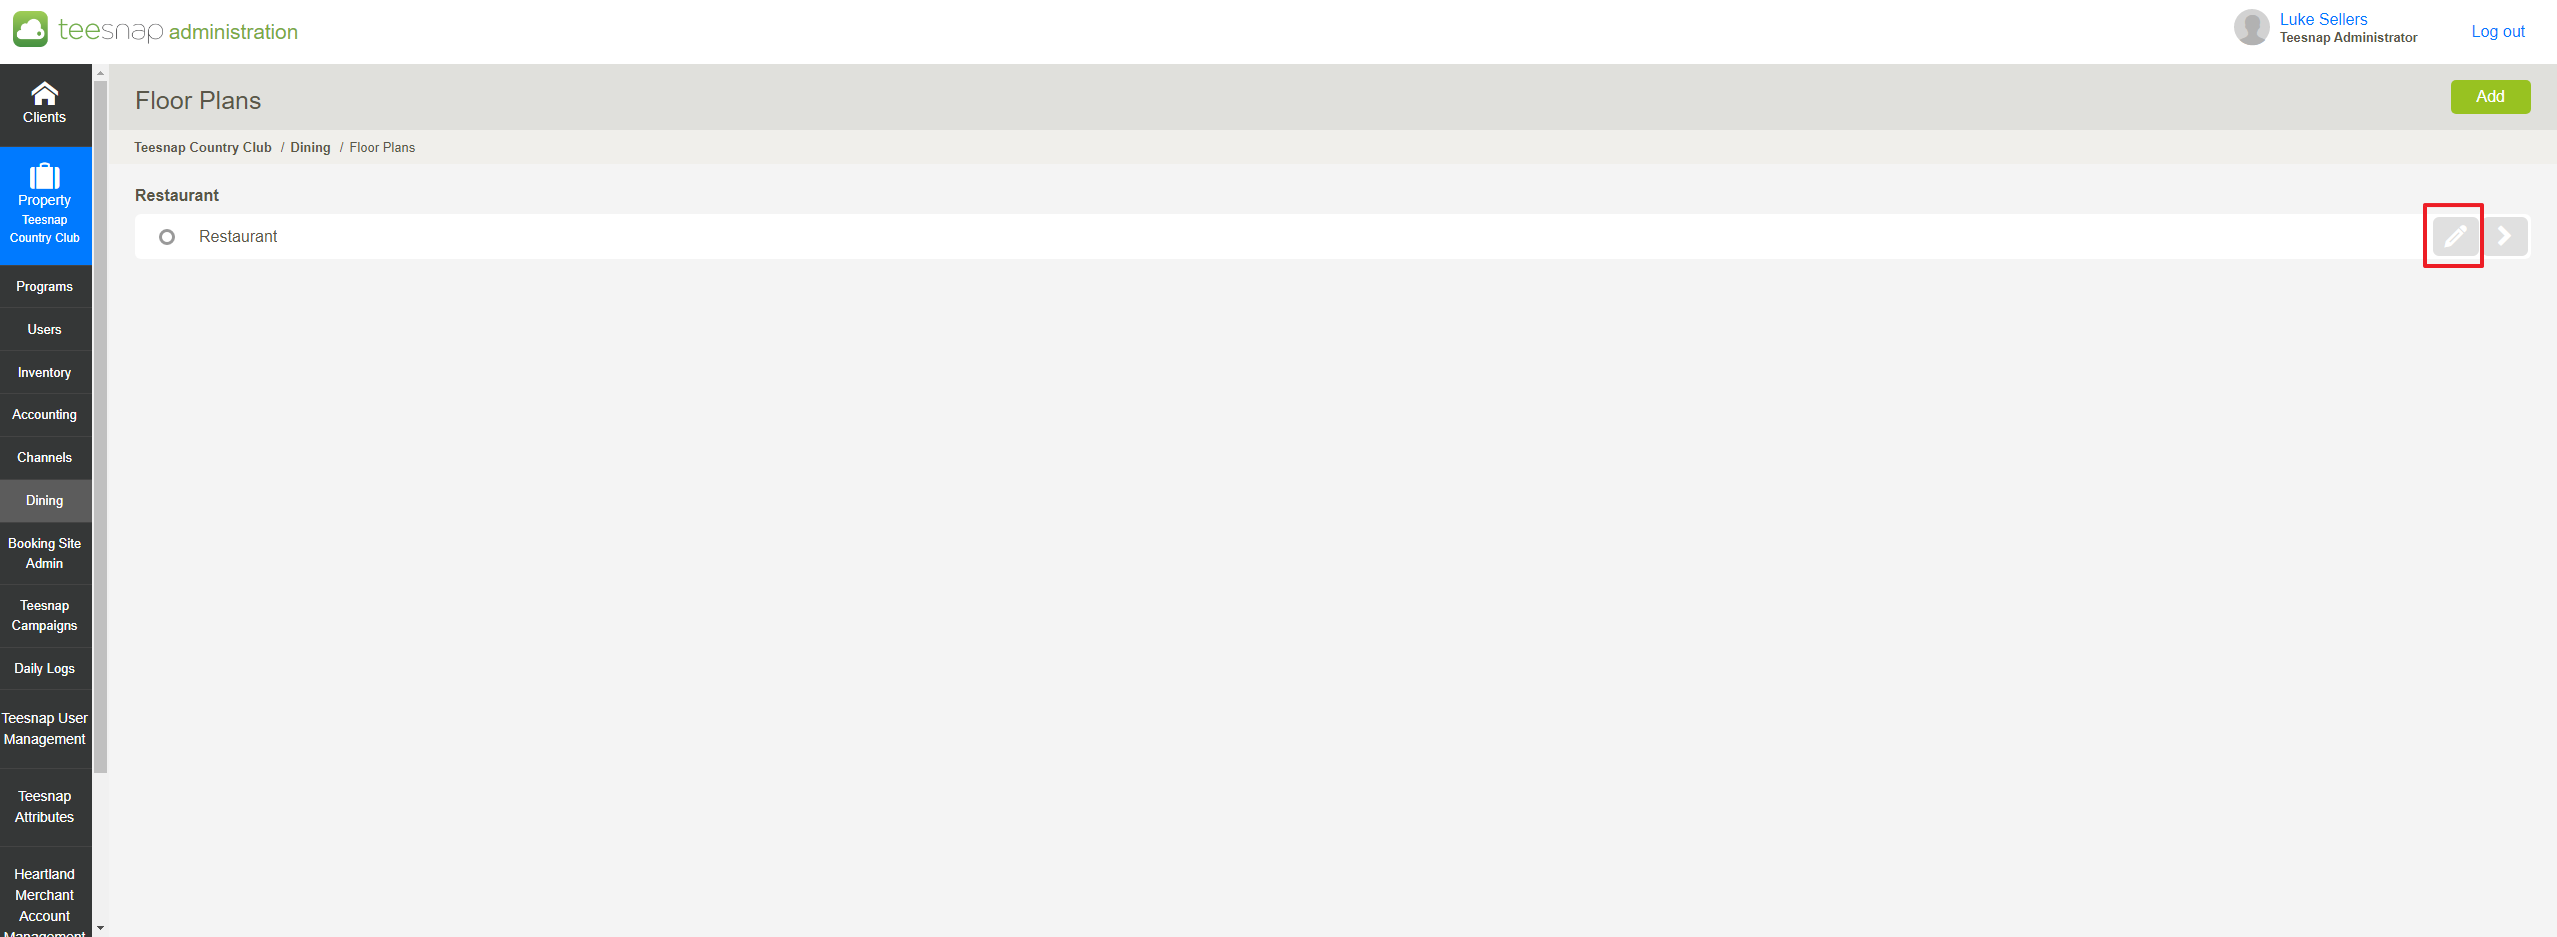
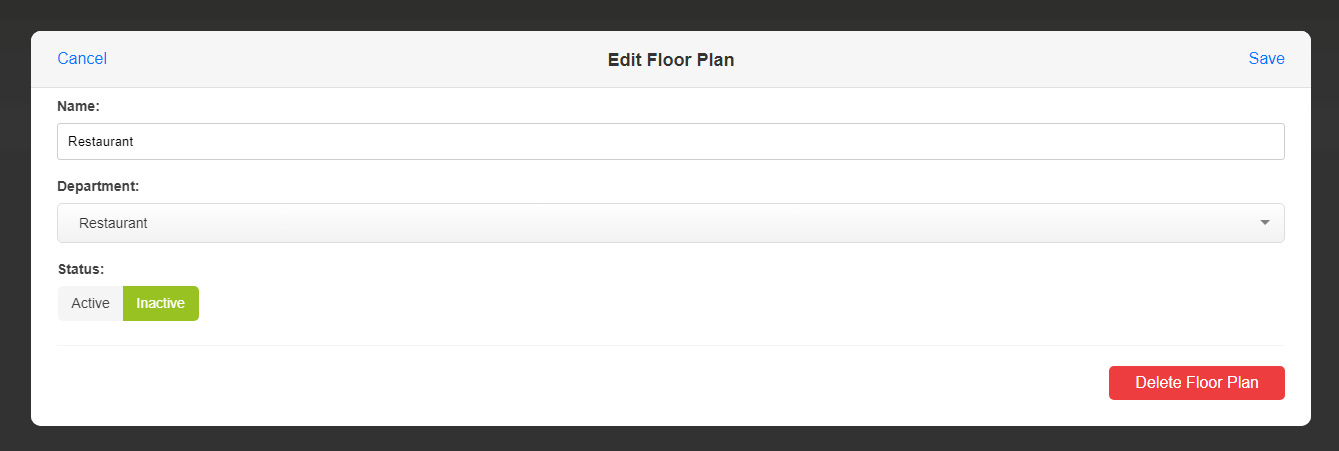
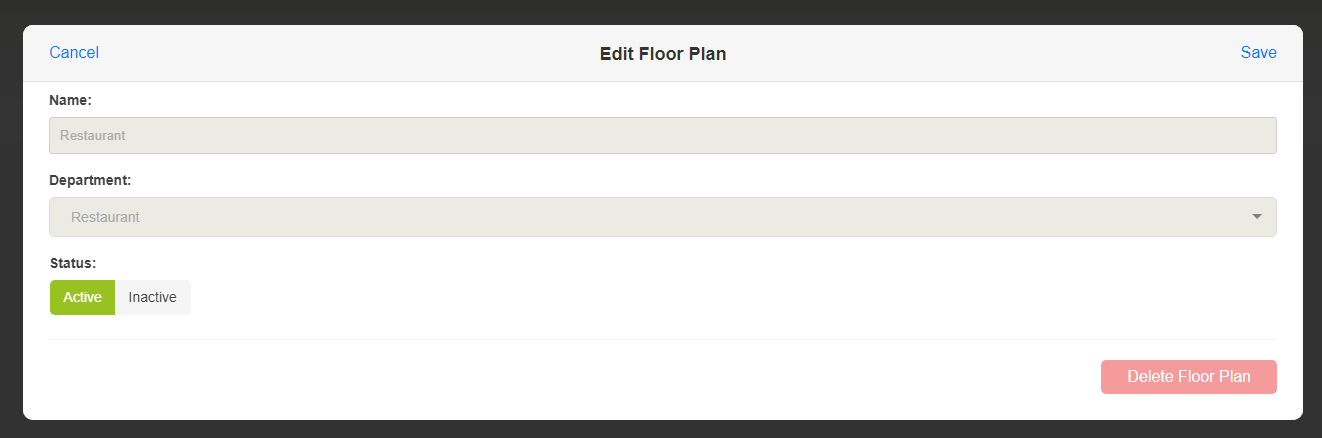
Before any edits can be made to the table layout, the layout must be set to an inactive status. To do this, click the Edit(pencil) icon for the floor plan.
Set the status to Inactive and Save.
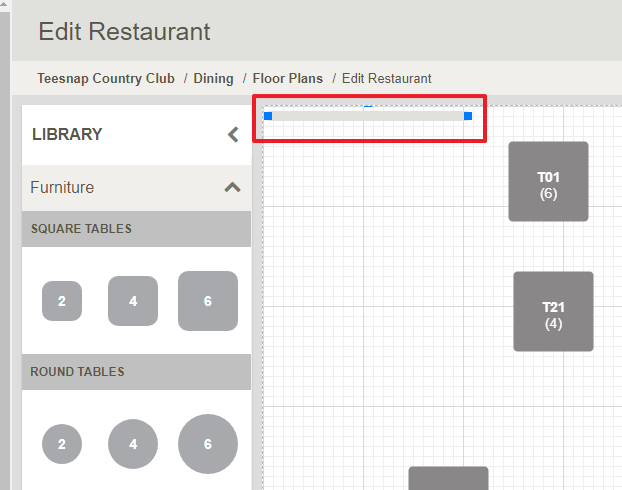
Click on the right arrow to access the screen to edit the table layout.
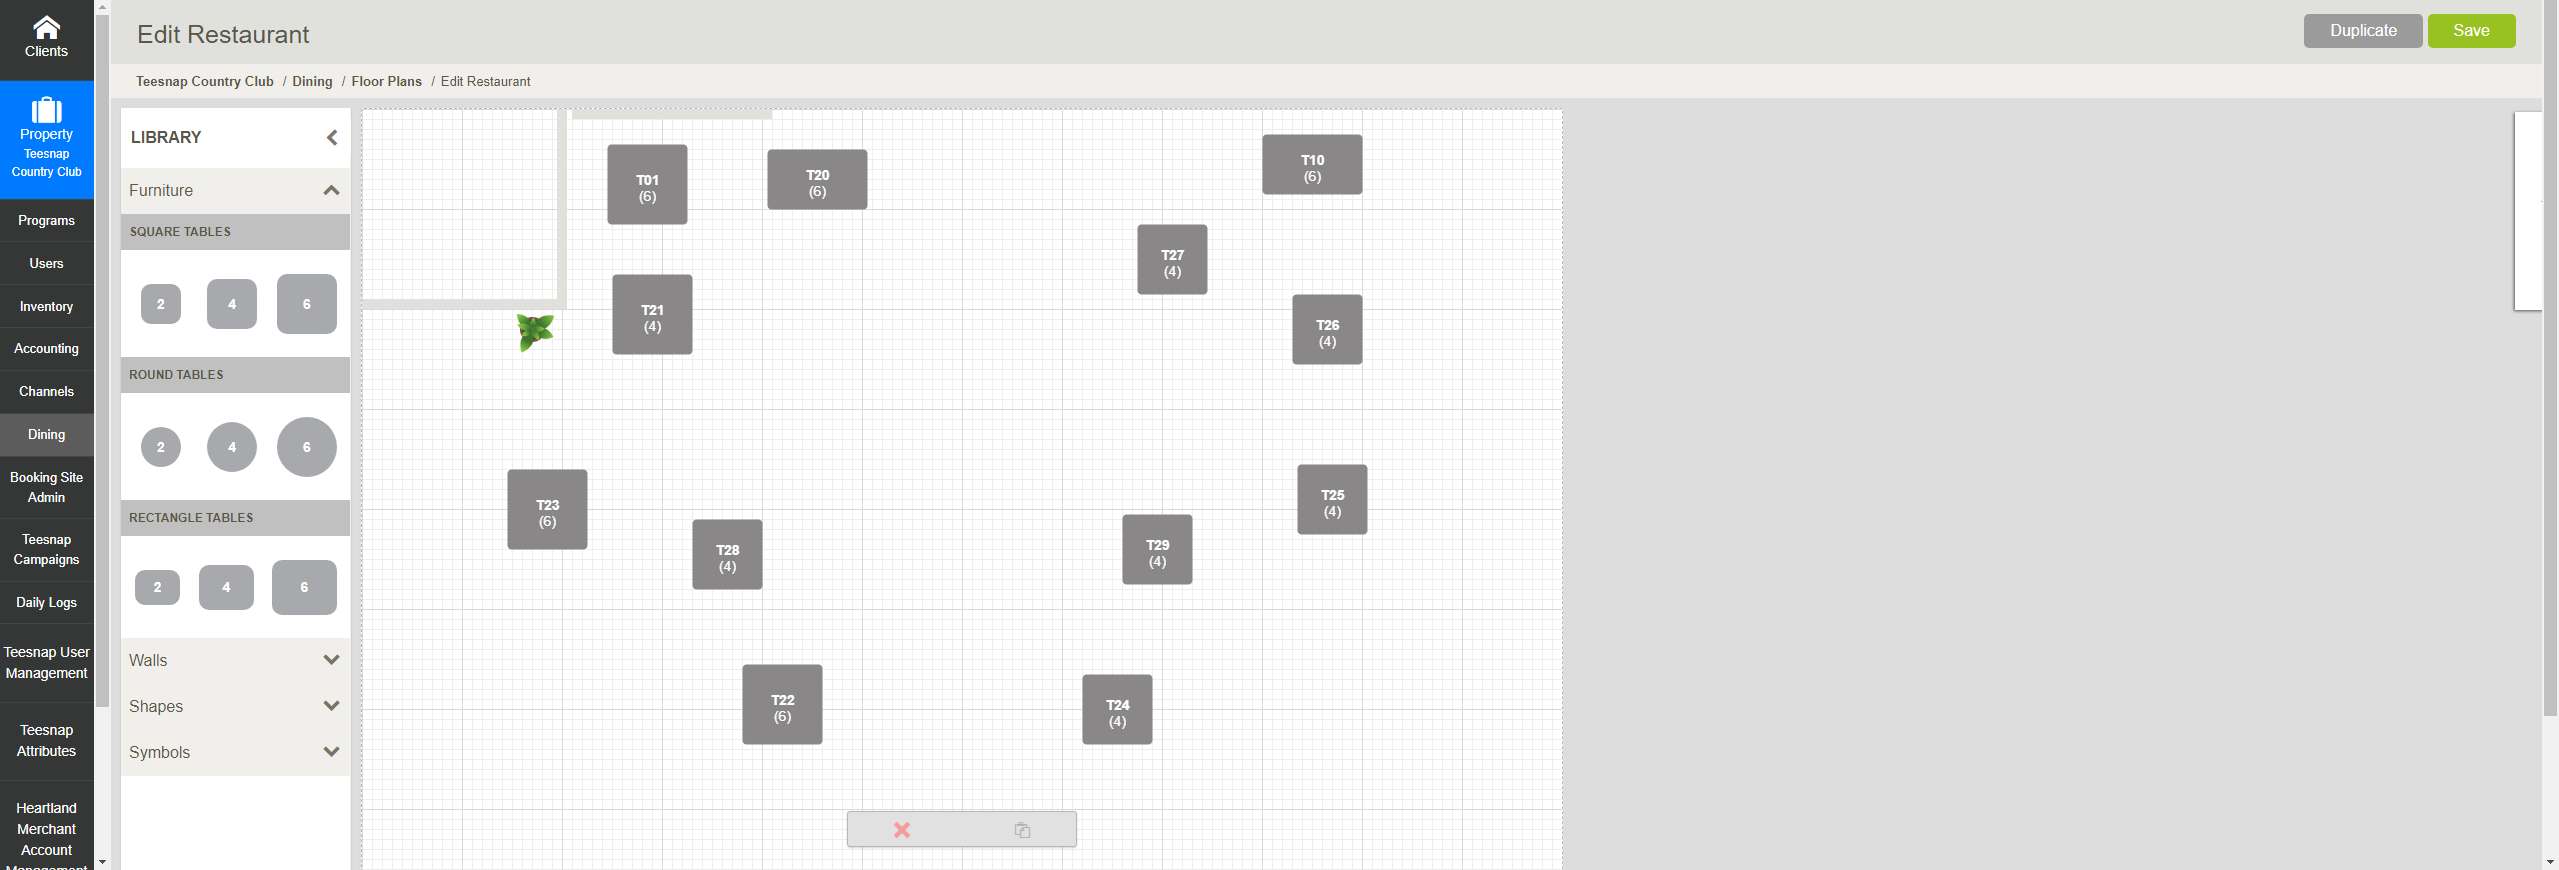
At the bottom-left of the Edit floor plan screen are the options for adding walls, shapes, and symbols.
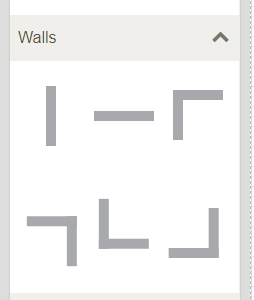
Click the drop-down for the walls, shapes, or symbols to see the options under each. Click on the desired item to move it into the table layout area. You can click on the item as many times as is necessary to move several of them into the layout area.
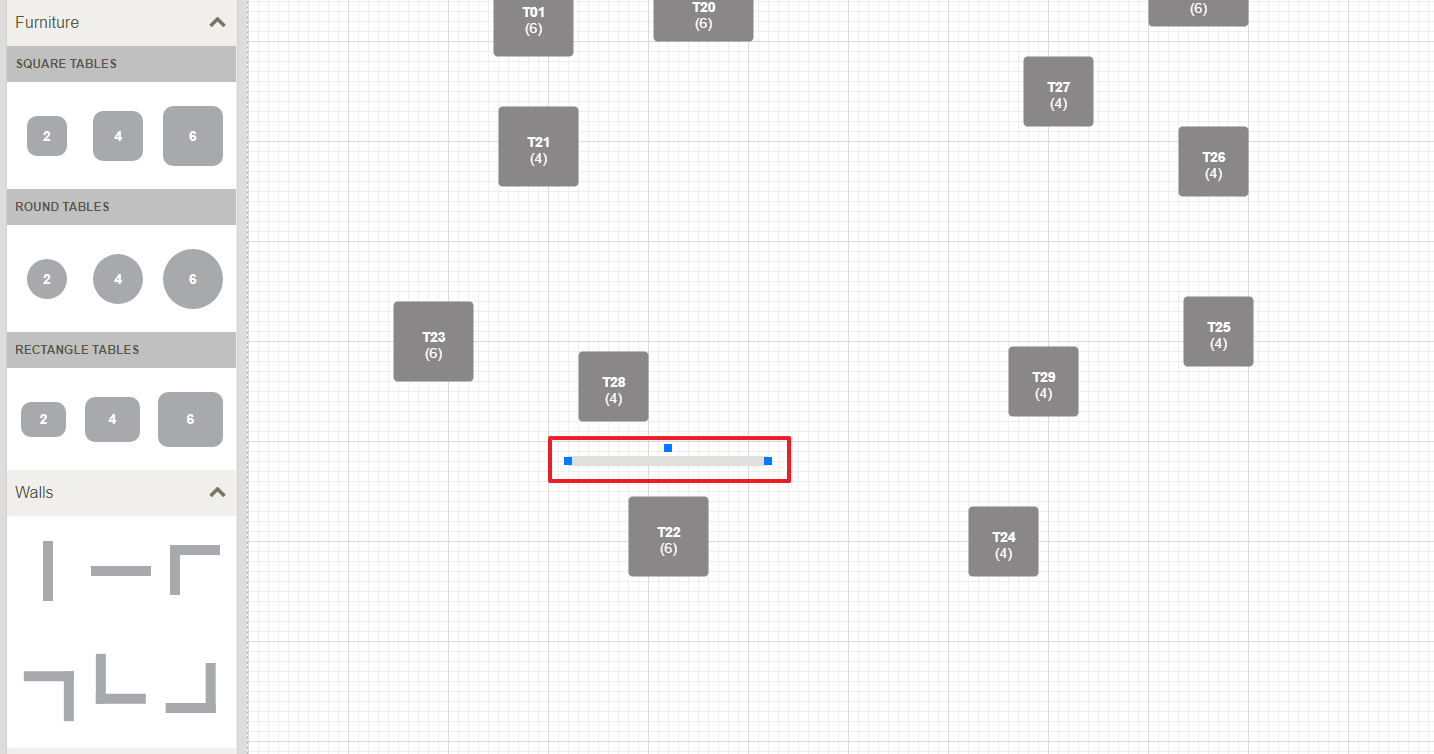
You can now drag the item (wall in this case) into the desired position in the layout.
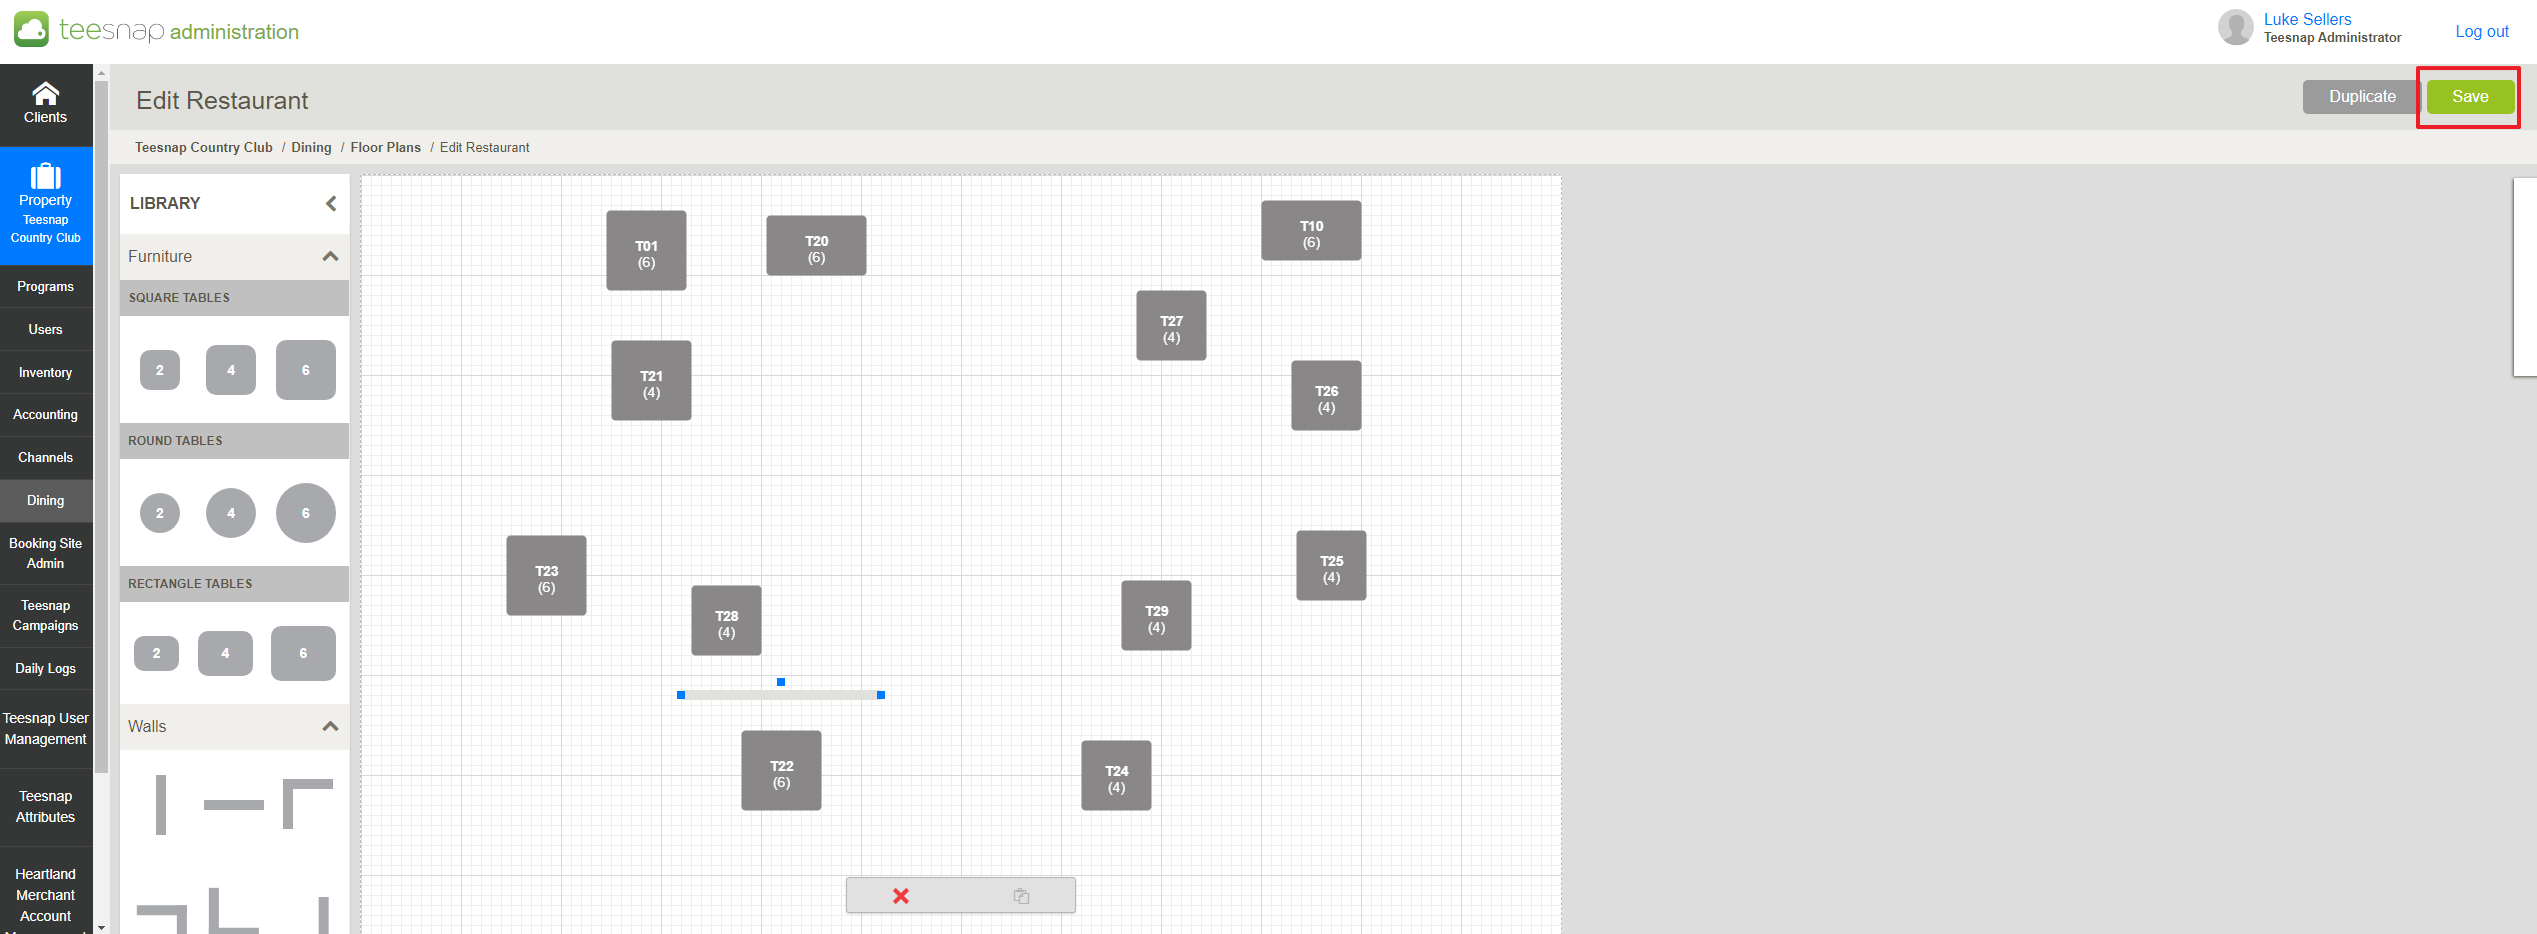
After the desired changes have been made, click Save at top-right to apply the changes.
Be sure to go back into the Edit screen to change the floor plan status back to Active and Save..
If you have any questions, please do not hesitate to reach out to Teesnap Support by emailing us at support@teesnap.com or calling 844-458-1032.