How To Customize Report Tables Using Rollup Groups
This article will explain how to use rollup groups to filter your reports.

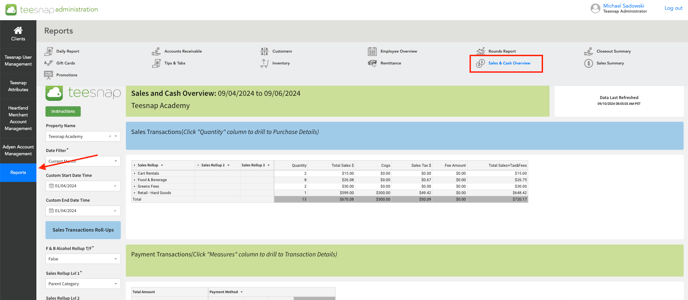
2. Once you've identified which report you'd like to apply filters to, use the dropdown menu on the left side of the screen where it says "Sales Rollup Lvl 1/2/3", these different dropdown menus will help filter your data into more specific or generic categories. 
3. The different dropdown filters are shown below.

4. In the Sales Transactions report below, we enabled the filter "Product/Rack Rate" thus allowing us to see exactly which products were sold in a specific department. Repeat these steps and try using different filtering methods to make your reports more detailed or tailored to your specific needs!

If you have any questions, please do not hesitate to reach out to Teesnap Support by emailing us at support@teesnap.com or calling 844-458-1032.
.png?width=240&height=55&name=Untitled%20design%20(86).png)