How to Set Up a Paper Fulfillment Center
This article describes the procedure for adding a paper fulfillment center.
A paper fulfillment center is one that prints out hard-copy tickets to a kitchen or bar ticket printer. The person staffing the fulfillment center (chef, cook, bartender) will be able to pull the orders to be prepared off of the printer. The tickets will also appear in the Tickets section on the iPad.
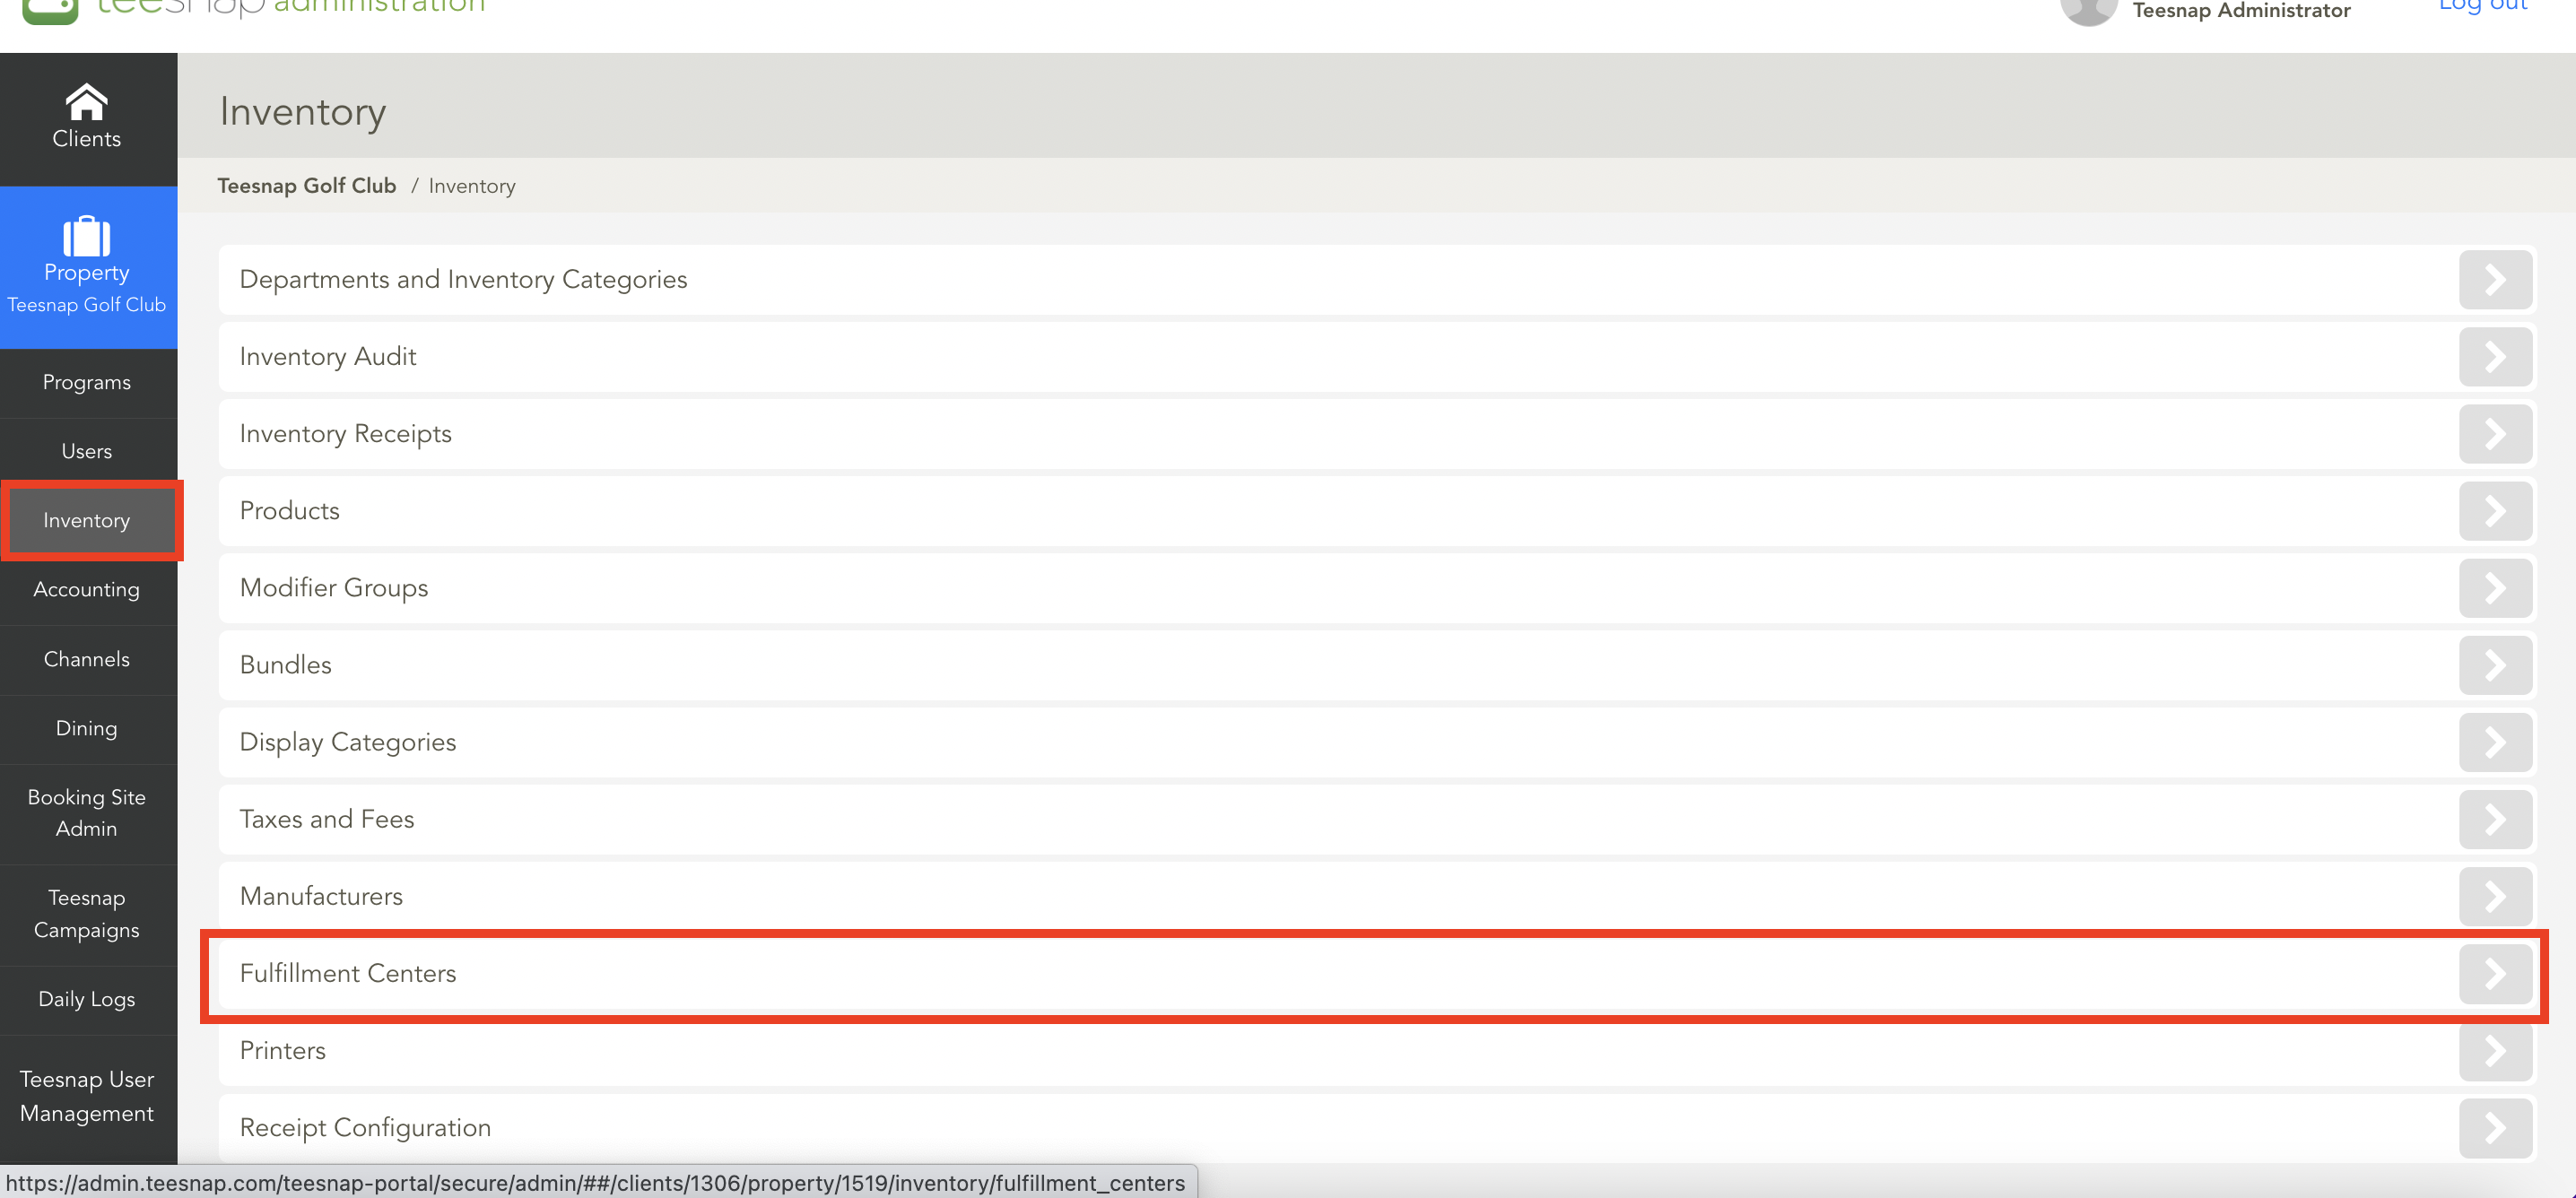
To create the paper fulfillment center, log into the Teesnap Admin Portal at admin.teesnap.com. Go to Inventory then Fulfillment Centers.

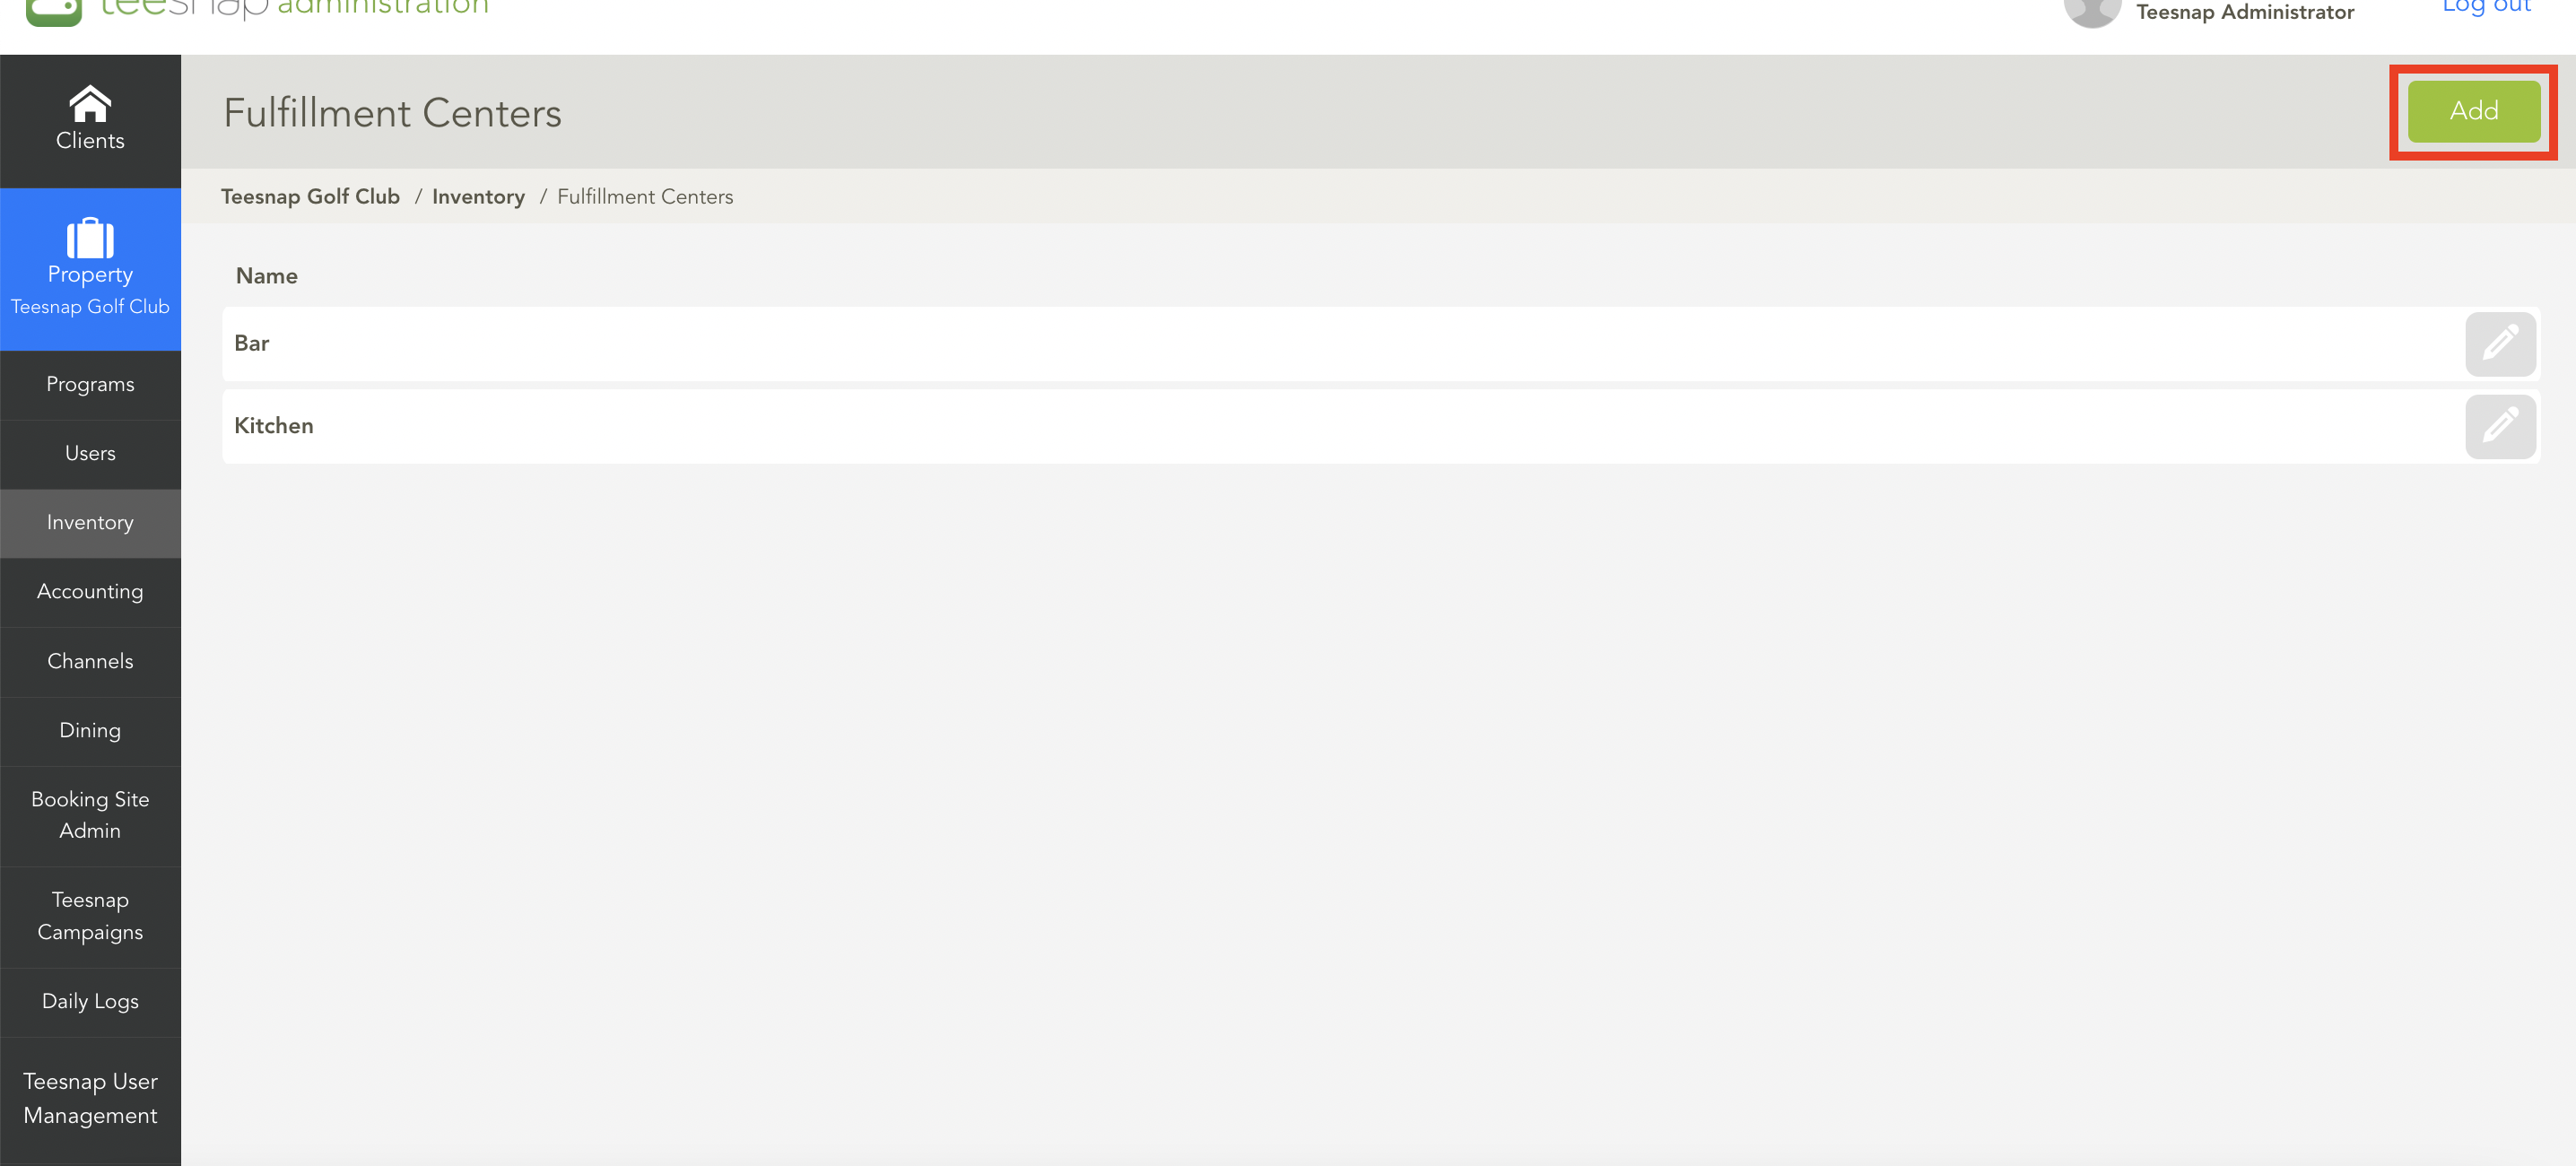
To set up a new fulfillment center, simply click on the "Add" button.

At the Add Fulfillment Center window, Details tab, fill in the name of the new fulfillment center and ensure the Type is set to Paper. Note also that a message appears: No printer configured for this fulfillment center. This will be addressed in a later step.

At the Add Fulfillment Center window, Products tab, you can choose products to assign to the Fulfillment Center. Type the name of a product and select Move.
IMPORTANT NOTES: In order for a product to be selected here, it must be flagged as Ticketable.
Hit Save to save the new Fulfillment Center.

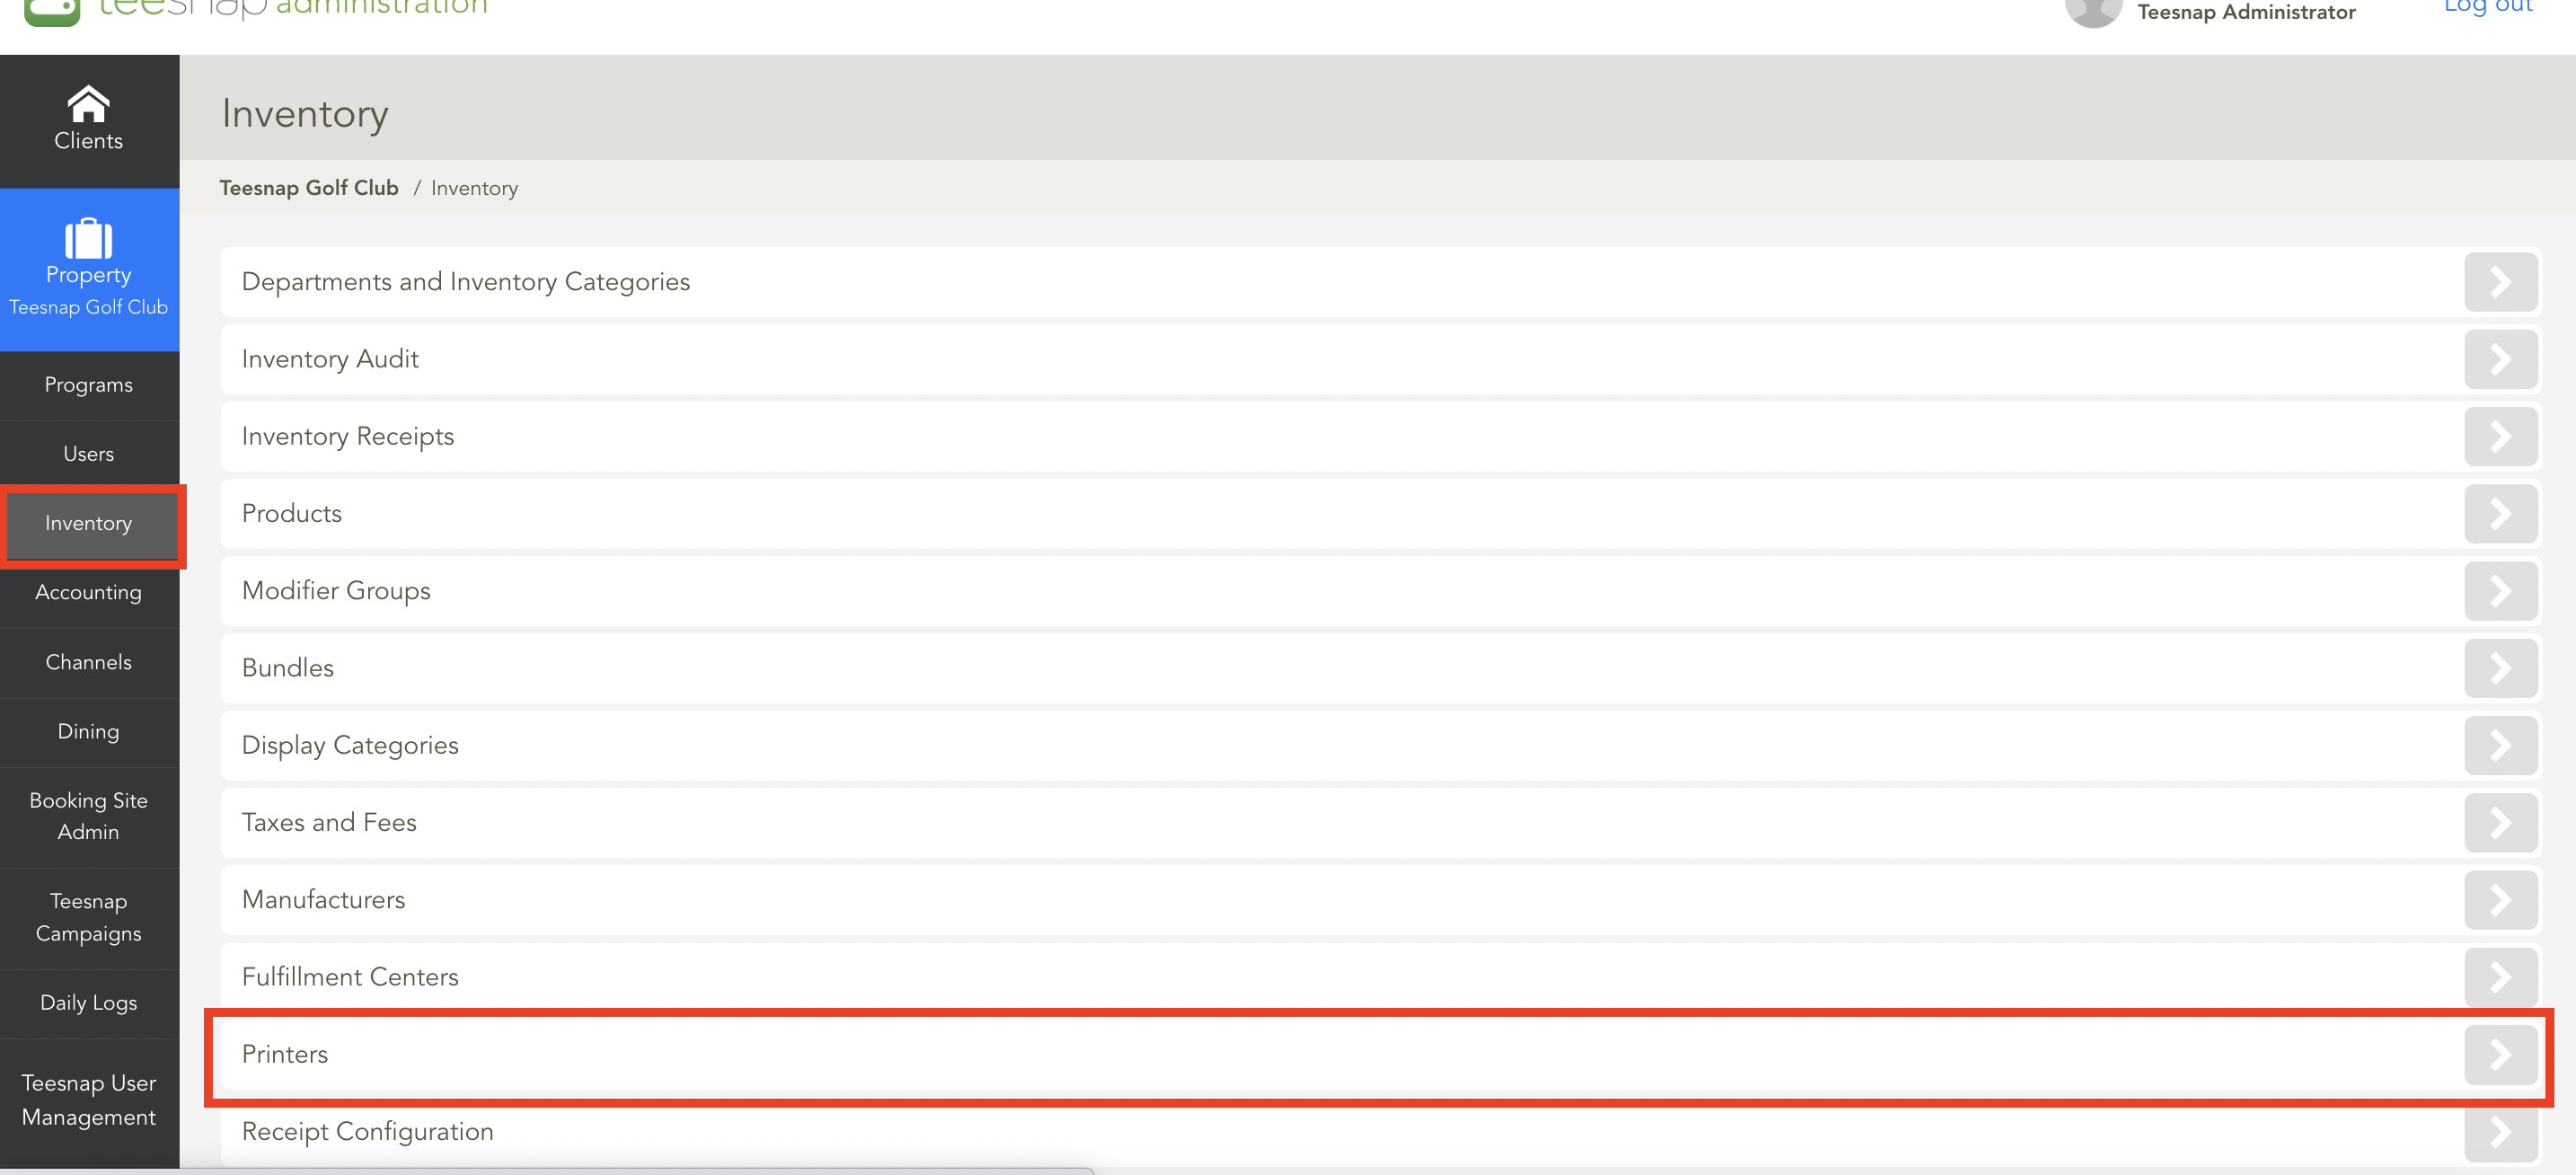
As stated above, a printer must be assigned to the new fulfillment center. To do this, go to Inventory then Printers.

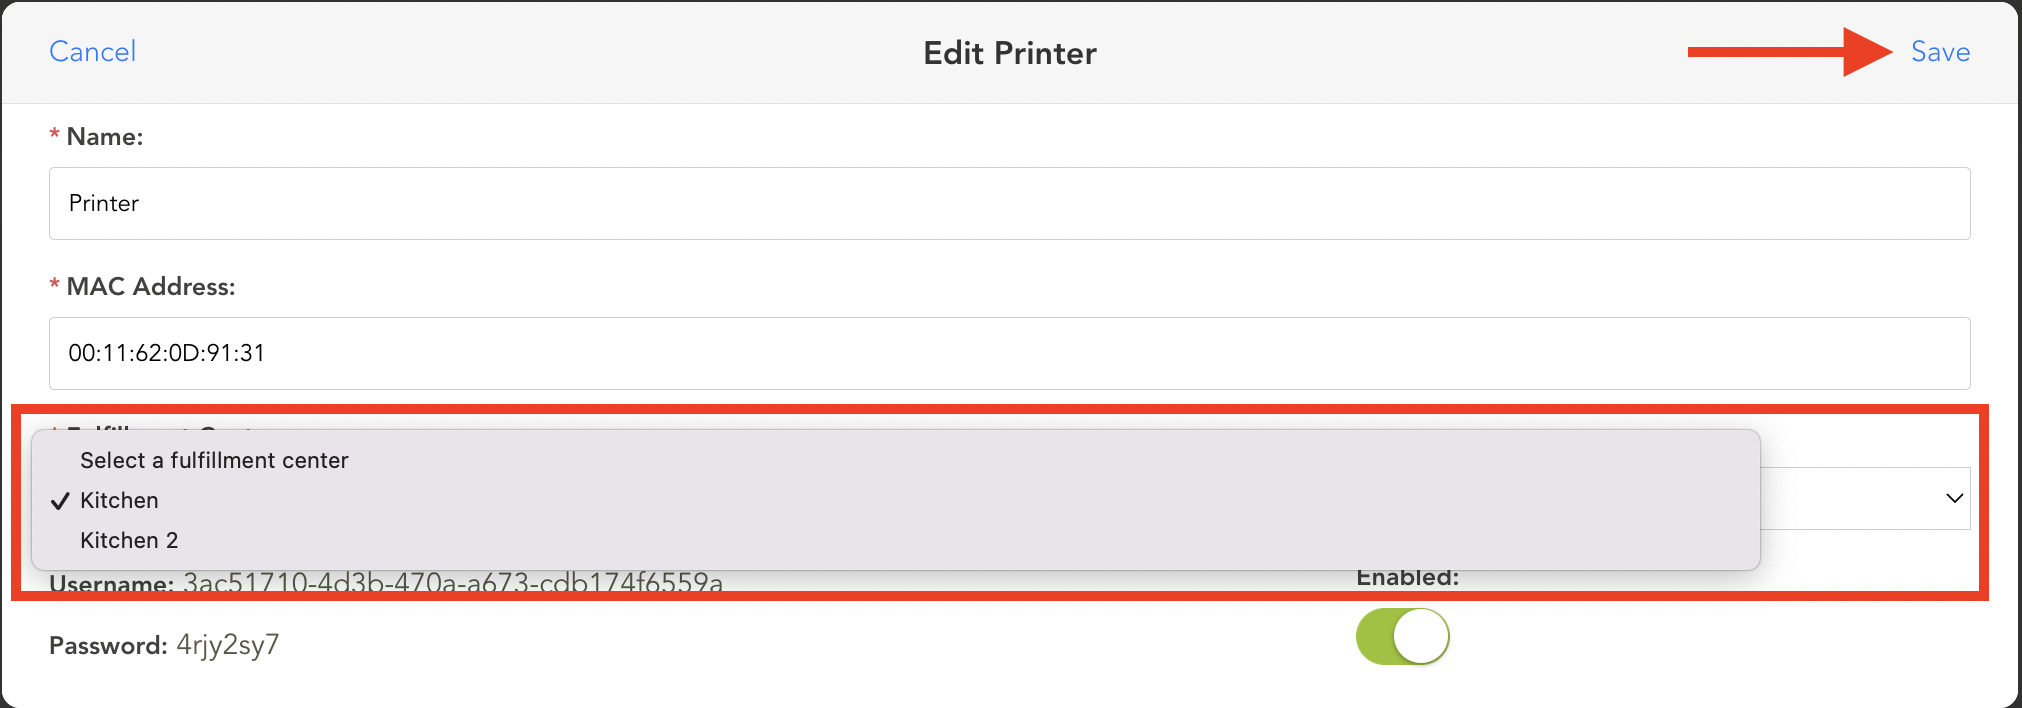
Edit the printer in question, then select the appropriate Fulfillment Center from the drop-down and hit Save.

Finally, return to the edit screen for the Fulfillment Center. Note now that when you switch the Fulfillment Center type to Paper, the "No Printer Configured" message no longer appears. The paper fulfillment center is now set up properly.

If you have any questions, please do not hesitate to reach out to Teesnap Support by emailing us at support@teesnap.com or calling 844-458-1032.
.png?width=240&height=55&name=Untitled%20design%20(86).png)