.png?width=240&height=55&name=Untitled%20design%20(86).png)
1. Log in to your dashboard at http://YOURWEBSITE.COM/login (adding "/login" to your website will bring you to the website login area).
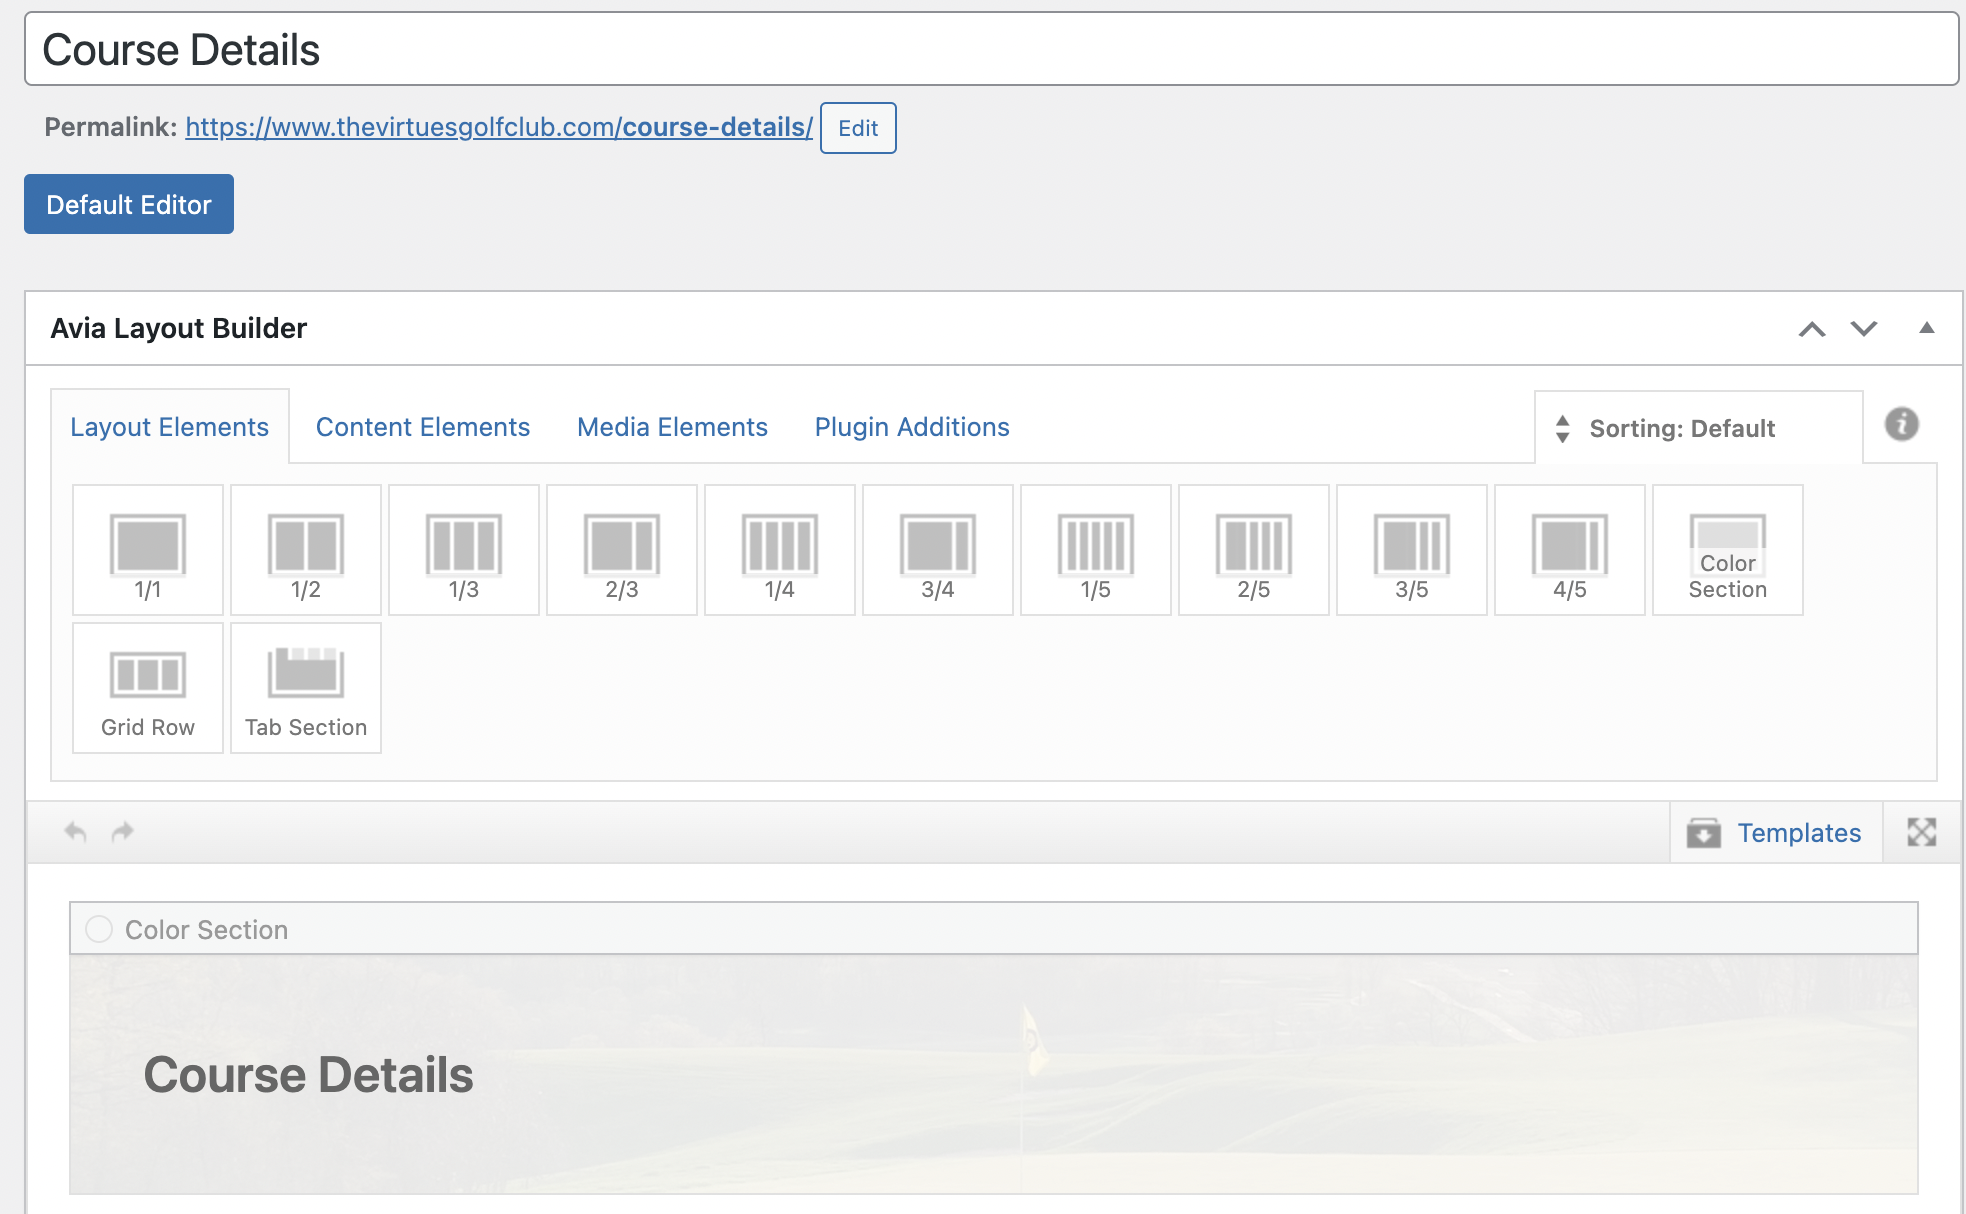
2. Proceed to Pages on the left menu bar and click All Pages. This will bring up a list of all of the pages included on your website.
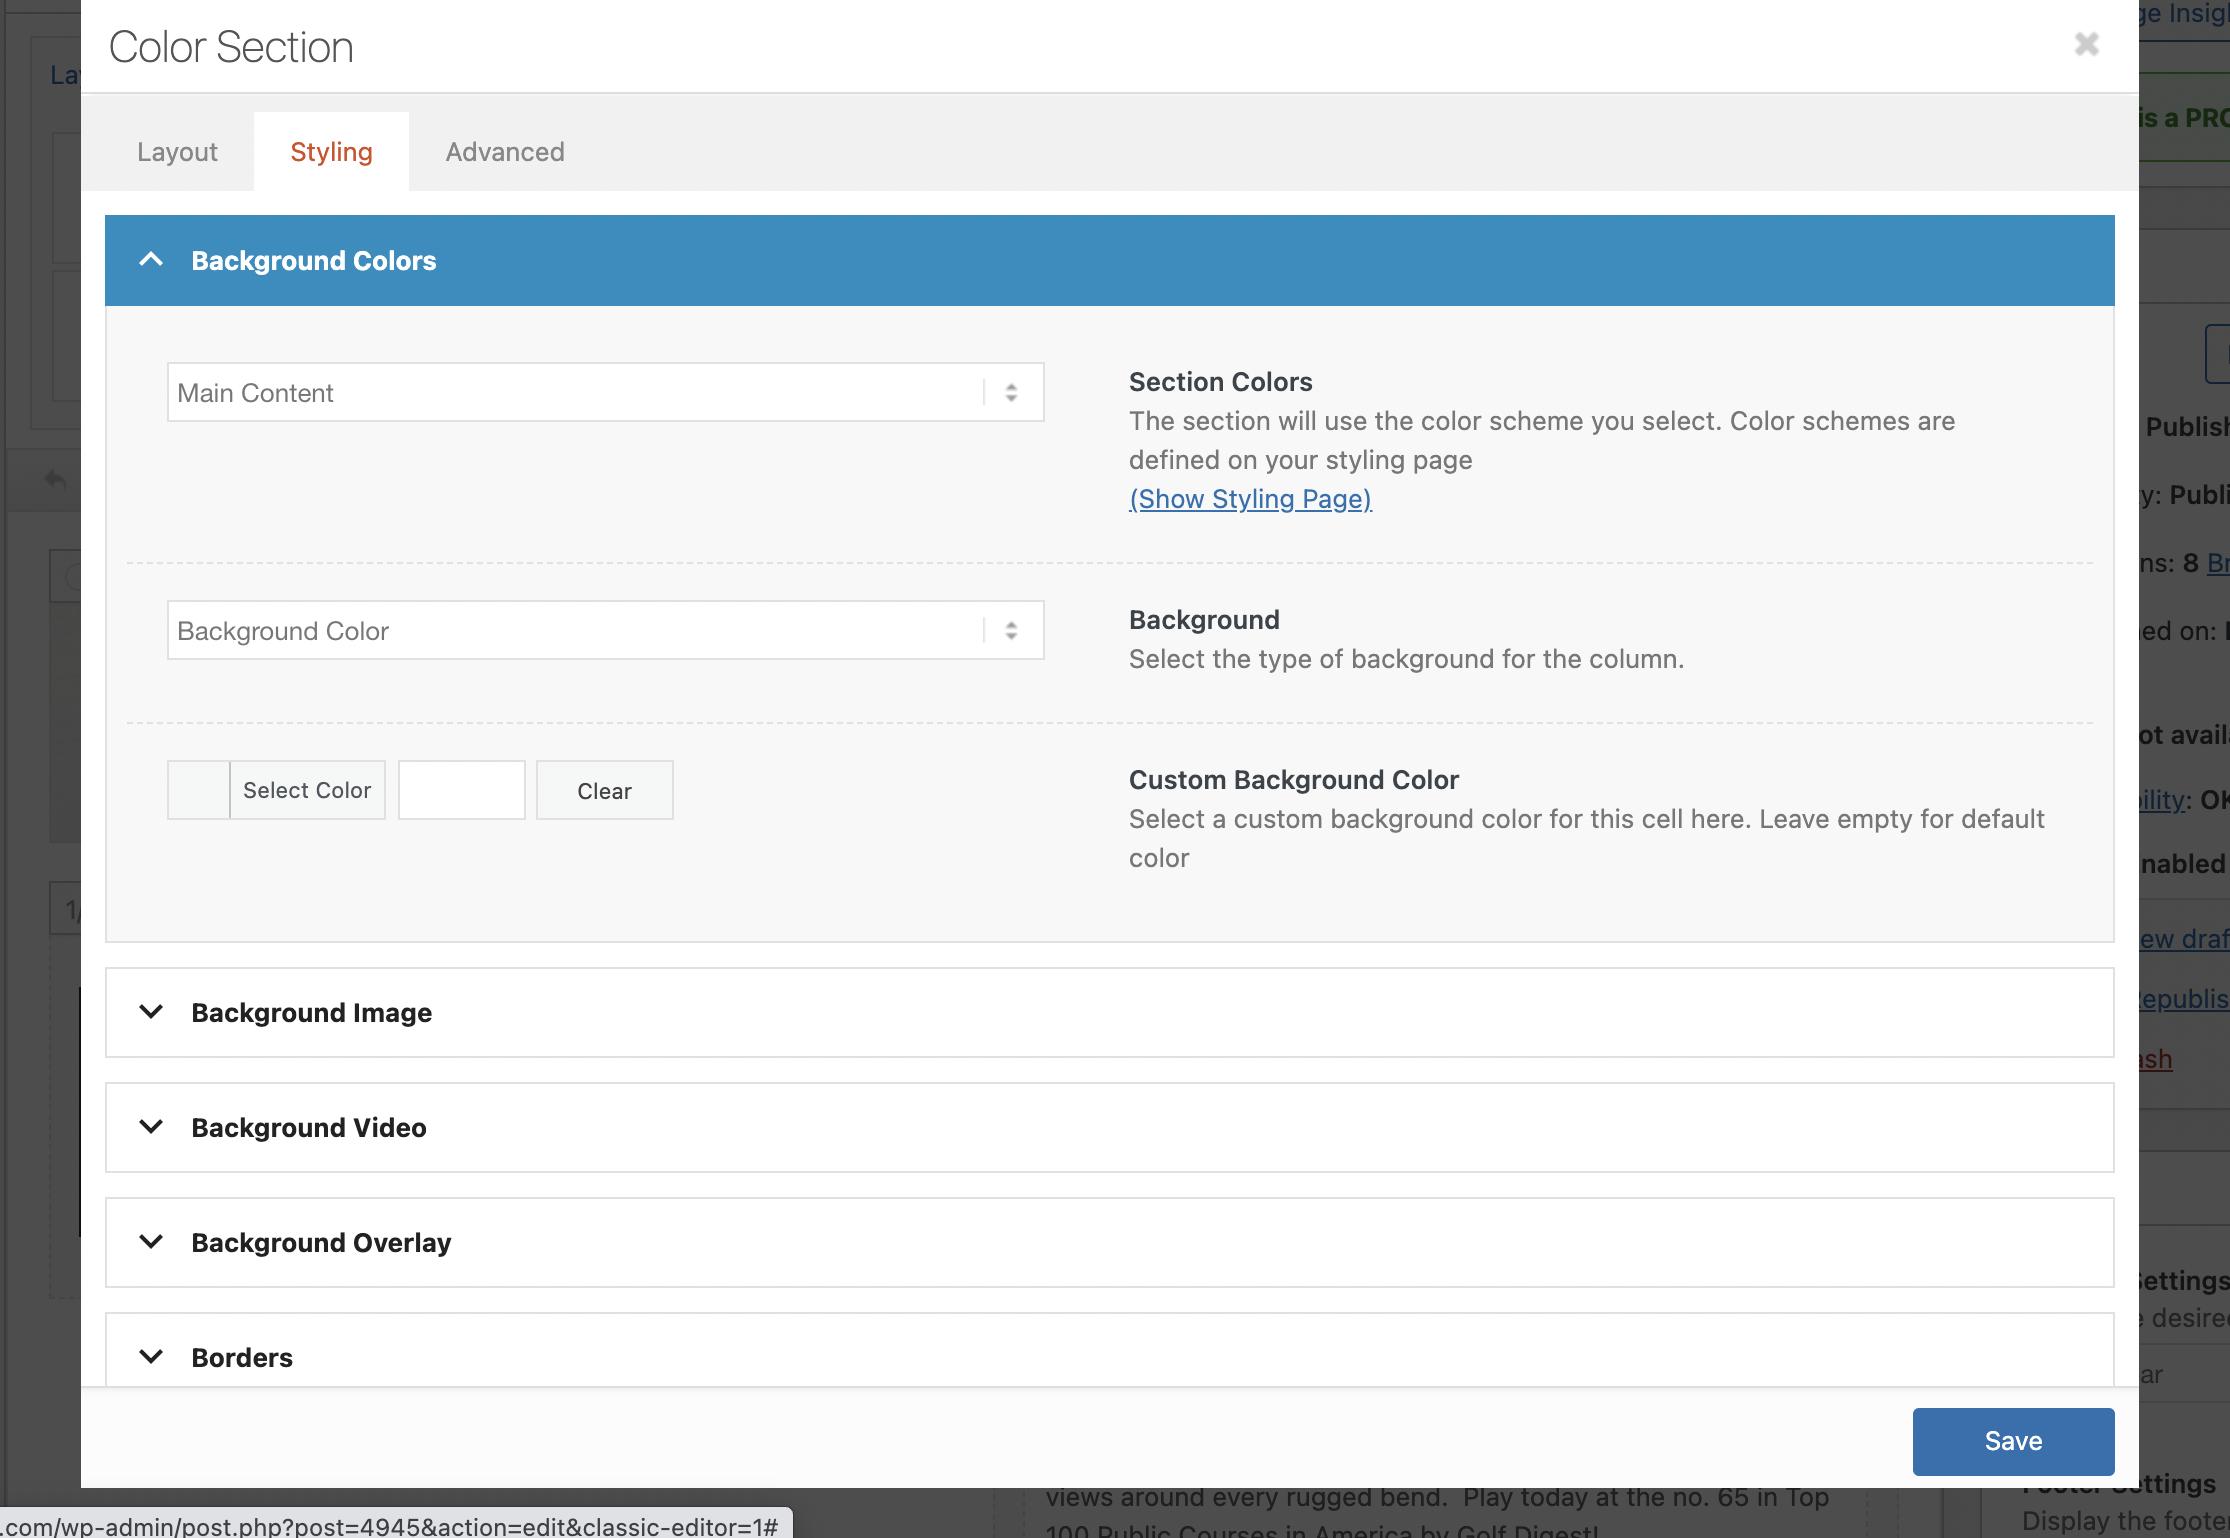
3. Once on the desired page, click on the edit icon in the color section box at the top of the page. This will open another editing window. Click on the second tab to the right-section background. Click on the insert image button which will take you to your media library.
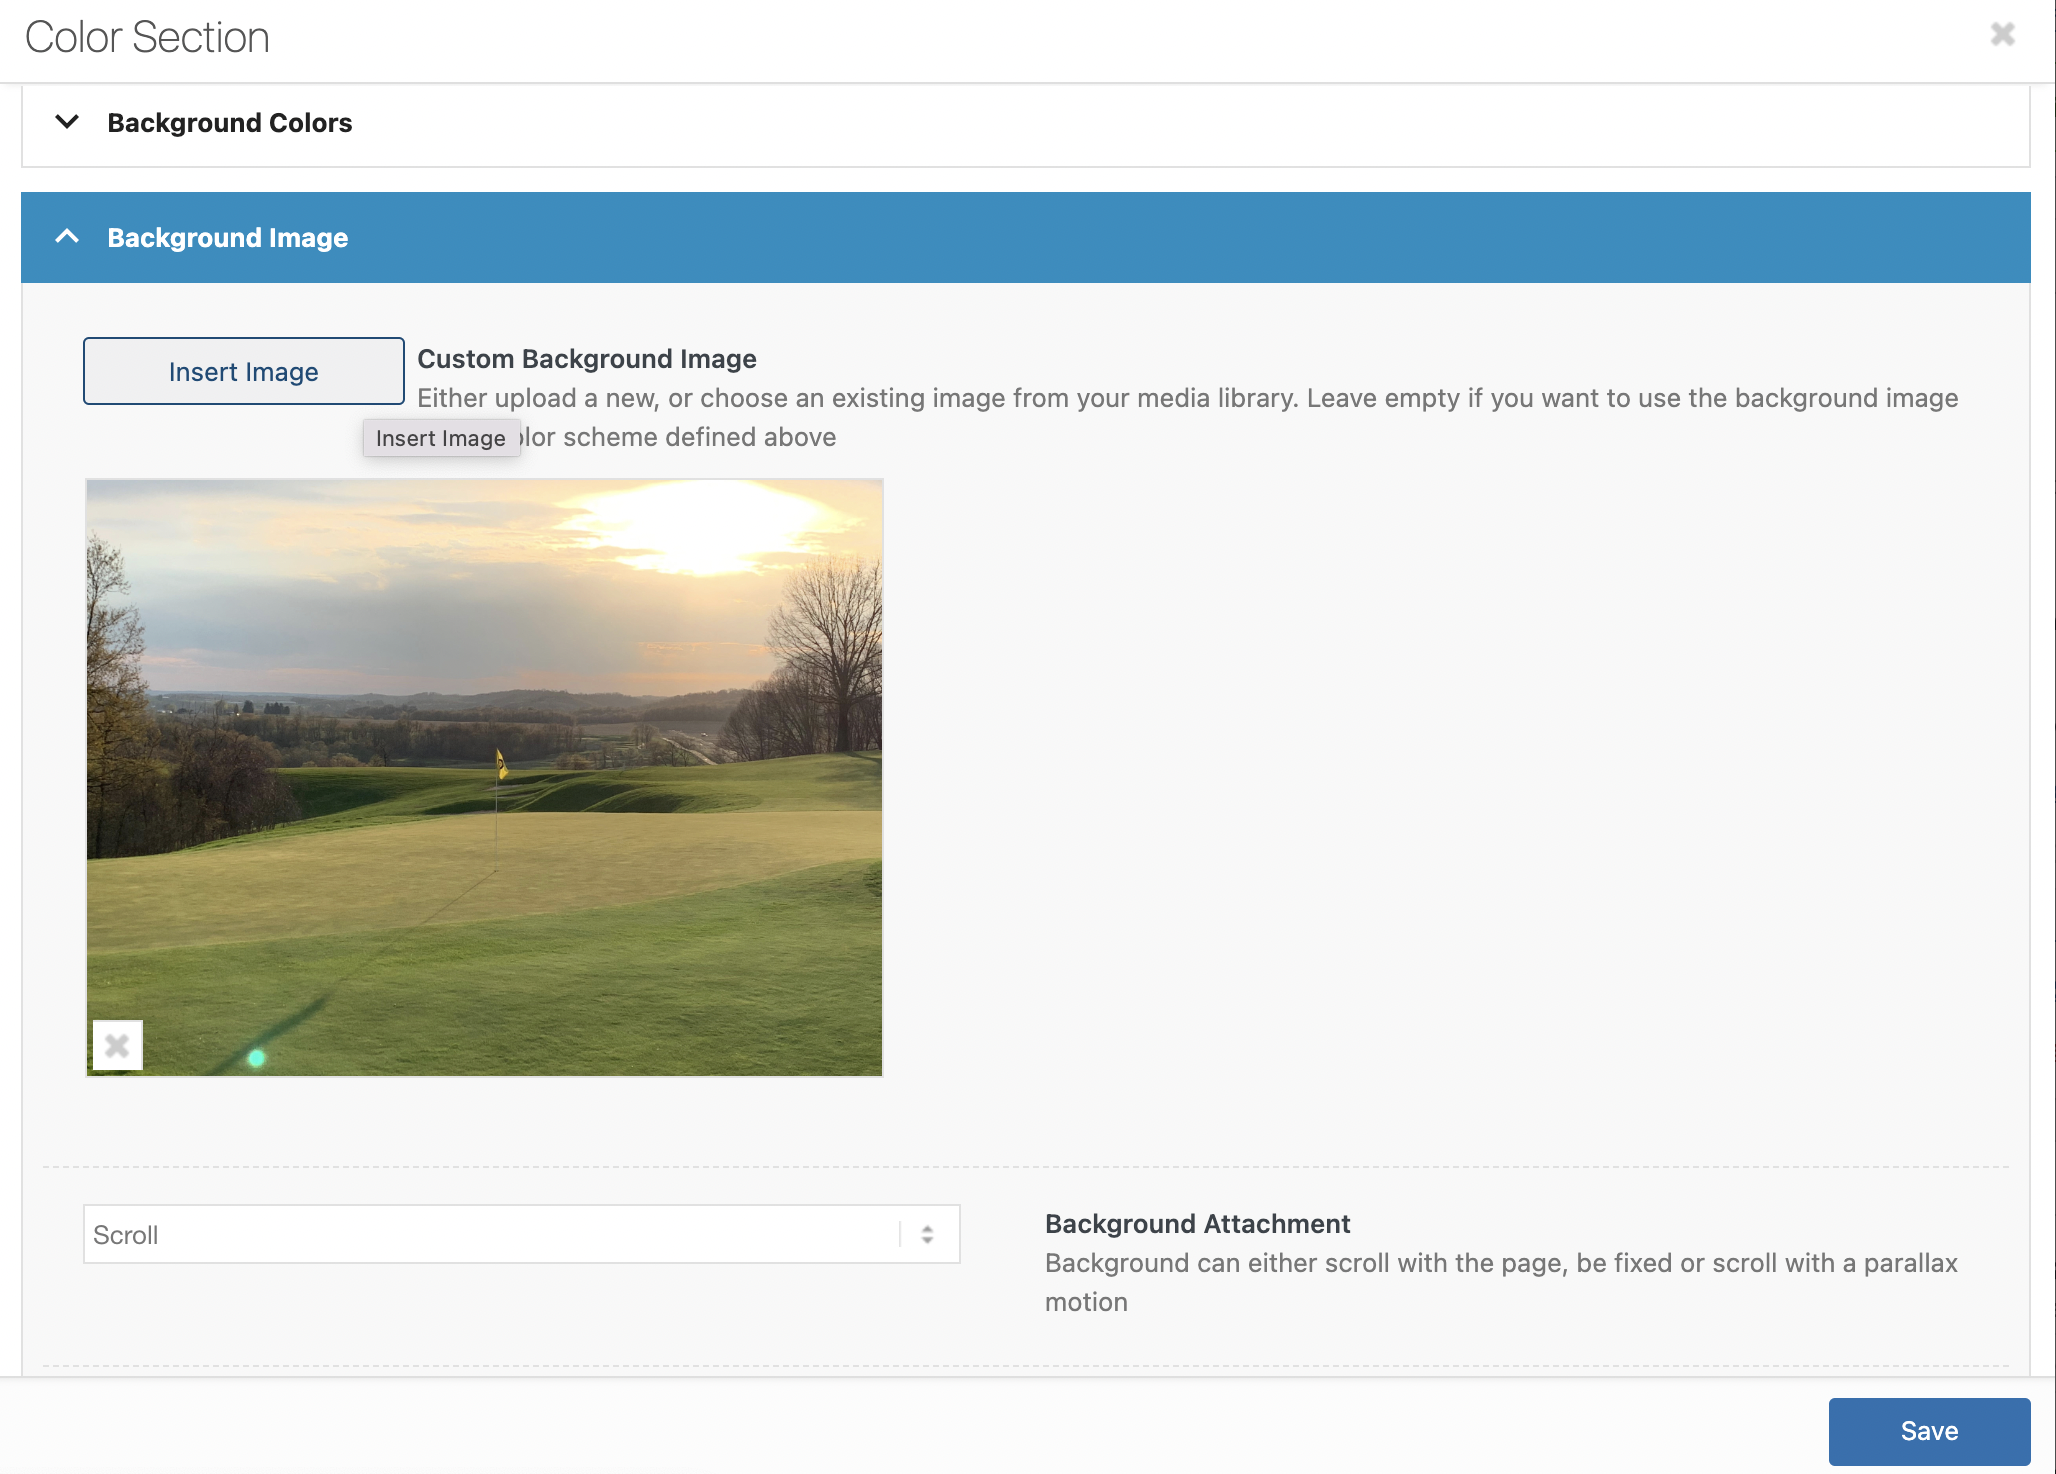
4. Choose the desired image from the image library
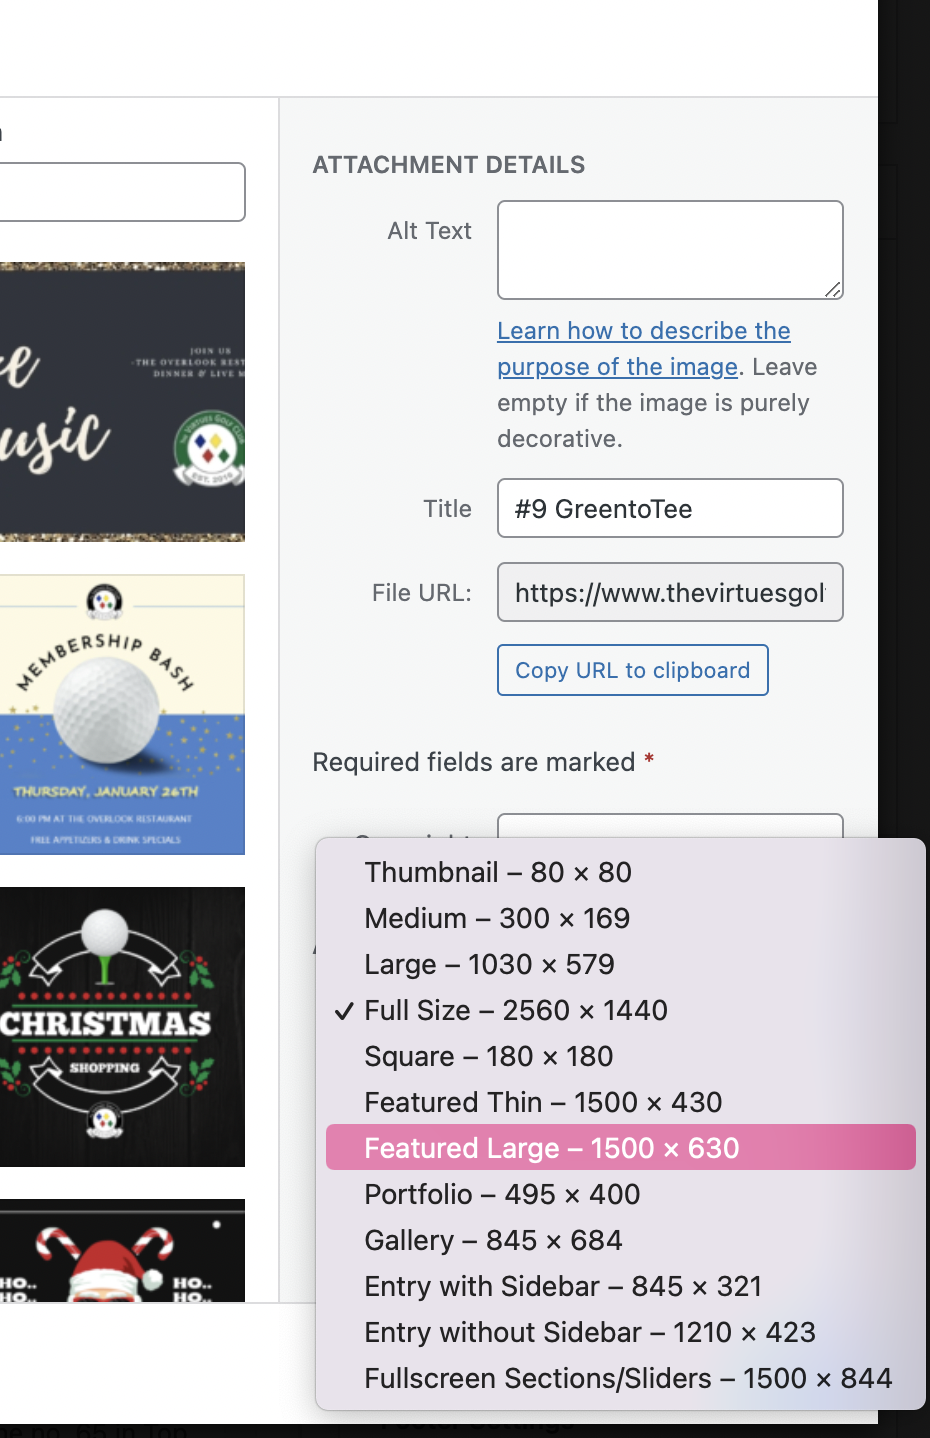
5. Make sure to adjust the size of the image from the drop-down menu on the right-hand side. For header images choose, featured thin and featured large work best. (you may have to play with the sizing to see which fits best)
6. Click Insert and the blue save button in the bottom right.
7. Click the blue publish button at the top right of the page to save your changes.
NOTE: The header image container is 1500 pixels wide by 450-600 pixels. The image you are inserting must be at least these dimensions in order to display properly and not be pixelated.
If you have any questions, please do not hesitate to reach out to Teesnap Support by emailing us at support@teesnap.com or calling 844-458-1032