Updating Your Content in WordPress
Here are the step-by-step instructions for editing your pages:
-
Log in to your dashboard at http://YOURWEBSITE.COM/login (adding /login to your website will bring you to the website login area).
-
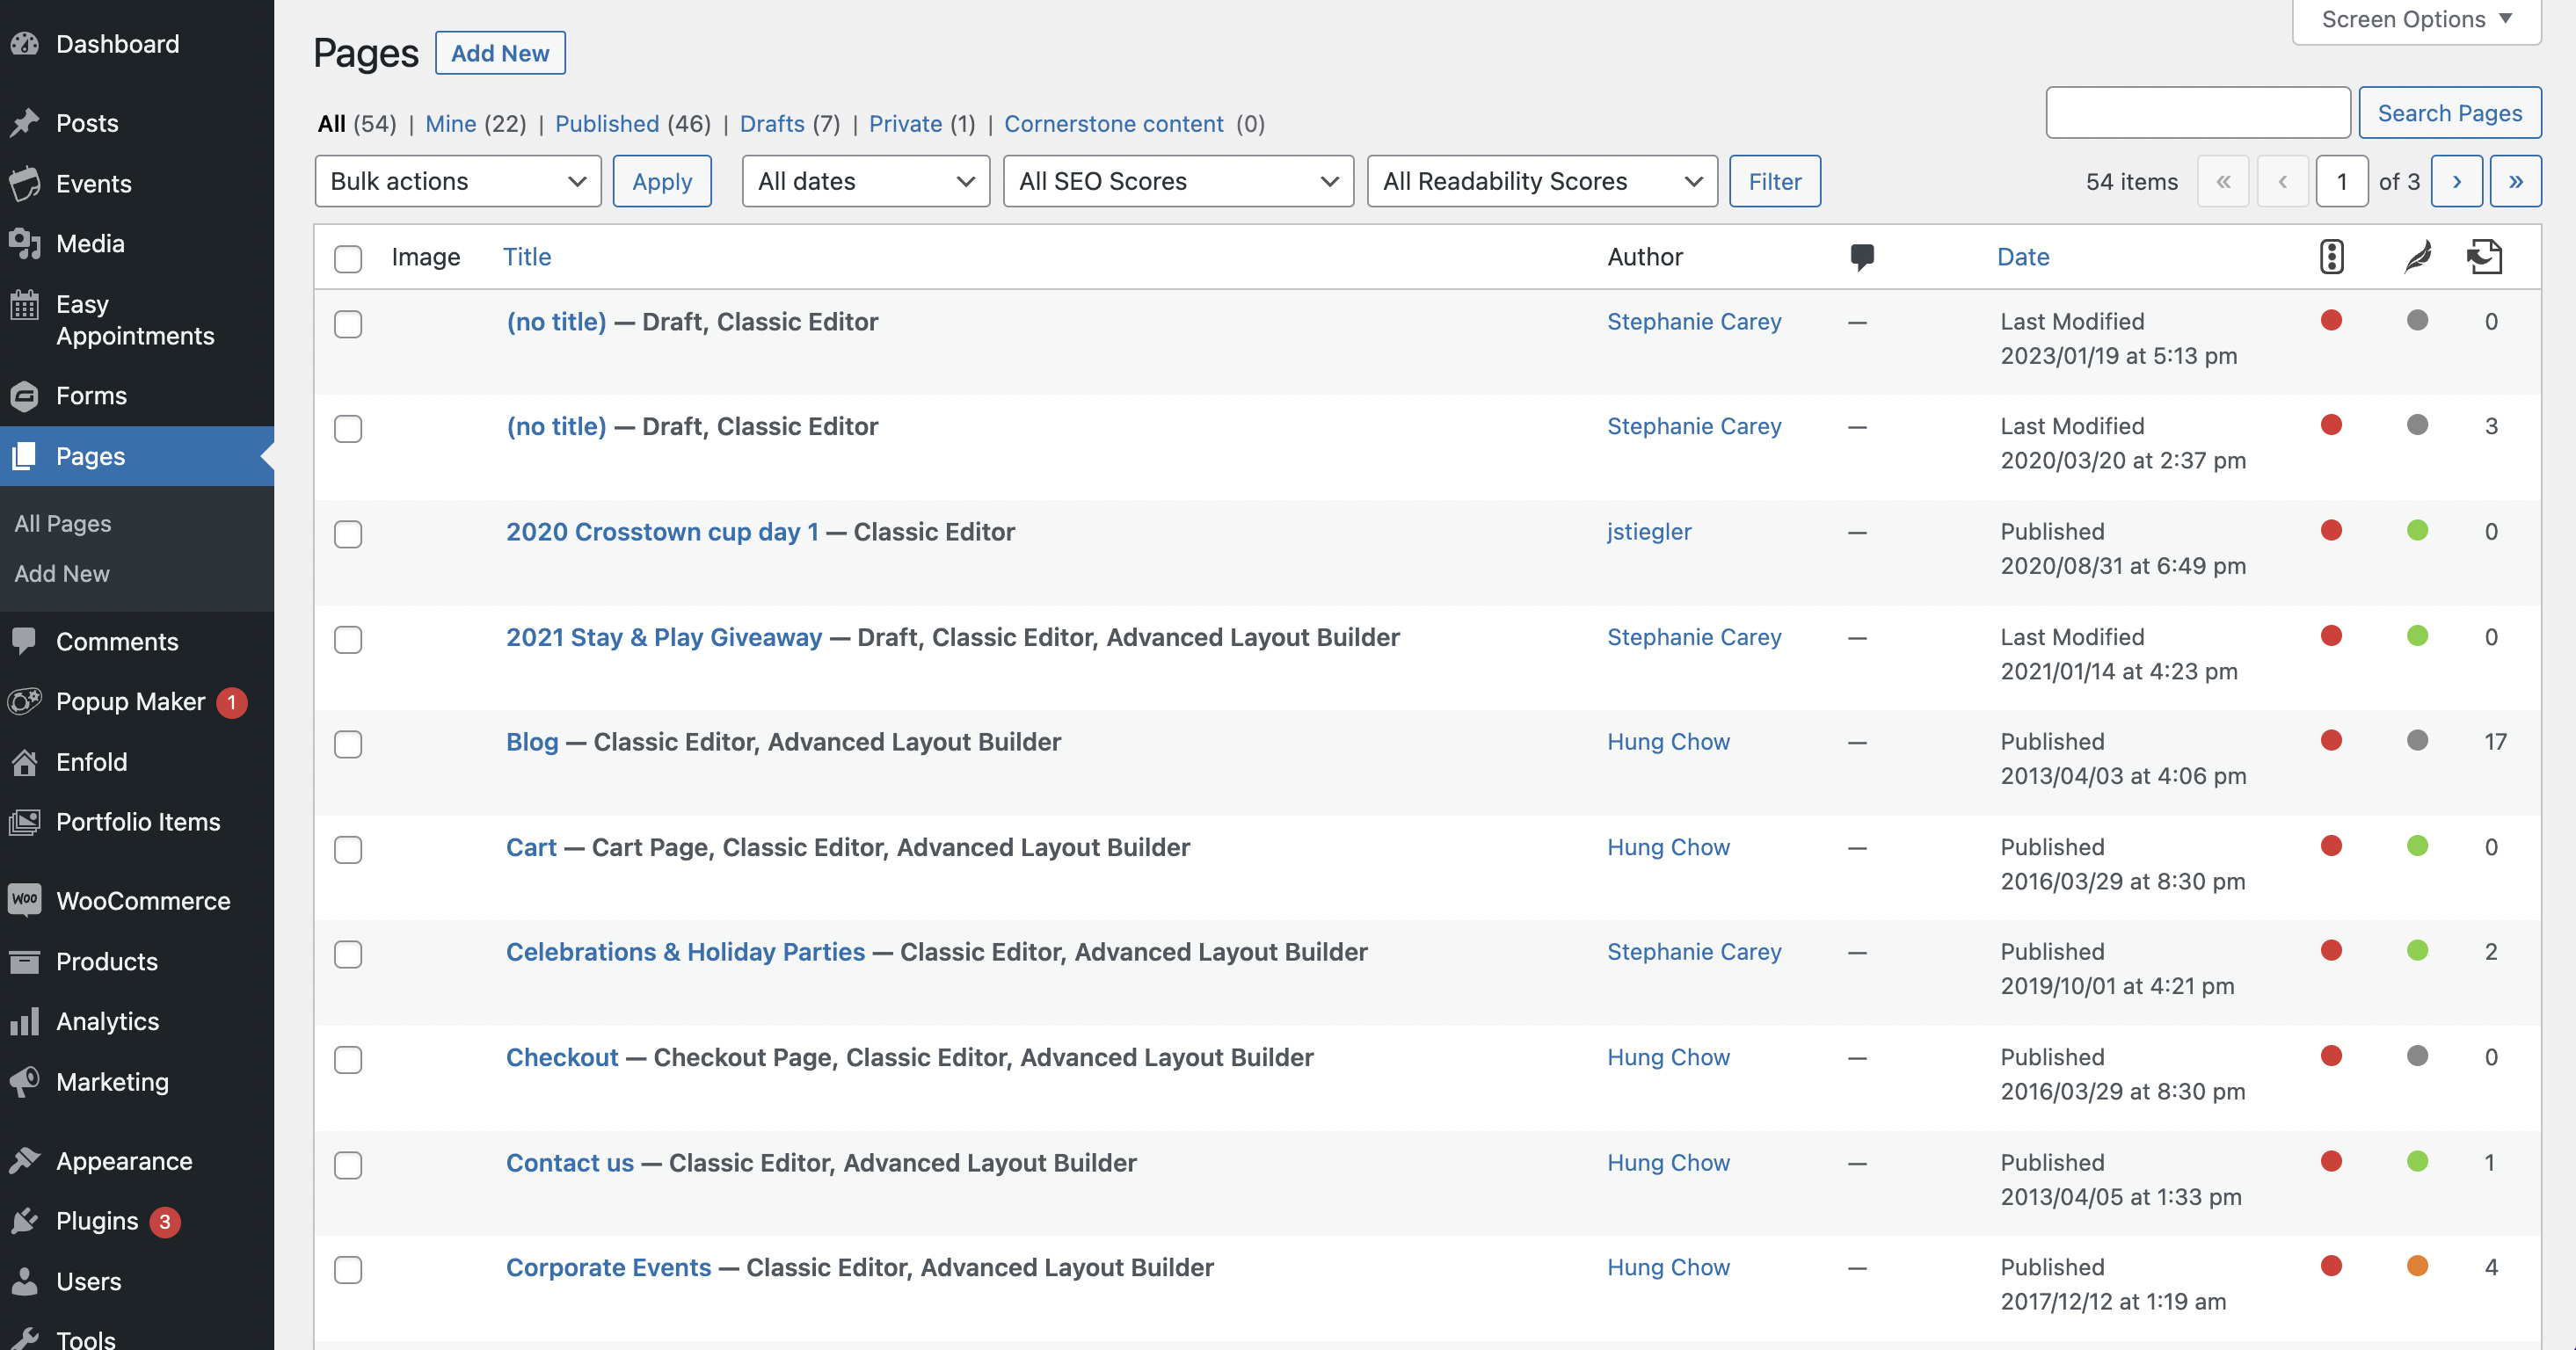
Proceed to �Pages� on the left menu bar and click �All Pages�. This will bring up a list of all of the pages included in your website.

-
Scroll through the list to find the page you would like to update. To open the page editor, click either the page title or click the blue EDIT text directly below the page title (either option works)

-
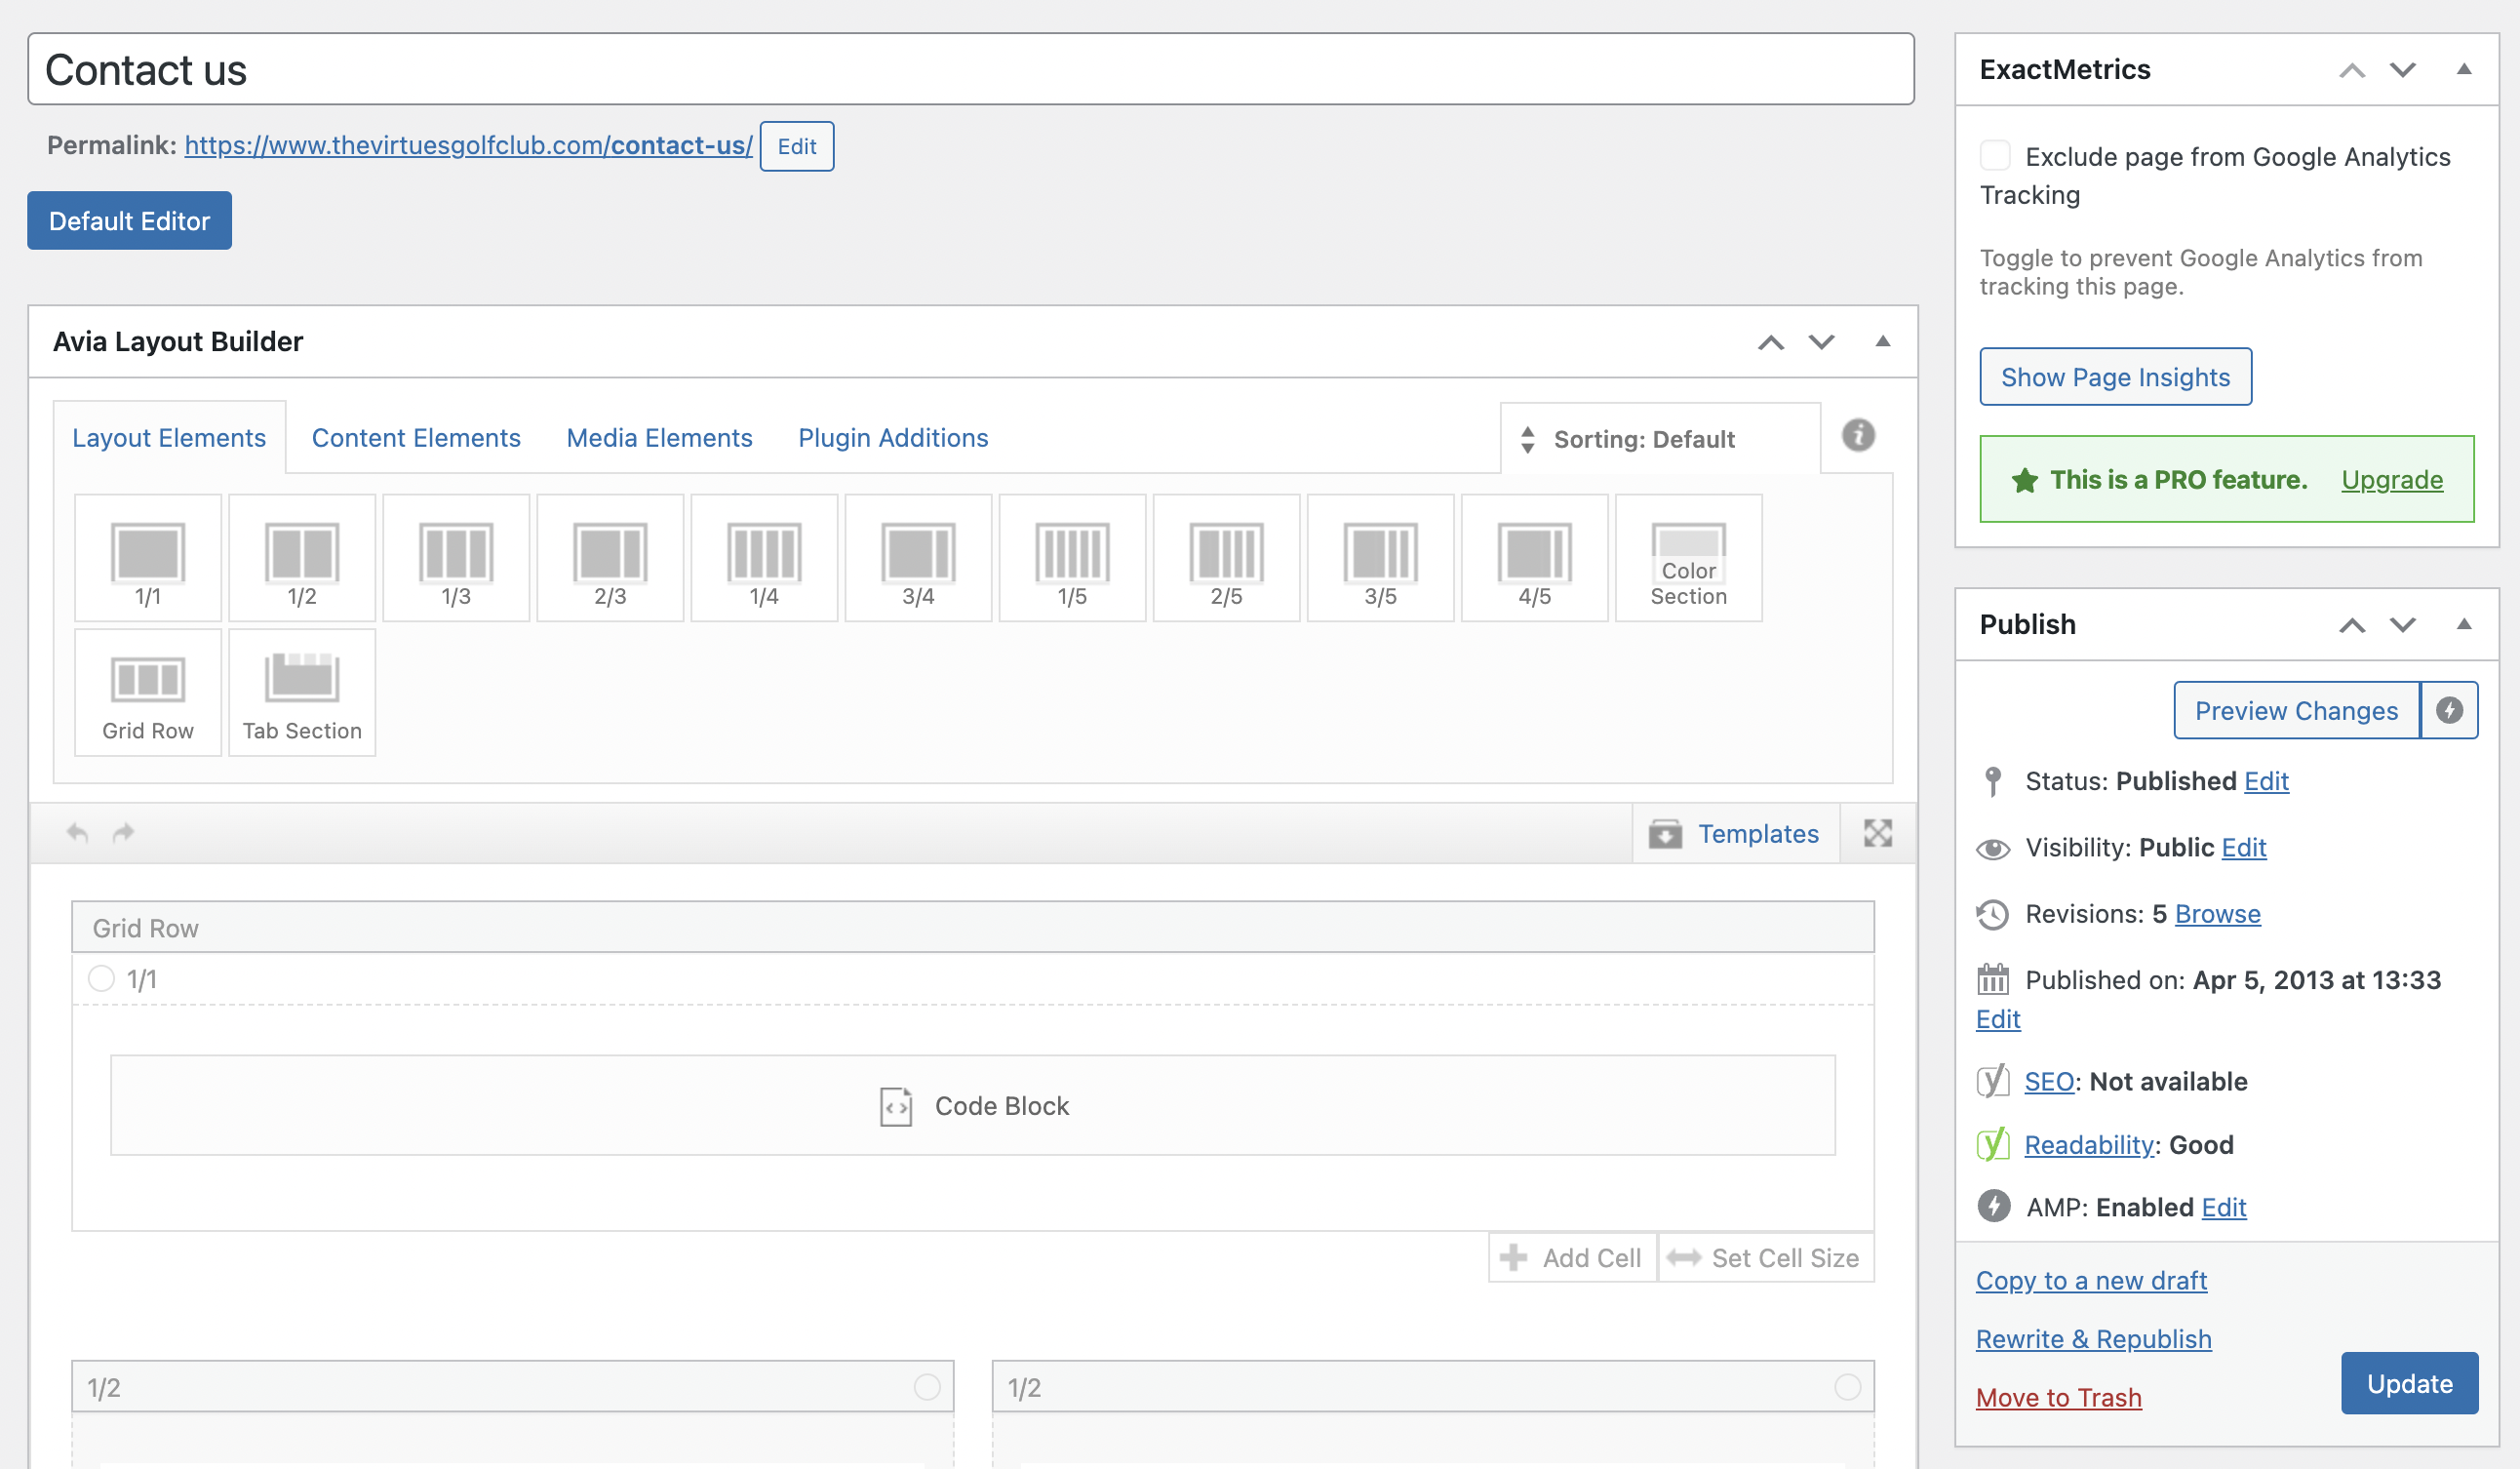
From the Page Editor, you can update:
-
Page Title - This is the title that will appear in the main menu navigation
-
Header Title of your page
-
Header Image
-
Page Content

-
-
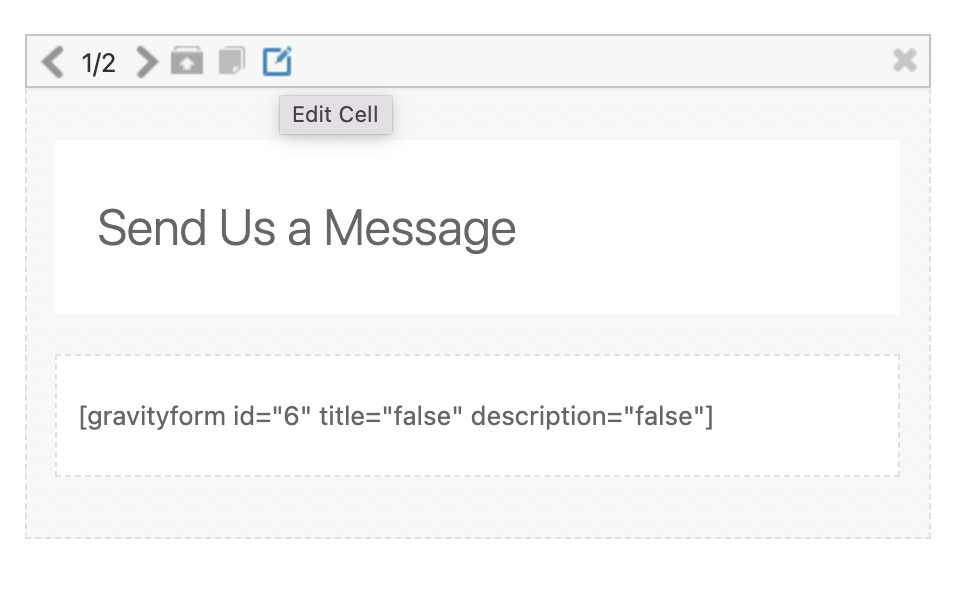
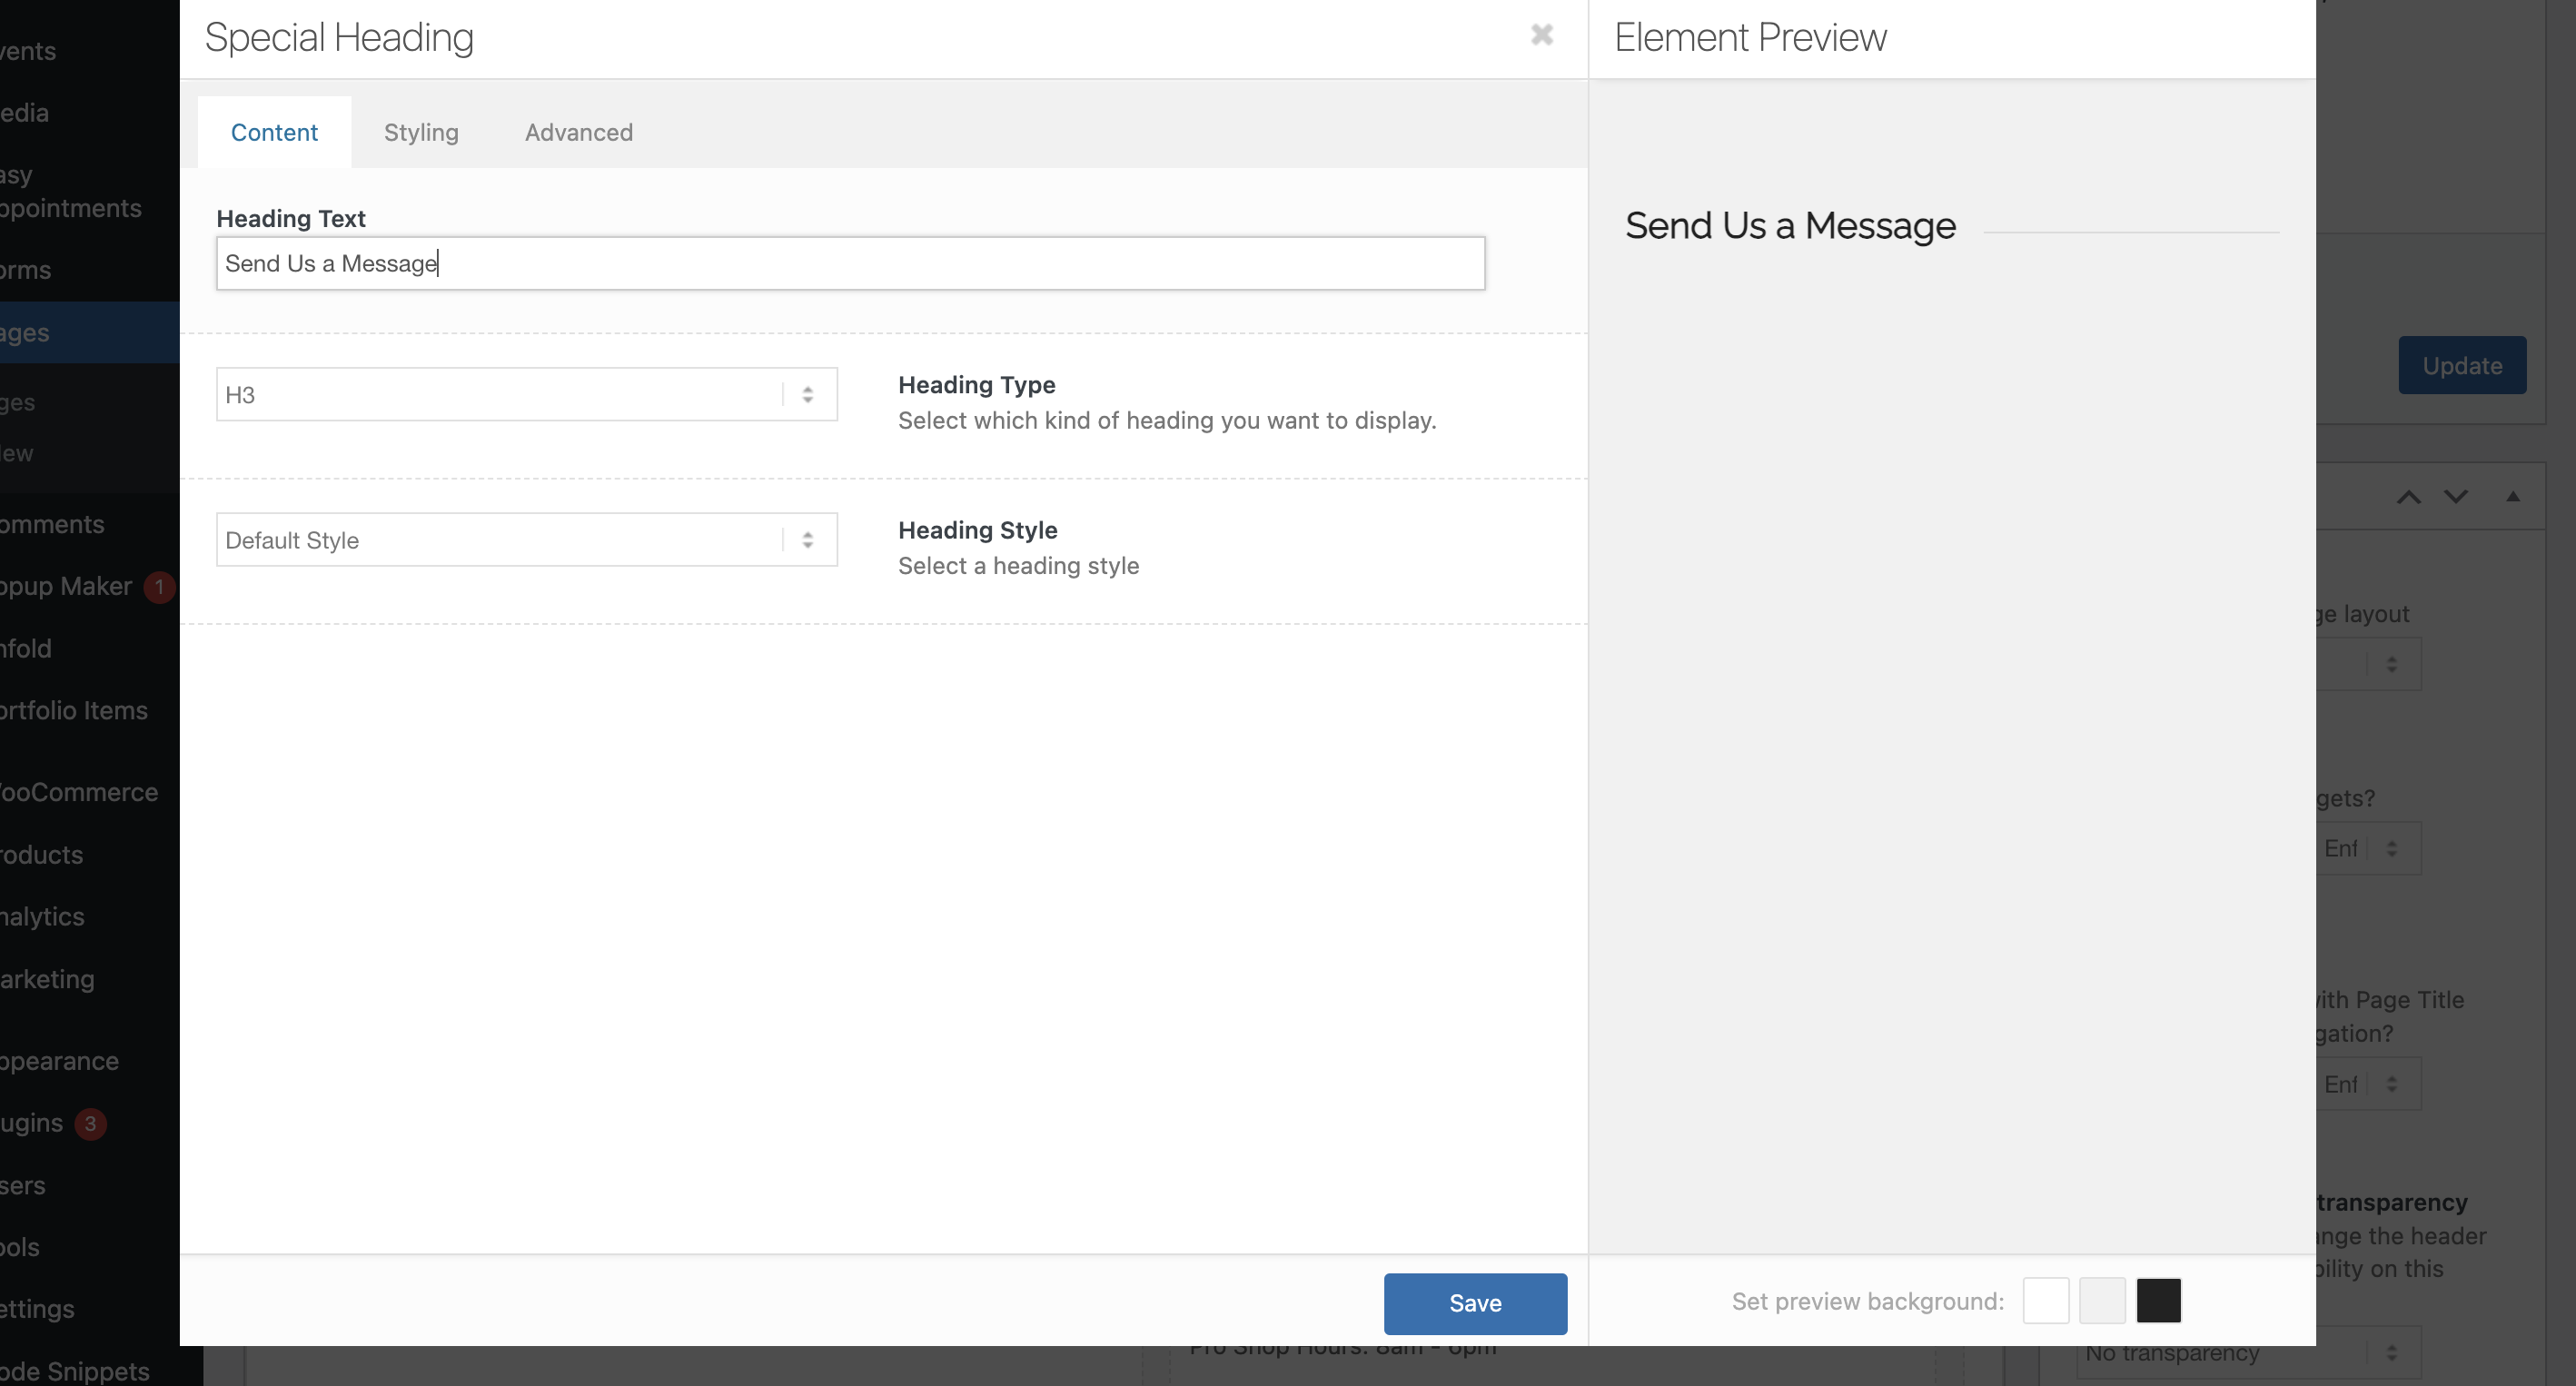
To edit any of these sections within your pages, simply click on the box that contains the content you wish to edit. Edit your content within the text block editor and click the blue save button upon completion. This will bring you back to your page with all of the content. If you have made all of the necessary edits to your page, be sure to click the blue publish button in the upper right-hand corner of your page. This will publish the new content to your �live� website.


.png?width=240&height=55&name=Untitled%20design%20(86).png)