Upload a PDF or Document to Your Site
You can upload a PDF, MS Word Document or any other media file to your WordPress website via one of two ways: the Add Media button or the Media Library, exactly as you'd upload an image to your site.
Using the Add Media Button
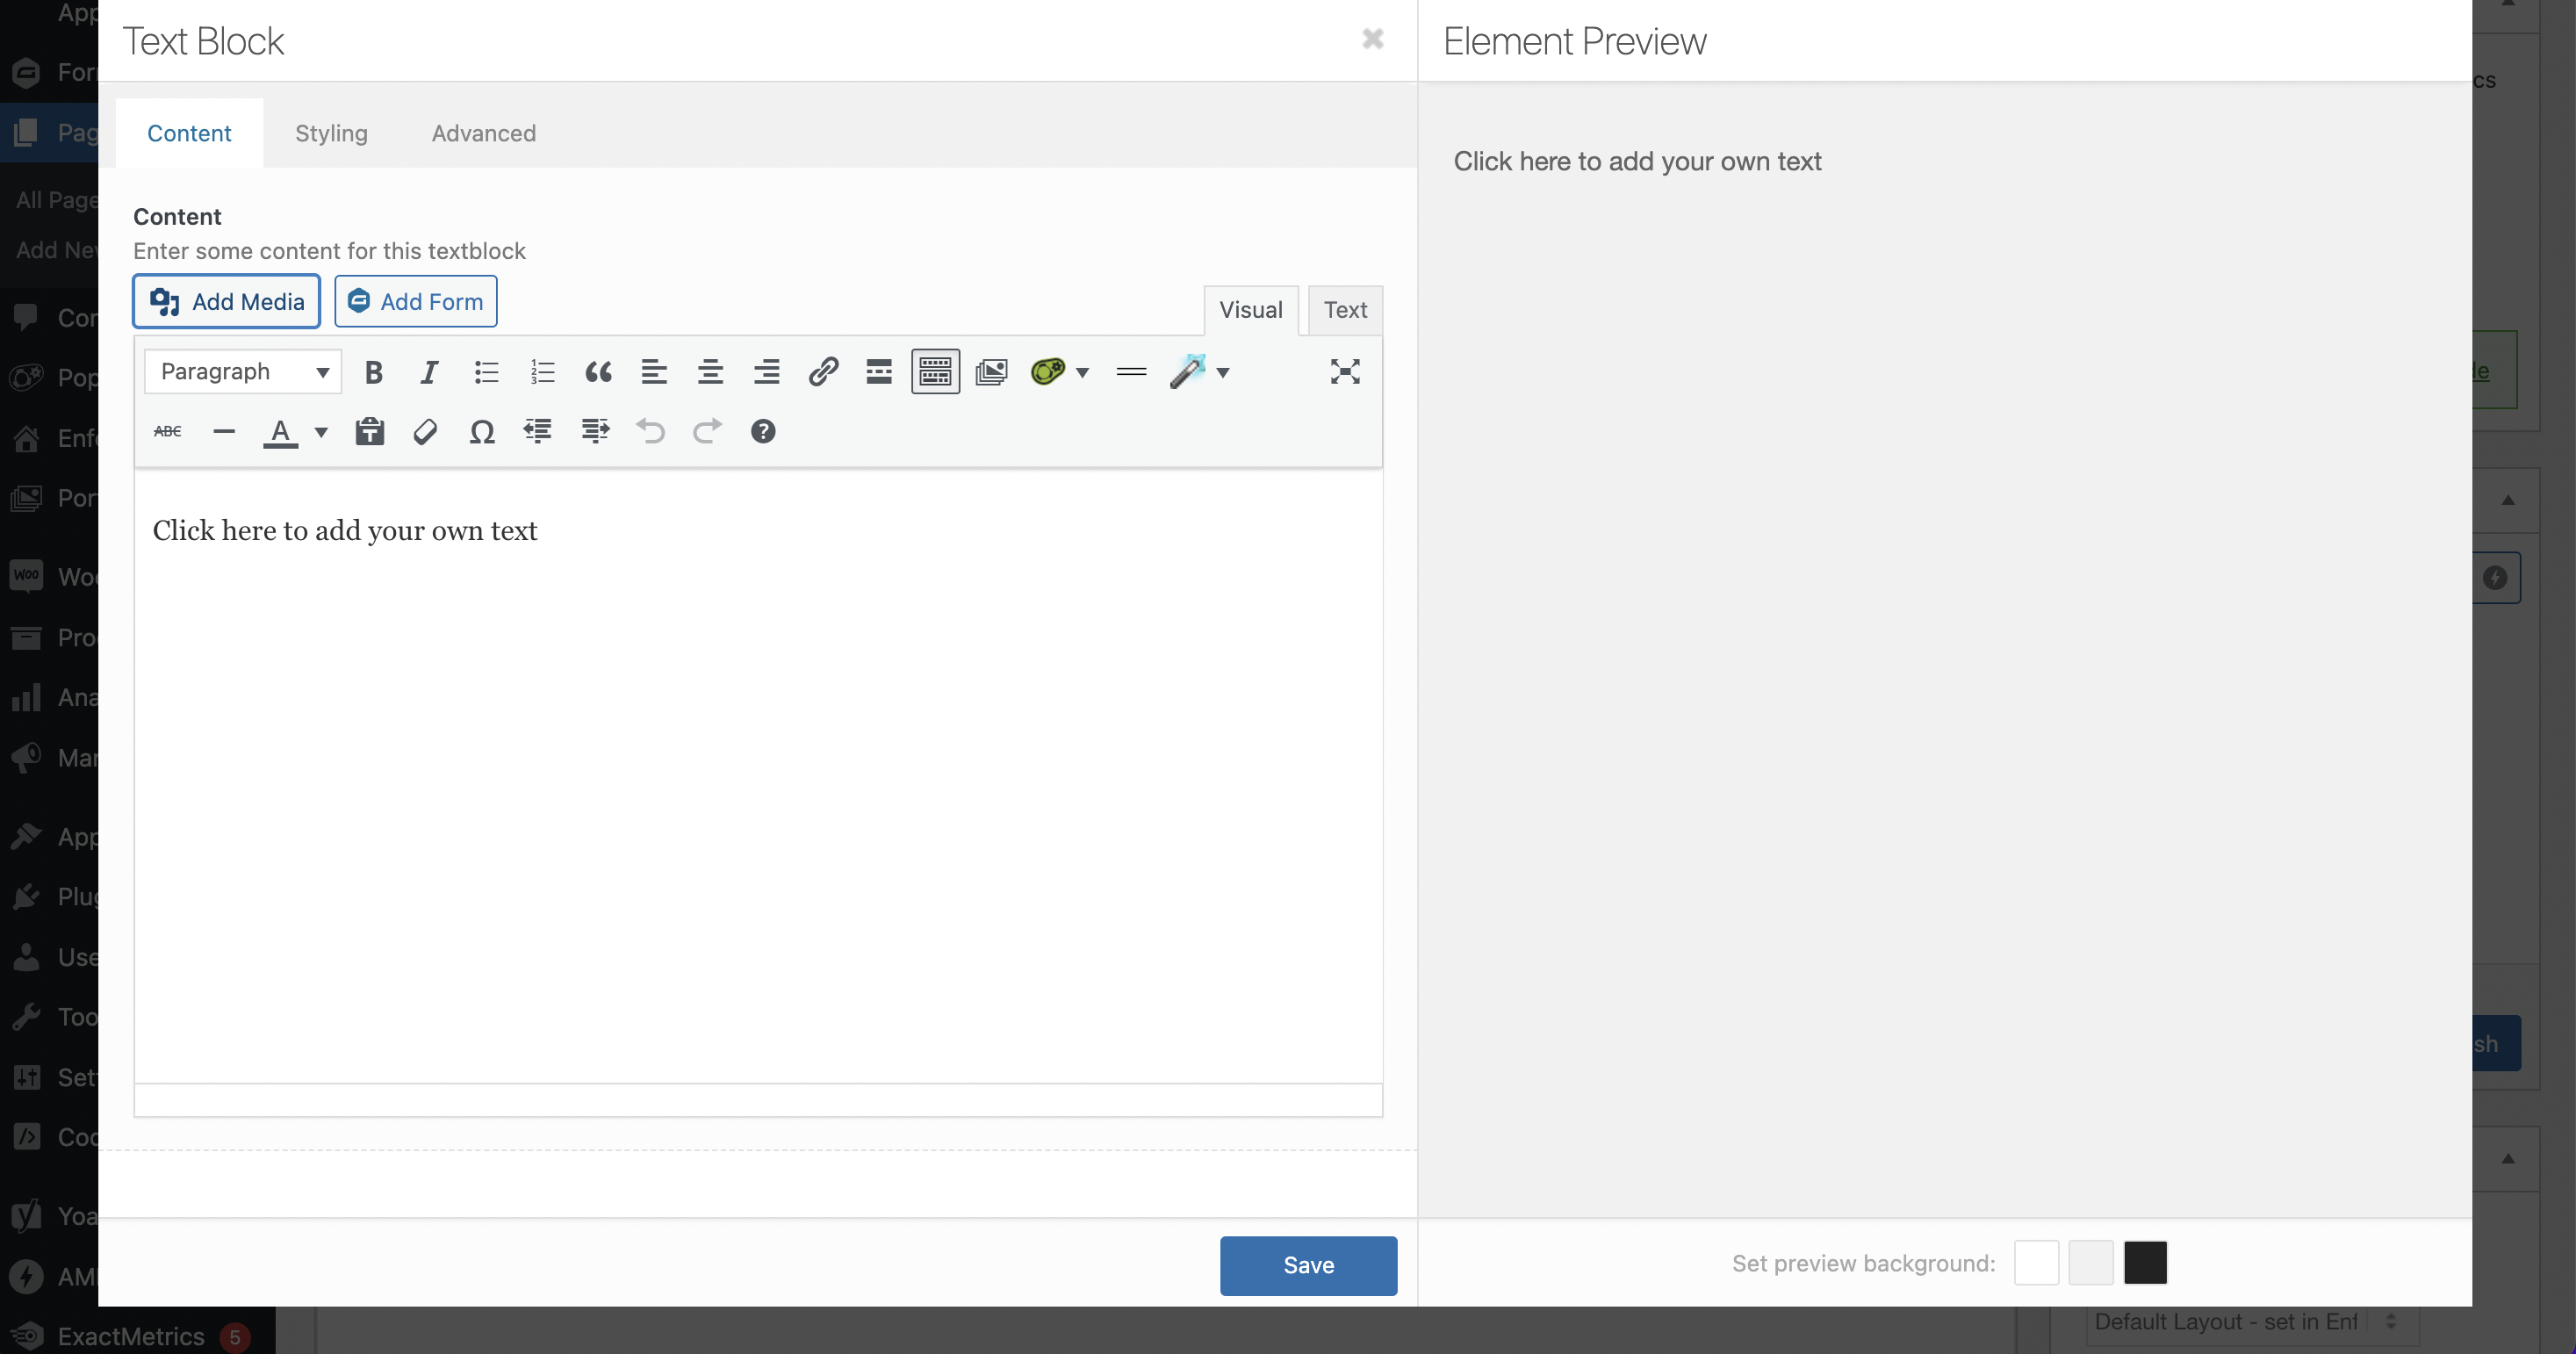
1. Once you're in a new page, post or calendar event page, click the Add Media button found in the upper left corner of the editing form.
(Note: If you're using the Advanced Layout Editor, you'll want to first insert a Text Block Element, and then click to open that.)
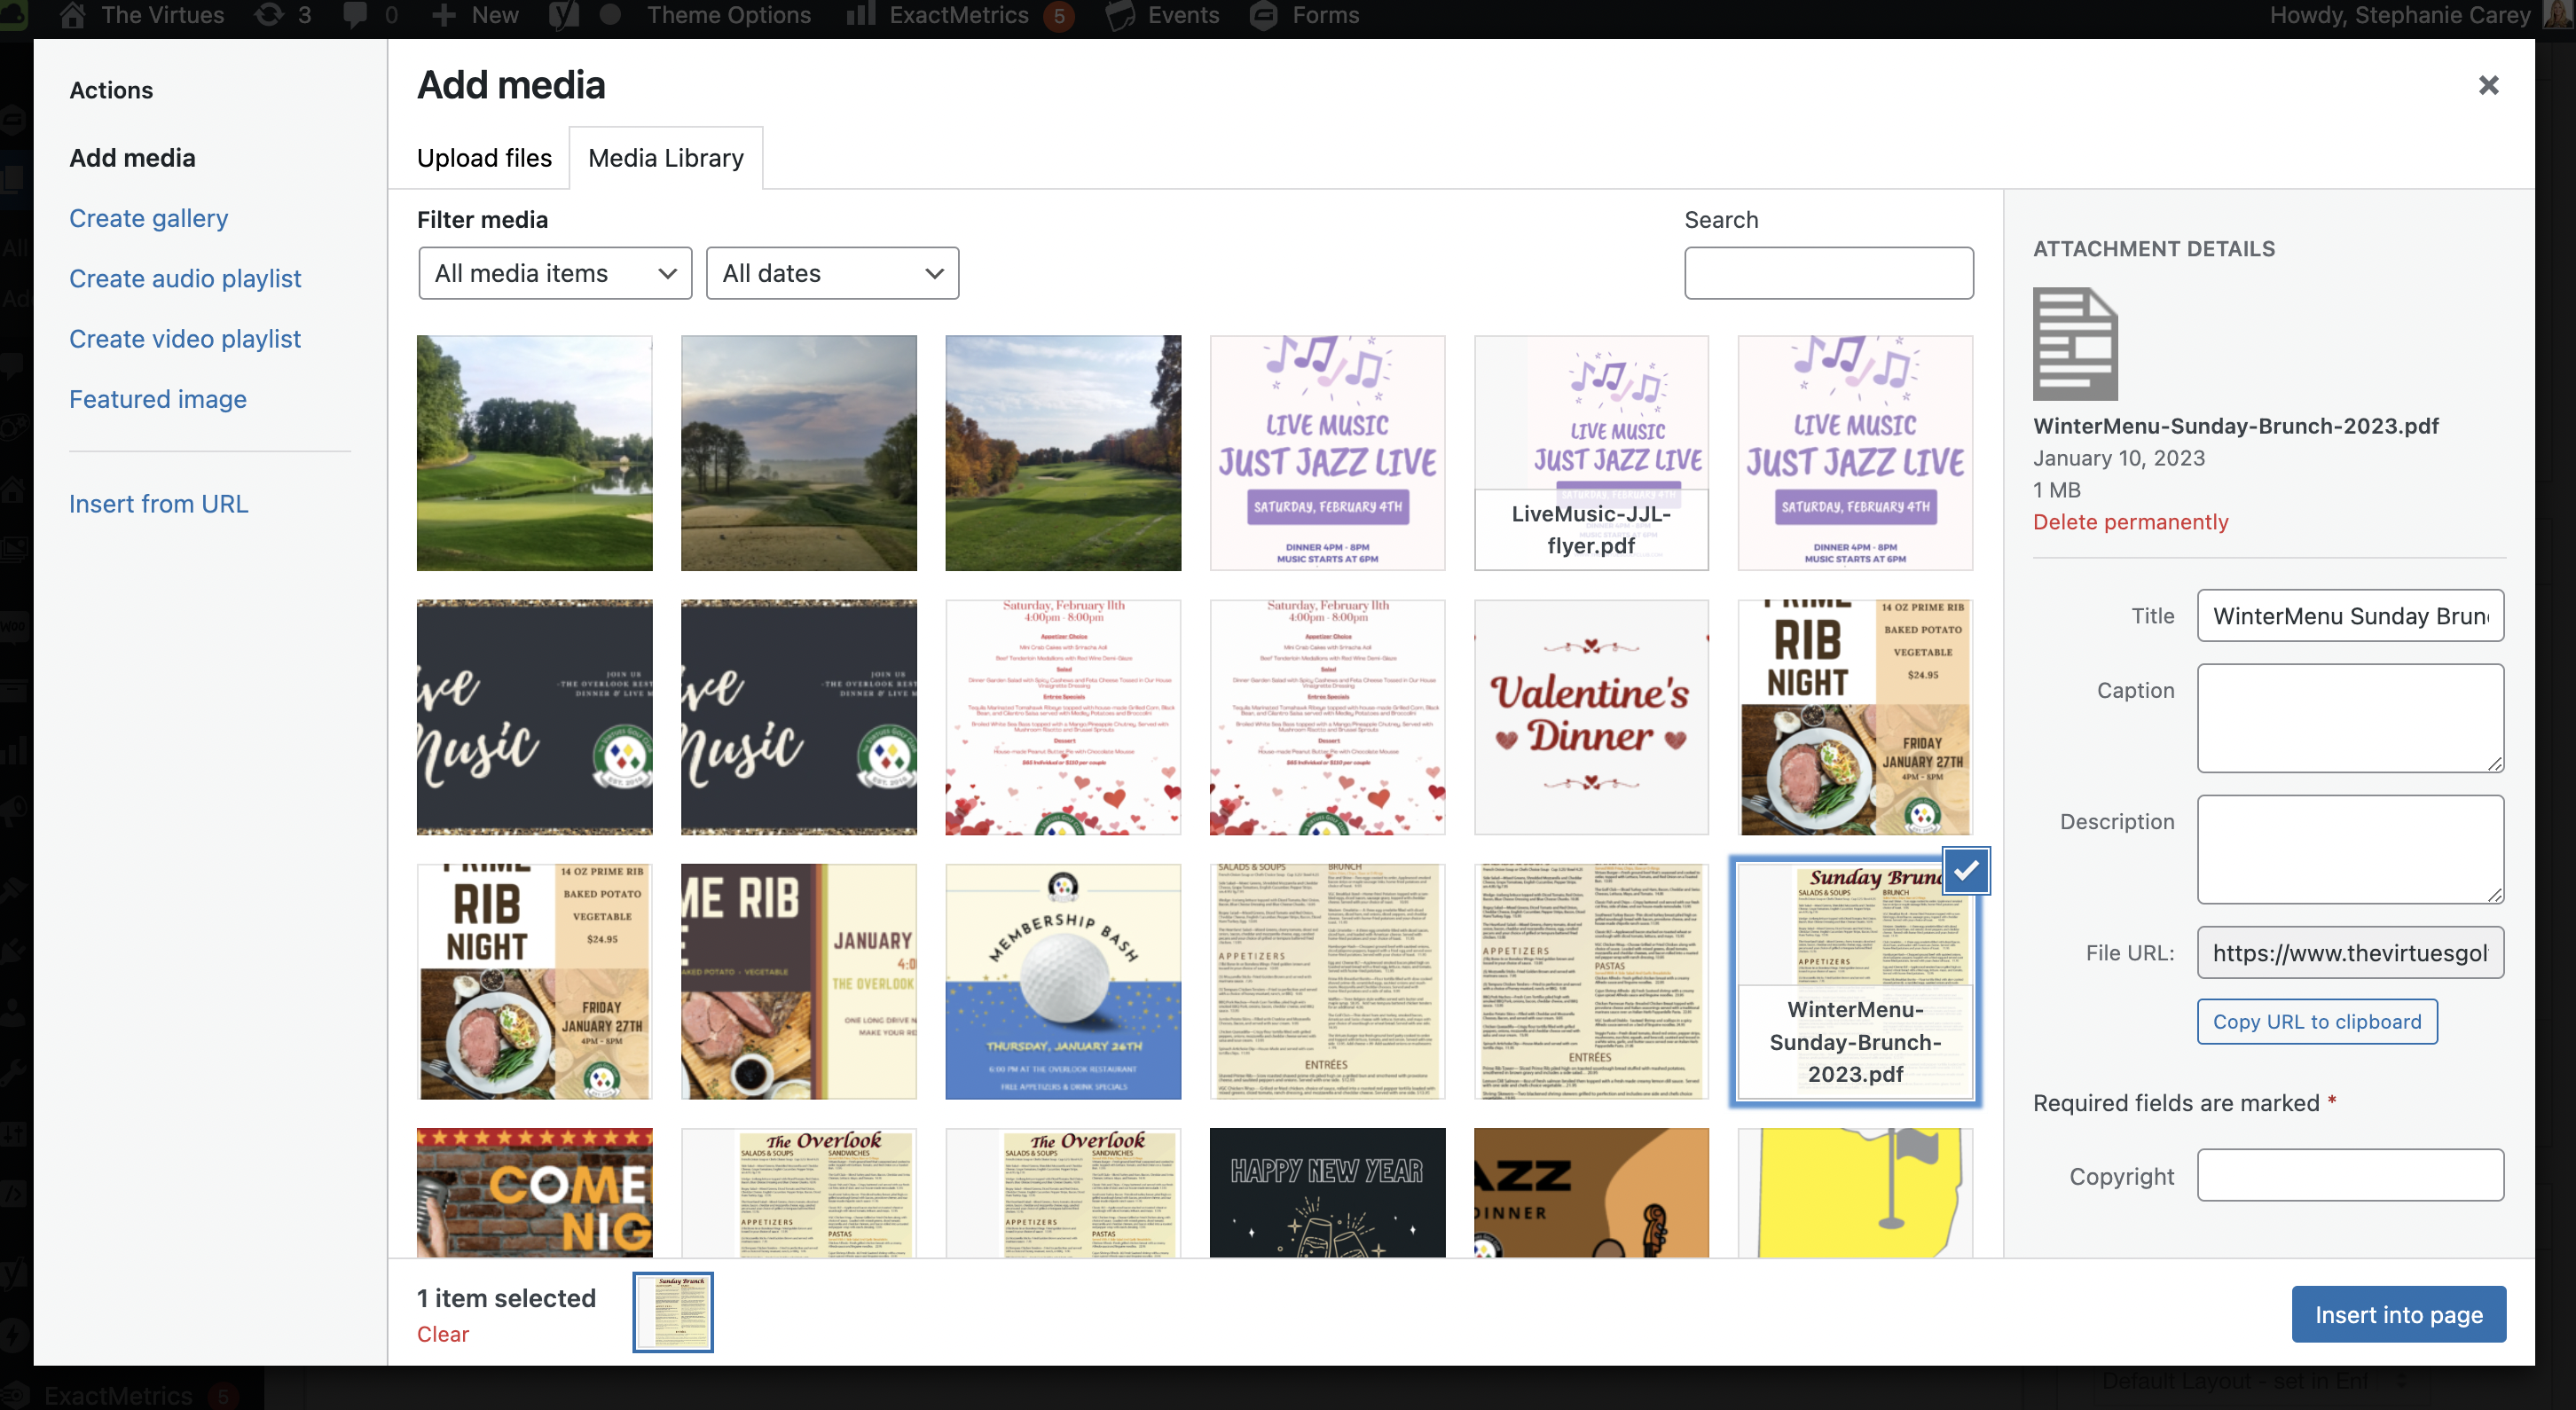
2. Follow the on-screen instructions to upload the document to your WordPress website, and then click the INSERT button on the upload screen to insert it into your page content. It will get automatically inserted as a text hyperlink in your content.

3. To add it as the URL for a button or another element, click the hyperlink in the text editor and then click the little edit button on the right, or in the media library click 'Copy URL to clipboard'.
You'll be able to copy the direct link to the file from the editing field, to use however you want throughout the site.
If you have any questions, reach out to Teesnap Support by emailing us at support@teesnap.com or calling 844-458-1032.
Disclaimer: Teesnap acknowledges the importance of creating accessible PDF documents in accordance with the Americans with Disabilities Act (ADA) and other relevant accessibility standards. As the creator of PDF content, you are responsible for ensuring that your documents comply with these accessibility requirements.
Please be aware that failure to create ADA-compliant PDFs may hinder access for individuals with disabilities. It is crucial to follow best practices for accessibility during the creation and design of PDFs, including proper formatting, text descriptions for images, and other features that facilitate navigation for users with disabilities.
.png?width=240&height=55&name=Untitled%20design%20(86).png)